

Yes, you can absolutely build a gallery-quality wall using paint-by-number canvases, and the method is simpler than most decorating guides suggest. The formula: pick one strong anchor piece, plan your layout with kraft-paper templates before touching a nail, and hang the anchor first, then build outward in both directions. Paint-by-number art is unusually well-suited to this because the printed canvases come in consistent sizes, the palettes are matched within a kit family, and finished pieces are affordable enough to collect in sets.
- Pick your anchor. Choose the largest or most visually striking piece. This hangs first, centered at roughly 57–60 inches from the floor.
- Map before you drill. Trace each frame onto kraft paper, tape the templates to the wall, and live with the arrangement for a day before committing.
- Build outward. Hang the anchor, then add pieces in pairs or clusters, keeping 2–3 inches of space between frames.
Key Takeaways
A gallery wall built from paint-by-number canvases works best when you start with a strong anchor piece, plan the layout with paper templates before drilling, and limit frame finishes to two families.
| Point | Details |
|---|---|
| Anchor piece first | Hang the largest canvas at 57–60 inches optical center before adding any other pieces. |
| Plan with templates | Tape kraft-paper cutouts to the wall and live with the arrangement before driving a single nail. |
| Two frame finishes max | Limit frame finish families to two (e.g., matte black and natural wood) to keep the wall cohesive. |
| Spacing consistency | Keep 2–3 inches between every frame, measured edge to edge, throughout the whole arrangement. |
| Craftybynumbers kits | Matched acrylics, pre-printed canvases, and custom photo options make Craftybynumbers a strong choice for gallery-ready sets. |
Table of Contents
- What are the best gallery wall layout ideas for paint-by-number art?
- How do you plan and hang a gallery wall paint by numbers step by step?
- How do you frame and finish paint-by-number canvases for gallery display?
- Where can you source paint-by-number art for a gallery wall?
- Why are Craftybynumbers kits especially well-suited for gallery walls?
- How should you light and care for displayed paint-by-number canvases?
- 10 ready-to-copy layout prompts you can use this weekend
- How do you mix paint-by-number art with other wall decor?
- How do you group small paint-by-number pieces into a cohesive cluster?
- How do you build a thematic or color-coordinated paint-by-number gallery wall?
- What most people get wrong about paint-by-number gallery walls
- Craftybynumbers kits sized and styled for gallery walls
- Sources
- FAQ
What are the best gallery wall layout ideas for paint-by-number art?
Paint-by-number pieces work across a surprising range of layout styles. The key is picking a pattern that fits your wall shape and the number of finished canvases you have.
- Symmetrical grid. Four, six, or nine identical-size frames in even rows. Works above a sofa or console table. The uniform structure makes even beginner-level paintings look deliberate and polished.
- Salon cluster. A loose, organic grouping of mixed sizes radiating from a central anchor. Best for large blank walls in living rooms or dining rooms where a rigid grid would feel cold.
- Ledge stack. Two or three picture ledges layered at different heights, with canvases leaned and overlapped. Ideal for renters or anyone who wants to rotate pieces seasonally without new holes.
- Single-row linear. A tight horizontal line of same-height frames running above a hallway bench or along a staircase landing. Odd counts (three or five) read better than even ones.
- Staircase run. Frames follow the diagonal of the staircase, stepping up with the treads. Mix portrait and landscape orientations to keep the eye moving.
- Thematic triptych. Three canvases from the same subject family (florals, landscapes, portraits) hung close together as a single visual unit. The subject connection does the cohesion work even when sizes differ slightly.
- Color-block cluster. Group pieces by dominant hue rather than subject. A cluster of warm-toned canvases on one side and cool-toned on the other creates a visual rhythm without needing matching frames.
- Mixed-medium grouping. Pair finished paint-by-number canvases with a small mirror, a woven textile, or a framed pressed botanical. Designers recommend mixing mediums and limiting frame finishes to two families to get a collected, sophisticated feel rather than a flat, mass-produced look.
How do you plan and hang a gallery wall paint by numbers step by step?
The reliable method: lay everything on the floor first, make templates, then hang the anchor and build out. A successful gallery wall starts with an anchor piece hung at 57–60 inches and is built outward, with larger frames toward the center and bottom for visual weight.
The planning and hanging checklist
- Measure your wall zone. Mark the width and height of the area you want to fill with painter’s tape. Step back and confirm the proportions feel right before going further.
- Set your optical center. Mark a horizontal line at 57–60 inches from the floor. This is where the visual center of the whole arrangement lands, not the top edge of your anchor.
- Lay out on the floor. Arrange all frames on the floor in front of the wall. Shift pieces around until the composition feels balanced. Photograph it before you move anything.
- Make kraft-paper templates. Trace each frame onto kraft paper and cut them out. Planning the layout with kraft-paper templates taped to the wall is the most effective method to preview spacing before drilling.
- Transfer nail points. Cut paper templates and tape them to the wall to mark nail positions through the template and avoid misaligned holes. Poke a pencil through the template at the hanging hardware location, then remove the paper.
- Hang the anchor first. Drive the anchor piece’s nail, hang it, and confirm it sits at the right height before adding anything else.
- Build outward in pairs. Add frames two at a time, one on each side of the anchor, checking level and spacing as you go.
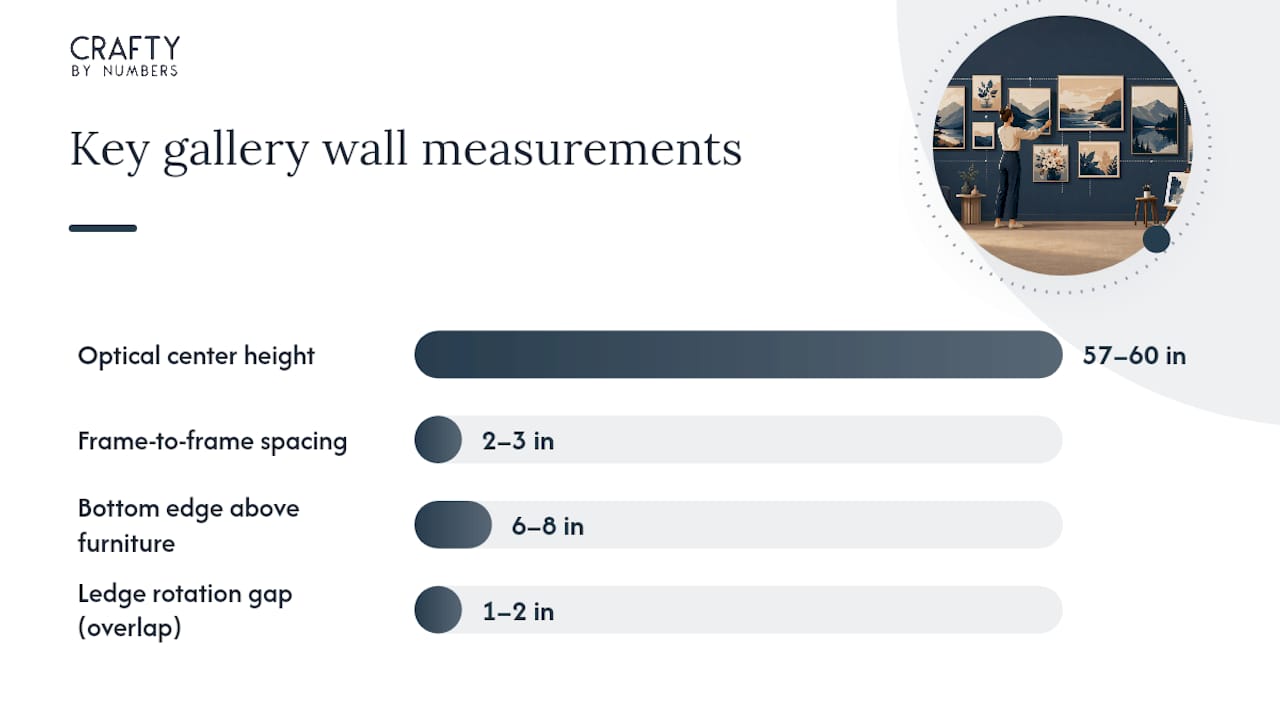
Key measurements at a glance
| Measurement | Recommended value |
|---|---|
| Optical center height | 57–60 inches from floor |
| Frame-to-frame spacing | 2–3 inches |
| Bottom edge above furniture | 6–8 inches |
| Ledge rotation gap | 1–2 inches overlap allowed |
Tools and hardware you need
Tape measure, level or laser level, painter’s tape, kraft paper, pencil, hammer or drill, drywall anchors (for heavy pieces), D-rings and picture wire or Command strips for lighter canvases.
Pro Tip: After taping your kraft-paper templates to the wall, poke a pencil through each template at the exact nail point, then remove the paper. This yields perfectly placed marks and the template peels off cleanly without residue.
How do you frame and finish paint-by-number canvases for gallery display?
Framing choices determine whether a finished canvas reads as casual craft or intentional art. The good news: paint-by-number canvases are already stretched on a frame, so you have more options than a flat print.
- Float mounts. A floater frame sits flush around a stretched canvas, leaving a thin gap that makes the painting appear to hover. Clean, modern, and the most gallery-appropriate option for acrylic-on-canvas.
- Thin modern frames. A slim wood or metal frame with no mat. Works well for a grid layout where you want uniformity without bulk.
- Matted frames. Adding a mat creates breathing room around smaller canvases and makes them read as larger. Best when your canvases are 8×10 or smaller.
- Clip frames. Minimal and inexpensive. Good for a casual ledge display or a kid’s room gallery where pieces rotate often.
- Shadowboxes. Useful if you want to add small 3D elements (a dried flower, a painted wooden accent) alongside the canvas.
Limit your frame finish choices to two families. Mixing frame finishes intentionally while keeping to two families — say, matte black plus natural wood — keeps a gallery wall cohesive while still allowing variety in scale and subject. Three or more finishes starts to read as accidental rather than curated.
Pro Tip: Before varnishing a finished canvas, test a removable matte varnish (like Liquitex Soluvar) on a corner. It protects against dust and UV without permanently altering the surface, and it can be removed if you want to touch up a section later. For walls with direct sun exposure, choose an archival UV-protective spray instead.
Where can you source paint-by-number art for a gallery wall?
Sourcing strategy depends on whether you want a cohesive modern set, a collected vintage feel, or a mix of both.
- Thrift stores, flea markets, and estate sales. Vintage paint-by-numbers are popular for collected gallery displays and can be thrifted; modern kits allow for cohesive, thematic sets. Vintage pieces bring character and nostalgia but vary in size and condition, so check for yellowing varnish and canvas warping before buying.
- Online modern kits. Consistent canvas sizes, matched palettes, and predictable quality. Ideal when you want a set that hangs together without hunting for matching frames.
- Custom photo-to-kit services. Turn a personal photo into a numbered canvas for a one-of-a-kind anchor piece. Craftybynumbers offers custom paint-by-numbers from photos that can anchor a family portrait gallery wall.
- Local craft fairs and artist markets. Occasionally you find finished paint-by-number pieces from local artists, which adds a handmade provenance story to your wall.
Buying checklist for gallery use: confirm canvas size and aspect ratio before ordering; verify the paint type is acrylic (not watercolor); check that the printed guide is high-resolution; confirm brushes are included; and if ordering multiple kits, compare color palettes across designs to confirm they share at least one or two tones.
Why are Craftybynumbers kits especially well-suited for gallery walls?
Not all kits finish to the same standard. Craftybynumbers kits are built around the features that matter most when the goal is display, not just completion.
- Pre-printed numbered canvas. The print quality is high enough that coverage is even and the finished surface reads as a real painting, not a coloring exercise.
- Matched acrylic paints. Colors are pre-mixed to the design, so the palette is internally consistent. When you order multiple kits from the same collection, the color families tend to harmonize.
- Detail brushes included. Fine-tip brushes let you finish edges cleanly, which matters when the canvas sits in a floater frame with the edges visible.
- Varied sizes and custom options. From small accent pieces to larger anchor-ready canvases, the range lets you build a balanced set without sourcing from multiple vendors.
Craftybynumbers kits include a numbered canvas, matched acrylic paints, brushes, and a reference guide, making finished canvases genuinely suitable for curated gallery walls. The brand has served over 120,000 customers, a scale that reflects consistent product reliability across a wide range of skill levels and display goals.
For a gallery wall where visual consistency is the priority, Craftybynumbers modern kits are the stronger choice. If you want the patina and story of collected objects, vintage thrifted pieces add character that no new kit replicates. Many of the best gallery walls combine both.
How should you light and care for displayed paint-by-number canvases?
Lighting and placement decisions made at the start save a lot of fading and cleaning headaches later.
- Use soft LED picture lights or directional track lighting. These let you control the angle and intensity without generating heat that dries out canvas or cracks acrylic paint over time.
- Color temperature matters. A warm 2700–3000K bulb flatters most paint-by-number palettes and creates a cozy gallery feel. If you want accurate color rendering closer to daylight, a neutral 3000–3500K range works better.
- Avoid direct sunlight. UV exposure yellows varnish and fades acrylic pigments, particularly reds and blues. If a wall gets afternoon sun, apply a UV-protective varnish before hanging and consider UV-filtering glass or acrylic in the frame.
- Dust with a soft, dry brush. Never use a damp cloth or solvent on an unvarnished acrylic canvas. A soft natural-bristle brush or a clean makeup brush removes surface dust without disturbing the paint.
- Skip bathrooms and steamy kitchens. High humidity causes canvas to warp and acrylic to lift at the edges. A hallway, living room, bedroom, or dining room is a far safer home.
10 ready-to-copy layout prompts you can use this weekend
Each prompt below is sized for a standard wall zone. Use an online layout planner like WallMockup to calculate exact footprints and confirm spacing before cutting templates.
- Prompt 1 — Sofa grid: 6 canvases (three 12×16, three 8×10) in two rows above a sofa. Anchor: center 12×16. Gap: 2.5 inches.
- Prompt 2 — Hallway linear: 5 canvases (all 8×10) in a single horizontal row at eye level. Gap: 2 inches. Works in narrow corridors.
- Prompt 3 — Staircase diagonal: 7 mixed-size canvases (alternating 8×10 and 10×12) stepping up with the stair angle. Gap: 3 inches.
- Prompt 4 — Salon cluster: 9 canvases (mix of 6×8, 8×10, 10×12) radiating from one 12×16 anchor. Gap: 2–3 inches. Best above a fireplace.
- Prompt 5 — Triptych accent: 3 canvases (all 12×16, same subject family) hung in a tight horizontal line above a bed or console. Gap: 2 inches.
- Prompt 6 — Ledge rotation: 3 ledges at 12-inch vertical intervals, each holding 3–4 canvases leaned casually. Sizes: mix freely.
- Prompt 7 — Kid’s room grid: 4 canvases (all 8×10) in a 2×2 grid. Gap: 2 inches. Clip frames keep it easy to swap pieces.
- Prompt 8 — Entryway statement: 1 large canvas (16×20) flanked by 2 smaller canvases (8×10) at the same optical center. Gap: 3 inches.
- Prompt 9 — Color-block pair: 2 canvases (both 12×16) hung side by side, chosen for contrasting dominant colors. Gap: 2 inches. Simple and bold.
- Prompt 10 — Floor-to-ceiling column: 4 canvases (all 10×12) stacked vertically in a narrow column beside a doorframe. Gap: 2.5 inches.
Quick reference: sizes and gaps
To adapt any prompt to a narrower wall, scale every canvas size down by one step (a 12×16 becomes a 10×12) and reduce the gap to 2 inches. For a wider wall, add one canvas to each row rather than increasing the gap.
How do you mix paint-by-number art with other wall decor?
Paint-by-number canvases pair well with other elements as long as you give each piece enough breathing room and share at least one visual thread across the whole wall.
A small mirror placed within a salon cluster bounces light and adds dimension without competing with the painted subjects. Woven or macramé textiles introduce texture that acrylic paint lacks. Framed botanical prints or vintage maps share the hand-crafted, detailed quality of paint-by-number work, so they sit naturally alongside finished canvases.
The thread that holds mixed elements together is usually color, not medium. Pull one accent color from your anchor canvas and repeat it in at least two other elements on the wall, whether that’s a frame finish, a textile, or a secondary piece. That single repeated tone is what makes a mixed wall read as intentional rather than random.
Keep 3D objects (small shelves, sculptural hooks, ceramic wall pieces) to one or two per arrangement. More than that and the wall starts competing with the furniture in front of it.
How do you group small paint-by-number pieces into a cohesive cluster?
Small canvases (6×8 or 8×10) are the trickiest to hang well because individually they feel too slight, but grouped poorly they look like a jumble sale.
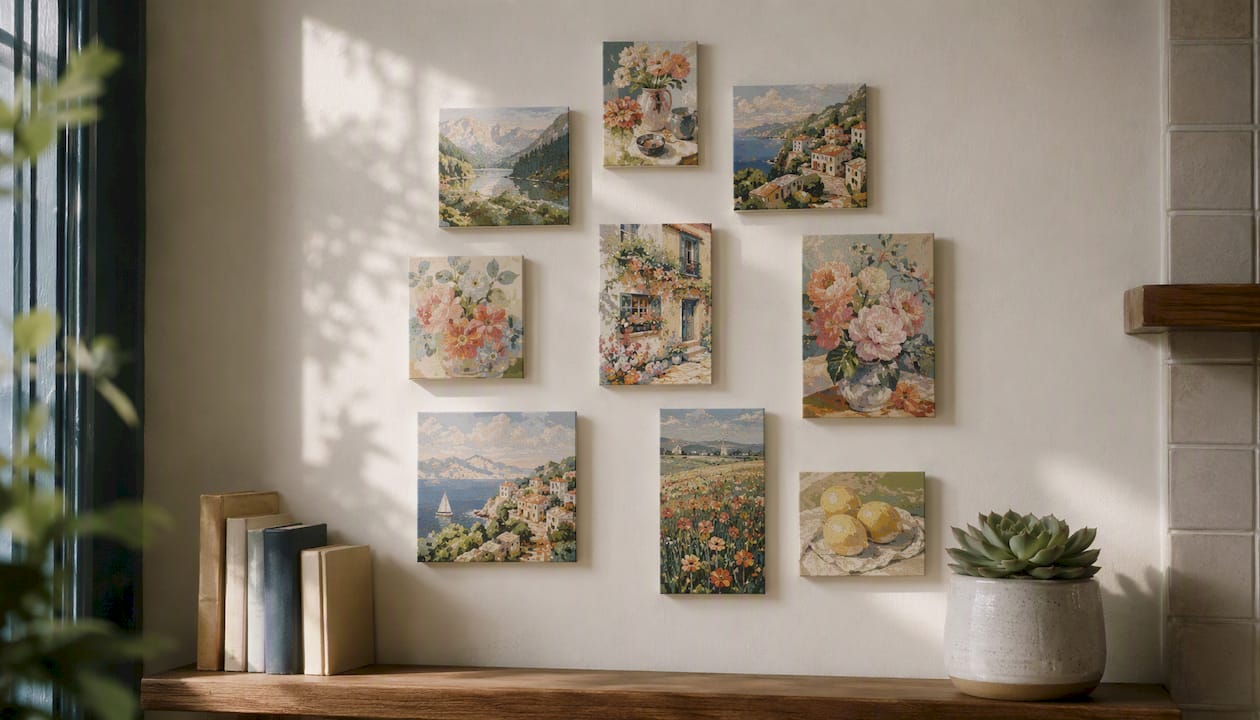
The fix is treating the cluster as a single shape. Before hanging, step back and look at the outer silhouette of your arrangement. A roughly rectangular or oval outer boundary reads as one intentional object on the wall. Irregular, spiky silhouettes with pieces jutting out at odd angles read as unfinished.
Within the cluster, vary orientation. Two portrait canvases flanking one landscape canvas creates internal rhythm. Odd counts (three, five, seven) almost always look better than even counts in a cluster because they prevent the eye from splitting the group in half.
Shared color is the fastest way to unify small pieces. If every canvas in the cluster contains at least one tone in common, the group coheres even when subjects differ. A cluster of florals, a landscape, and an abstract all feel related if they share a dusty rose or a warm ochre.
How do you build a thematic or color-coordinated paint-by-number gallery wall?
A thematic gallery wall commits to a subject category: all botanicals, all landscapes, all portraits, all architecture. The subject repetition does the cohesion work so you have more freedom with frame styles and sizes.
A color-coordinated wall takes the opposite approach: subjects can vary, but every canvas shares a dominant palette. Cool blues and greens, warm terracottas and creams, or a monochromatic black-and-white range all work. The palette becomes the theme.
For paint-by-number art specifically, the easiest starting point is ordering two or three kits from the same design collection. Craftybynumbers groups designs by style and palette, so pieces from the same collection already share color DNA. Add a vintage thrifted piece in a complementary tone as a wildcard, and the wall gains personality without losing coherence.
One practical rule: if you go thematic, commit fully. A mostly-botanical wall with one portrait dropped in the middle reads as a mistake, not an accent. Either make the portrait the deliberate anchor that everything else frames, or save it for a different wall.
What most people get wrong about paint-by-number gallery walls
The conventional advice is to plan carefully and hang precisely, and that part is correct. What most guides skip is the permission to live with the arrangement before it’s final.
Tape your kraft-paper templates to the wall and leave them there for two or three days. Walk past them in the morning light and the evening light. Sit on the sofa and look up. The arrangement that looked perfect on the floor often needs one piece shifted six inches to the left once it’s actually on the wall. That’s not a planning failure. It’s just how spatial judgment works in a real room.
The mistakes that actually ruin gallery walls are simpler than people expect. Hanging too high is the most common one. Most people’s instinct is to center the arrangement at eye level, but they measure eye level standing directly in front of the wall rather than seated. The 57–60 inch optical center rule exists because most viewing happens from a seated or relaxed position.
The second mistake is using too many frame finishes. Three or more finish families on one wall looks like a storage unit, not a gallery. Pick two and stay there.
Third: skipping the anchor. Starting with a small piece in a corner and filling in around it produces a wall that looks like it grew by accident. Start with the largest or boldest piece at the center and let everything else support it.
Gallery walls are meant to evolve. Start with five or six pieces, live with it for a month, and add from there. A wall that’s slightly too sparse always looks better than one that’s overcrowded.
Craftybynumbers kits sized and styled for gallery walls

Craftybynumbers kits are designed to finish gallery-ready, with pre-printed canvases, matched acrylics, and detail brushes included in every set. Four designs stand out for gallery wall use specifically.
Ivory Essence is a soft, neutral-toned canvas that anchors a grid without overpowering surrounding pieces. Garden of Dreams is a floral medium-detail kit that slots naturally into a ledge display or salon cluster grouped by color family. Blossoming Cottage has a charming cottage character that works above a side table or in an entryway mixed-size cluster. Colorful Doorways brings a vivid architectural subject that pairs well in a travel-themed grid or alongside bolder accent pieces.
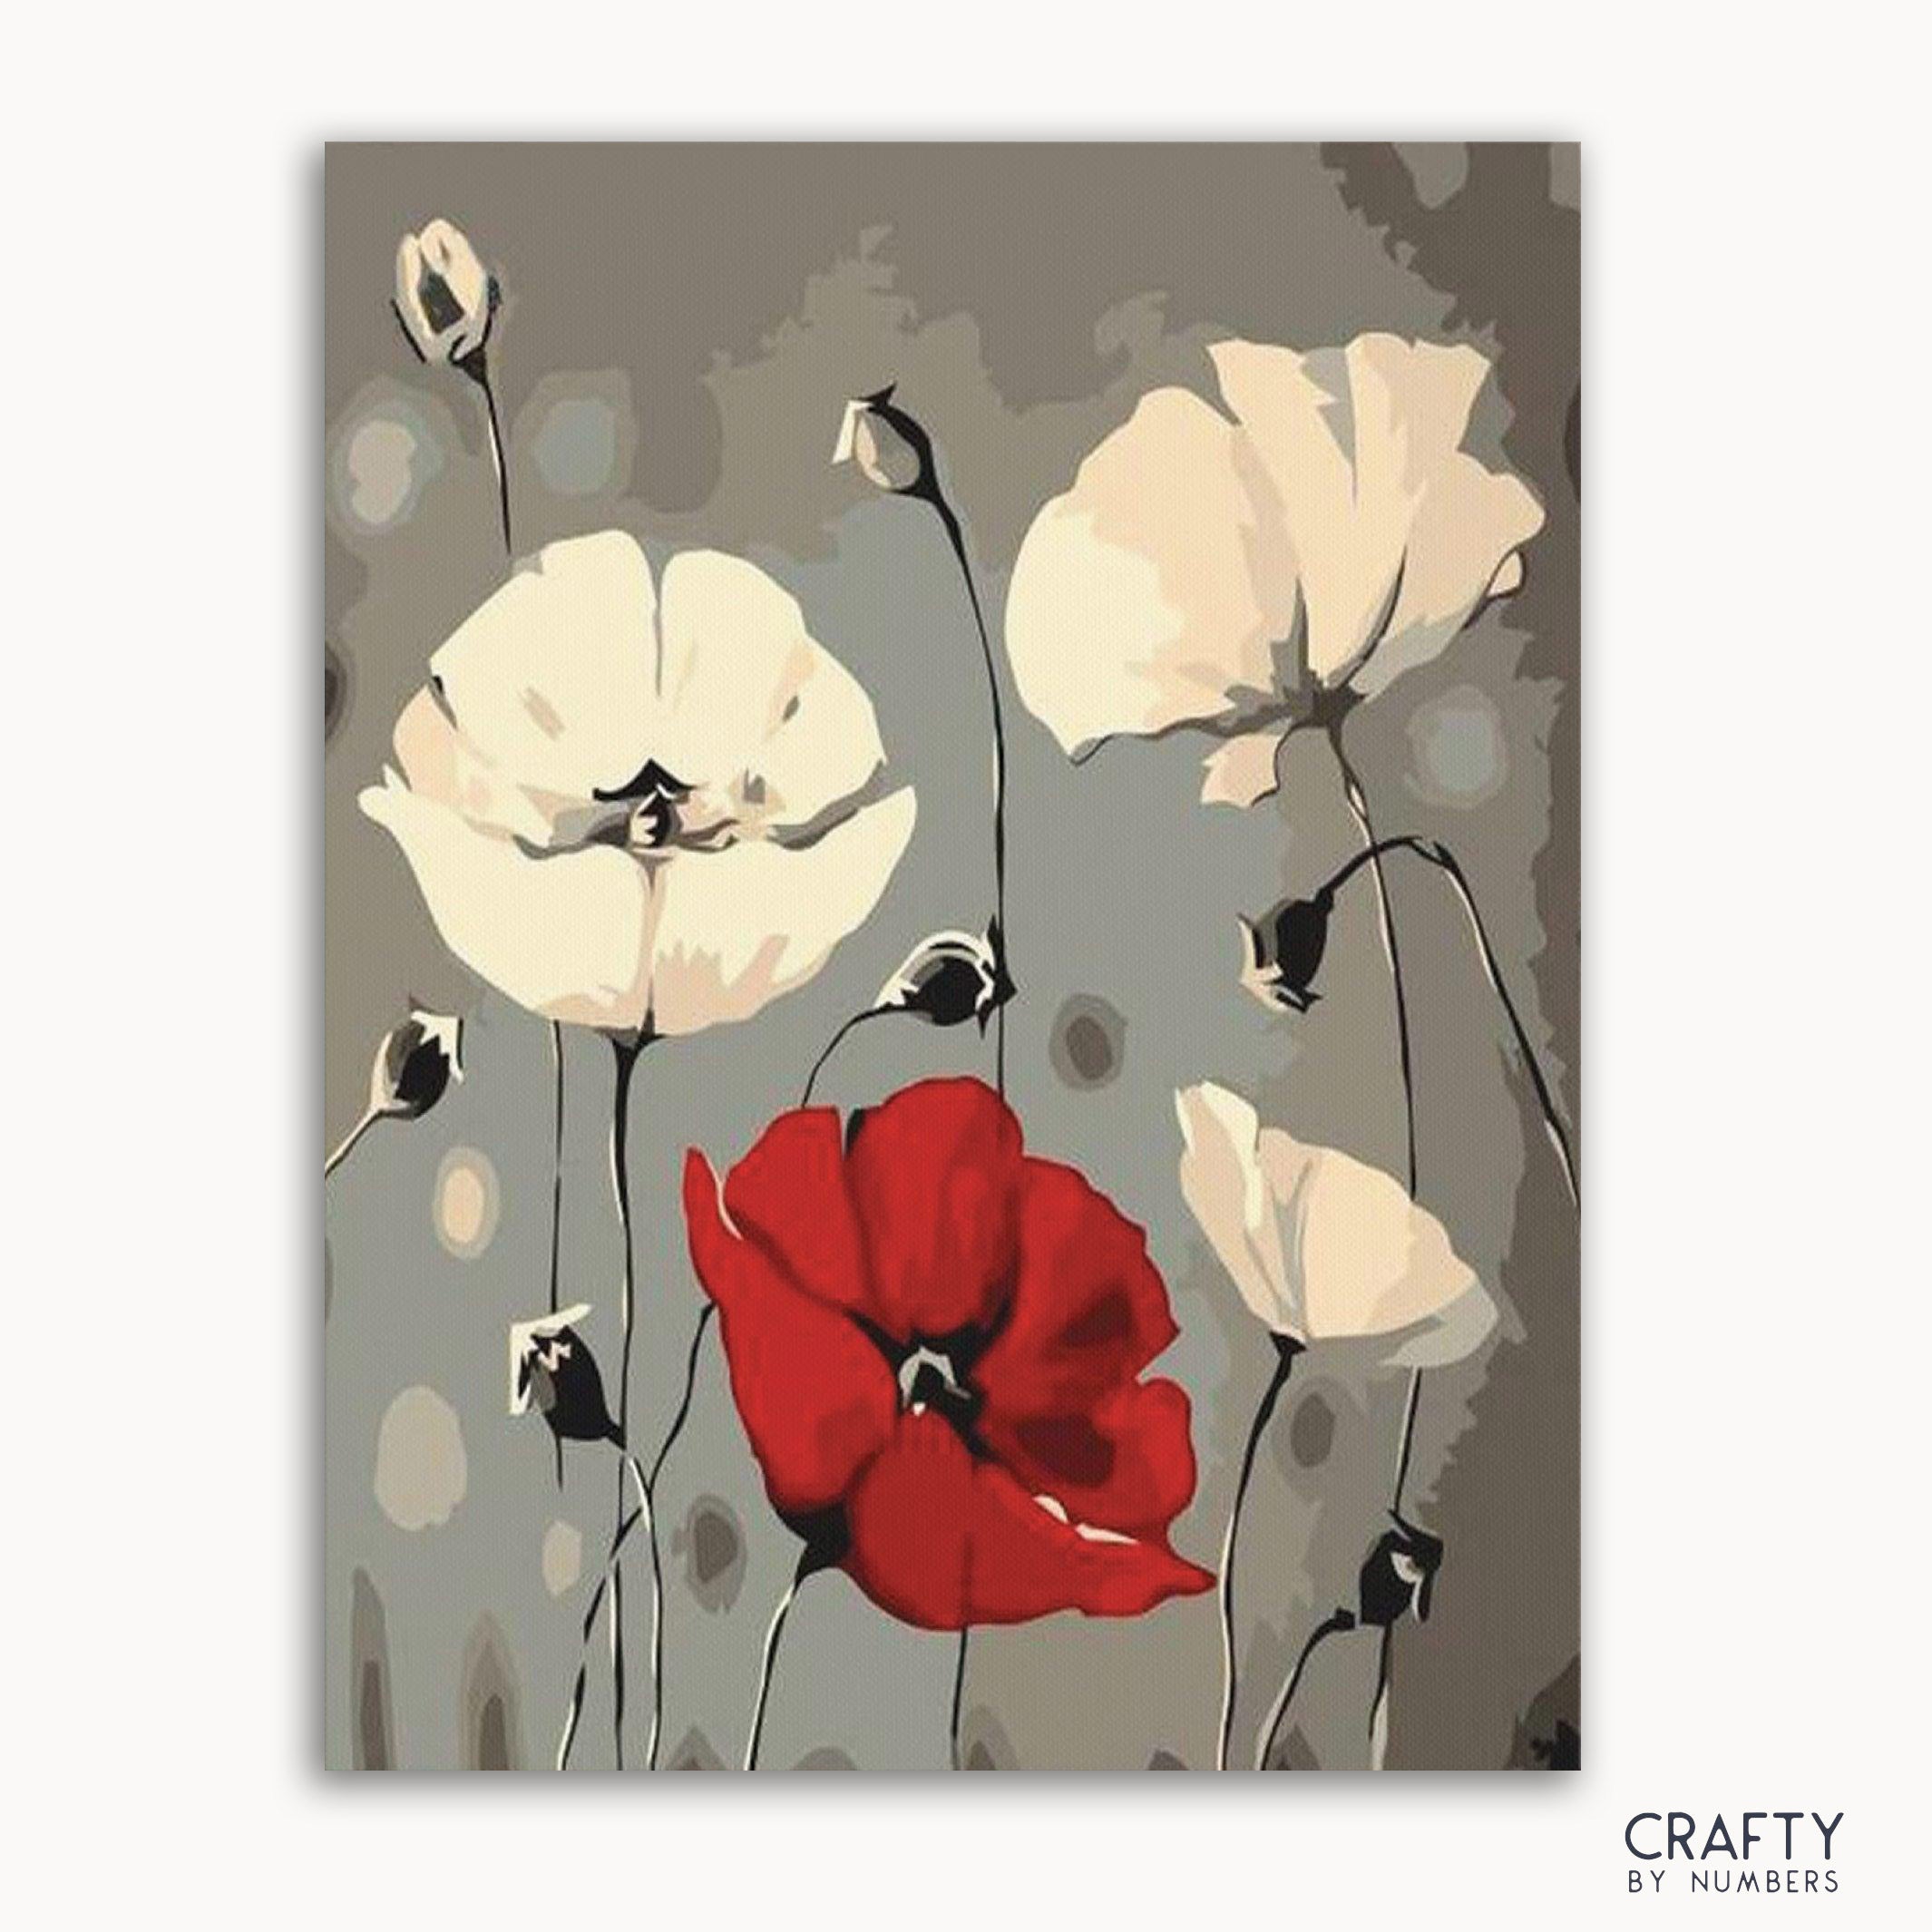
For a personal anchor, Craftybynumbers also offers custom kits made from your own photos, which is the strongest option when you want the centerpiece of your gallery wall to mean something. Order consistent canvas depths across your set, choose frame-ready edges, and pick sizes that form a visually balanced group before you check out.
Sources
- Gallery Wall Layout Guide - the decorholic
- Gallery Wall Layout Ideas: How to Plan, Arrange and Hang Art the Right Way - Your Home Revival
- How to Style a Gallery Wall the Right Way, According to Designers
- Gallery Wall Layout Generator & Planner | WallMockup
FAQ
How many paint-by-number pieces do you need for a gallery wall?
Three to five pieces is enough to start a cohesive arrangement; nine or more creates a full salon-style display. Odd counts tend to look more natural than even ones in a cluster.
What size canvases work best for a gallery wall?
A mix of one 12×16 anchor with several 8×10 supporting pieces gives good visual range. Consistent canvas depth (the thickness of the stretcher bar) makes framing and hanging much simpler.
Should you varnish a paint-by-number canvas before hanging it?
Yes. A removable matte varnish protects the acrylic surface from dust and minor UV exposure. For walls with direct sunlight, use an archival UV-protective spray instead.
Can you mix vintage and modern paint-by-number pieces on the same wall?
Absolutely. Vintage thrifted pieces add character and a collected feel; modern kits like those from Craftybynumbers provide color consistency and size control. The combination often produces the most interesting walls.
How do you keep a gallery wall from looking cluttered?
Limit frame finishes to two families, maintain 2–3 inches of spacing between every piece, and treat the outer silhouette of the whole arrangement as a single clean shape before hanging anything.
0 Kommentare