

Get sleek, reflective metallic acrylics by priming your surface properly, avoiding over-thinning, layering thin coats over a complementary base color, and sealing with a gloss varnish. Skip any one of those steps and you usually end up with a flat, chalky finish instead of real shimmer. Products like Acrylic Medium Gloss Gel, a Gloss Varnish, and a good synthetic brush handle most of the work.
TL;DR:
- Priming with gesso and proper surface preparation are crucial to achieving reflective metallic finishes, especially on non-porous surfaces like metal or wood.
- Thin coats, gentle stirring, and using media like gloss gel over water prevent loss of shimmer and help maintain the metallic effect.
- Applying metallic paint with soft synthetic brushes, textured tools, or spray in multiple light layers enhances reflection and creates dimension.
- Base colors influenced by underlying tones significantly affect the warmth and brightness of gold or silver metallics.
- Using a gloss varnish, sealing gold leaf before painting, and angling lighting during display or photography preserve and emphasize the metallic shine.
Table of Contents
- Quick Checklist: 10 Practical Metallic Acrylic Painting Tips
- Surface Preparation: Primers, Sanding, and Adhesion for Metallics
- Mixing and Thinning: Keep the Shimmer While You Adjust Consistency
- Application Methods: Brushes, Palette Knives, Sponges, and Spray
- Layering and Underpainting: Base Colors That Make Gold and Silver Sing
- Texture, Lighting, and Photographing Metallic Work
- Sealing and Varnishing Metallic Acrylics Safely
- Troubleshooting Common Problems: Streaks, Flaking, and Uneven Sheen
- Expert Notes and Publisher Proof: Paula S. and Crafty By Numbers
- A Kit-Ready Take on Metallic Acrylic Painting Tips
- Practice These Techniques With a Crafty By Numbers Kit
- Sources
- FAQ
Quick Checklist: 10 Practical Metallic Acrylic Painting Tips
Metallic paint forgives almost nothing. Dust, brush marks, and thin patches all show up under light in a way regular color never does. Run through this list before your next session.
- Clean the surface first. Dust and oil under paint create dull patches that no amount of layering fixes.
- Prime with gesso. A smooth, absorbent base gives metallic pigment something even to grip.
- Pick a base color on purpose. Warm tones under gold, cool tones under silver, make the metallic pop.
- Stir before every session. Metallic flakes settle at the bottom of the jar within minutes of sitting still.
- Thin sparingly. Water breaks down shimmer fast; use medium instead when you need flow.
- Choose a soft synthetic brush. Stiff bristles drag pigment unevenly and leave streaks.
- Layer thin coats. Two or three light coats beat one heavy one every time.
- Add texture where it counts. Ridges and raised strokes catch light and read as more metallic.
- Seal with gloss, not matte. Matte varnish flattens the exact shine you just built.
- Photograph at an angle. Direct frontal light photographs metallics as gray, not gold.
Pro Tip: If your metallic paint has thinned out and gone flat looking, mix in a small amount of Acrylic Medium Gloss Gel rather than more paint. It restores body and boosts sheen without diluting the pigment further.
Surface Preparation: Primers, Sanding, and Adhesion for Metallics
Metallic finishes act like tiny mirrors, and mirrors show every flaw. A scratch, a grease spot, or an uneven primer coat that would disappear under matte color becomes a visible dent under gold or silver. That is why prep matters more here than with almost any other acrylic technique.
- Wipe the surface clean and let it dry fully before touching paint to it.
- Sand non-porous materials such as wood or metal, working from around 120-grit up to 220-grit for a smooth mechanical bond.
- Apply multiple coats of gesso on canvas or wood, letting each coat dry before the next.
- Wipe down with a tack cloth to remove dust right before you start painting.
- On outdoor ferrous metal, use a rust-inhibiting primer first to stop corrosion from lifting the paint later.
- If you are working with gold or silver leaf, seal it before painting over it. Imitation leaf tarnishes without a barrier coat, according to gold leaf application guidance, while genuine high-karat leaf is more forgiving.
This step-by-step prep routine also lines up with general metal-painting adhesion guidance, which recommends sanding and priming non-porous substrates before any topcoat.
Mixing and Thinning: Keep the Shimmer While You Adjust Consistency
Water is the enemy of metallic sheen. Add too much and the tiny mica or metal-flake particles spread thin and stop reflecting light the way they should. If you need to loosen metallic paint for smoother brushwork, start with no more than 5 to 10 percent water and stop there.
- Prefer an acrylic medium or gloss gel over plain water when you need more flow.
- Stir the jar or bottle gently, or roll it between your palms. Vigorous shaking introduces air bubbles that dull the surface once dry.
- Test thinned paint on scrap material before committing to the canvas. Sheen loss shows up fast under a lamp.
- Re-suspend settled pigment every time you sit down to paint. Metallic particles sink within a short window, as technique guides on metallic acrylics point out.
Pro Tip: A medium for acrylic paint like Acrylic Medium Gloss Gel does double duty here. It restores body to over-thinned paint and adds back the reflective quality that water strips away, so use it a little at a time rather than dumping in a full spoonful.
Application Methods: Brushes, Palette Knives, Sponges, and Spray
The tool you pick changes how metallic pigment sits on the surface, which changes how it reflects light. Match the method to the effect you actually want.
- Brushwork: Use a soft synthetic brush and paint in one consistent direction. Overloading the brush causes streaking, since metallic paint shows brush marks far more than flat color does.
- Palette knife: Great for accents and impasto texture. Dragging paint with a knife builds ridges that catch light directionally, which is one of the easier ways to make gold or silver look genuinely dimensional.
- Sponging or stippling: Produces a mottled, antique look. This works well for aged frames, weathered metal effects, or backgrounds that need texture without a hard edge.
- Airbrush or spray: Thin only enough to atomize reliably, generally a small amount of water not exceeding about ten percent, and build coverage with multiple light passes instead of one heavy pass to avoid clumping the metallic particles, per airbrushing technique advice. Always spray in a ventilated space.
Layering and Underpainting: Base Colors That Make Gold and Silver Sing
The color underneath your metallic layer does more work than most beginners expect. A warm base, think yellow ochre or burnt sienna, pushes gold toward a richer, warmer glow. A cool gray or blue-gray base underneath silver makes the metallic read as brighter and colder, closer to real chrome.
- Use thin metallic glazes over a tonal underpainting when you want depth and variation in the metallic surface.
- Switch to a solid, opaque metallic topcoat when you want a flat, uniform shine instead.
- Add darker shadow tones into the low points of your texture and lighter highlights on the raised areas to fake dimensional form on a flat metallic surface.
Complementing gold with a warm undercoat and silver with a cool one is a small step that makes a noticeable difference in how radiant the final layer looks. It is also worth treating metallics as an accent rather than the whole composition. A gold border or silver highlight against matte color tends to read as more striking than an entire canvas covered edge to edge in shine.
Texture, Lighting, and Photographing Metallic Work
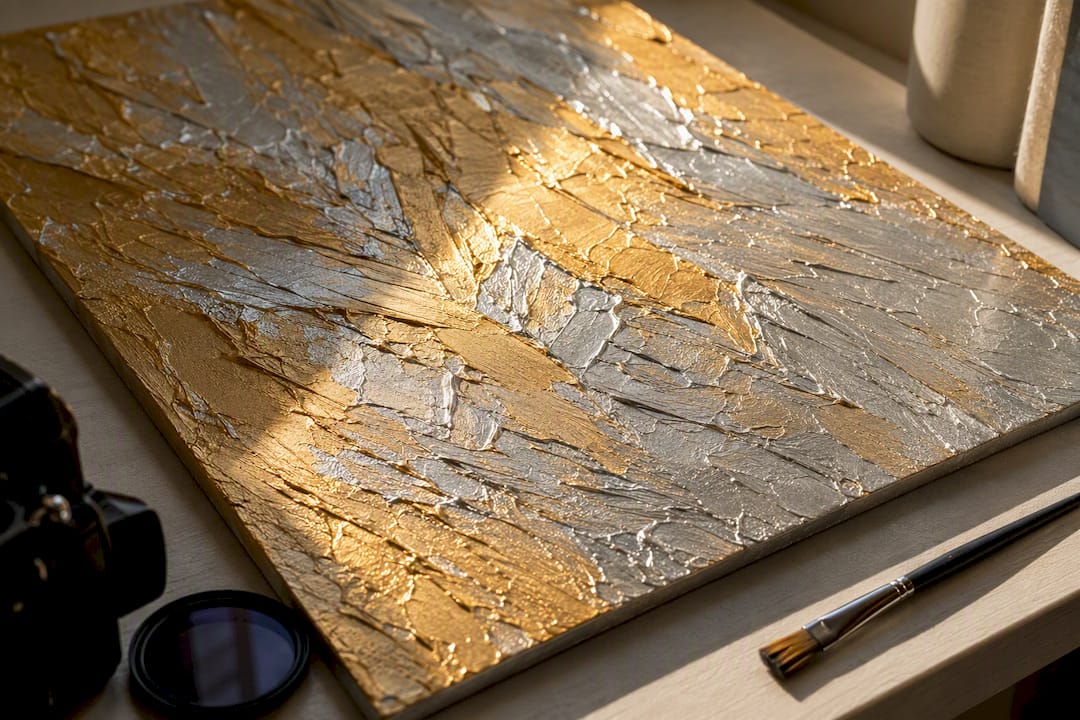
Flat metallic paint under flat light looks gray, not gold or silver. Texture is what actually sells the effect. Raise the surface slightly with palette knife ridges or short impasto strokes so light hits at different angles across the same passage of paint, which is exactly what makes metallic particles sparkle rather than sit dull.
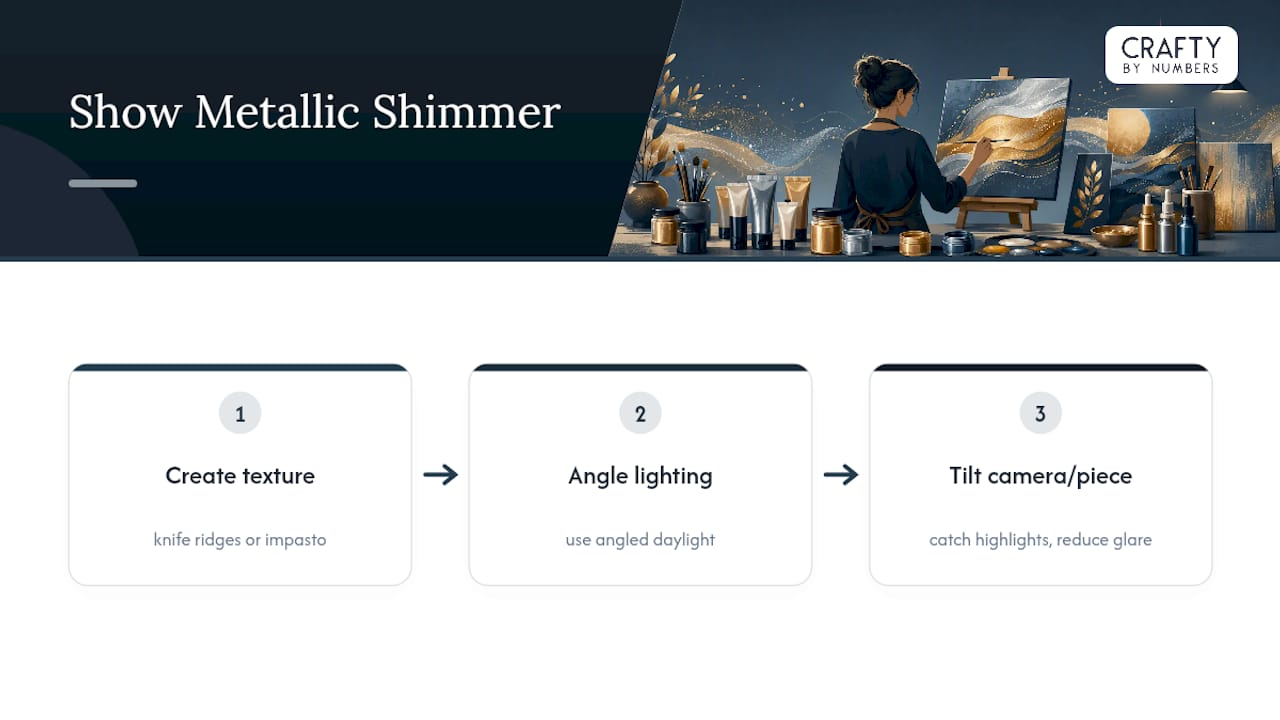
For display, angle at least one light source instead of lighting the piece head on. A single frontal light flattens shimmer completely. When photographing finished work, tilt the camera or the piece itself so light catches the raised texture, and consider a polarizing filter if you are shooting under a bright window to cut glare without killing the shine. Indoor lighting tends to mute metallics compared to daylight, so a piece that looks subdued under a lamp can look genuinely bright once it catches window light.
Sealing and Varnishing Metallic Acrylics Safely
Skip a matte or satin varnish here. Anything but gloss cuts directly into the shine you spent hours building, since a satin finish scatters light instead of reflecting it cleanly.
- Apply a water-based gloss varnish in two to three thin coats rather than one thick one, letting each coat dry fully before the next.
- Brush-on varnish gives more control on small detailed areas; spray varnish covers large flat passages more evenly with less risk of streaking.
- For anything displayed outdoors or handled often, add an extra coat for durability. Water-based gloss sealers are generally the safer match for acrylic paint, according to varnishing guidance for metallic finishes.
- If gold leaf sits anywhere in the piece, check whether it needs sealing before varnish goes on top. Imitation leaf almost always does.
Troubleshooting Common Problems: Streaks, Flaking, and Uneven Sheen
Most metallic problems trace back to one of three things: paint applied too thick, pigment that settled unevenly, or a surface that was not prepped properly.
- Streaking: Thin your coats and keep brush strokes moving in one direction instead of scrubbing back and forth.
- Uneven sheen: Stir the paint before use and apply even, consistent coats rather than patchy touch-ups.
- Flaking: Usually an adhesion failure. Sand back the area and reprime before repainting.
- Crazing: Cracks in the surface often come from applying a fast-drying layer over a slower-drying one, or mixing incompatible additives, an issue Golden Artist Colors covers in detail in its technical resources.
If a section develops texture you did not plan for, you do not always need to fix it. Sometimes a slightly uneven metallic patch reads as intentional depth once it is sealed and lit properly. Rework only when the flaw is genuinely distracting.
Expert Notes and Publisher Proof: Paula S. and Crafty By Numbers
Paula S. has spent years insert first-hand credentials or professional background of Paula S.] and brings that hands-on perspective to how these techniques translate for hobby painters, not just fine artists. This advice is backed by kits used by a substantial number of customers. Inside a typical kit, the included brushes handle brushwork and edging, the acrylic paints cover base and metallic layers, and add-ons like [Acrylic Medium Gloss Gel and Gloss Varnish round out the mixing and sealing steps described above.
A Kit-Ready Take on Metallic Acrylic Painting Tips
Most metallic painting advice online is written for fine artists working on raw canvas with a full studio of mediums. That is not who is reading this. If you are painting from a kit, or picking up acrylics as a stress-relief hobby rather than a career, half of that advice does not apply, and some of it actively works against you.
Here is where I disagree with the conventional wisdom: people obsess over buying the “right” metallic paint brand when the bigger problem is almost always technique. A mid-range metallic acrylic applied over proper prep, in thin layers, sealed with gloss, will outperform a premium metallic slapped on thick and left unsealed. Prep and patience beat pigment quality nearly every time.
The other overlooked point is restraint. Beginners tend to cover too much surface in metallic, then wonder why the piece looks busy instead of striking. Treat metallic as an accent, a border, a highlight, not the whole picture. Get the base coat and the sealing step right first. Everything else is refinement.
— Paula S.
Practice These Techniques With a Crafty By Numbers Kit
Reading about metallic technique only gets you so far. You learn thinning ratios and layering by doing them, and a kit removes the guesswork of picking colors or figuring out proportions from scratch.
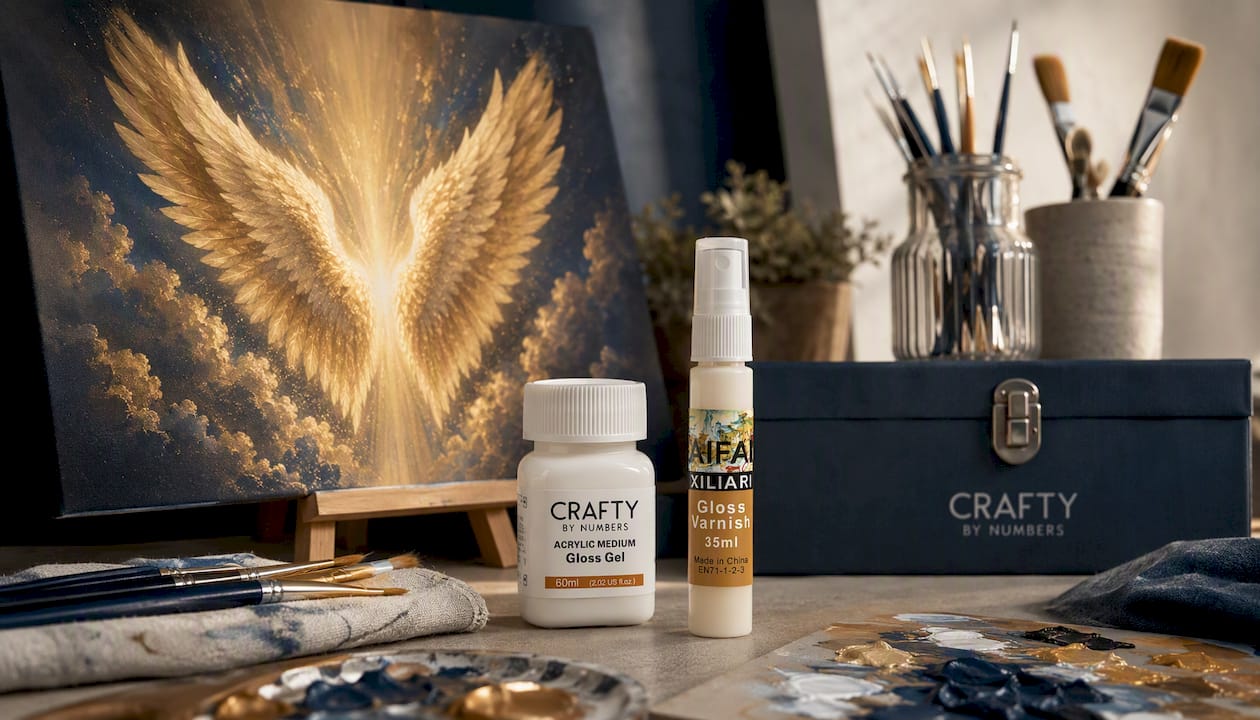
If you want to try the layering and sealing techniques above without buying a full palette of separate paints, the Golden Wings kit is a metallic-themed project built specifically for practicing this kind of work. It gives you a numbered canvas, matched acrylics, and detail brushes, so you can focus on brush control and layering instead of color mixing from zero. Once your metallic sections are dry, reach for Acrylic Medium Gloss Gel to adjust body and sheen, and finish with Gloss Varnish to protect the shine. If you would rather practice on a personal image, a custom kit made from your own photo lets you apply these same metallic accents to a subject you actually chose. Browse the Golden Wings kit to get started on your next project.
Sources
- Painting metal guide — Birla Opus
- Metallic acrylic paint: unleash your artistic shine! — Painting Pro Guide
- How to work with gold leaf on canvas — Why I Enjoy
- How to paint metallic paint: essential tips — PaintLoving
FAQ
What are some techniques for painting with metallic paint?
Brushwork with a soft synthetic brush gives the smoothest sheen, while a palette knife builds texture that catches directional light for a more dramatic shimmer. Sponging creates a mottled, antique finish, and airbrushing gives the most even coverage on larger areas when thinned correctly.
How do you make acrylic paint metallic?
True metallic shimmer comes from paint that already contains mica or metal-flake pigment. You cannot fully recreate that effect by adding glitter or shine additives to standard acrylic, though mixing in a small amount of premade metallic paint can push a custom color toward a subtle sheen.
When should you use metallic acrylic paint?
Metallic acrylic works best as an accent, on highlights, borders, jewelry, or focal details, rather than covering an entire piece. Used sparingly against a matte or flat background, it draws the eye and reads as more striking than full metallic coverage.
What does adding baking soda to acrylic paint do?
Baking soda mixed into acrylic paint creates a raised, textured surface once dry, similar to a crackled or stucco effect. It is not related to achieving metallic sheen and can actually interfere with a smooth reflective finish if used under a metallic topcoat.
0 Kommentare