

Acrylic painting techniques are defined as the specific methods artists use to manipulate acrylic paint and create distinct textures, depth, and visual effects on a surface. Mastering the types of acrylic painting techniques gives you real control over your work, whether you want smooth color gradients, bold impasto texture, or luminous glazed layers. Techniques like glazing, wet-on-wet blending, palette knife work, dry brushing, stippling, layering, and pouring each serve a different creative purpose. Understanding which method to reach for, and when, is what separates a flat painting from one that genuinely holds a viewer’s attention.
1. Types of acrylic painting techniques every artist should know
Core acrylic art techniques include glazing for depth, wet-on-wet blending for smooth transitions, and palette knife work for texture. These three form the backbone of most acrylic painting styles, and every other method builds on them.
Glazing involves applying thin, transparent layers of paint over a dry surface. Glazing builds optical depth rather than mixing pigments physically, which creates luminous color shifts that direct blending simply cannot produce. Think of it as stacking sheets of colored glass: each layer shifts the tone without hiding what is underneath.
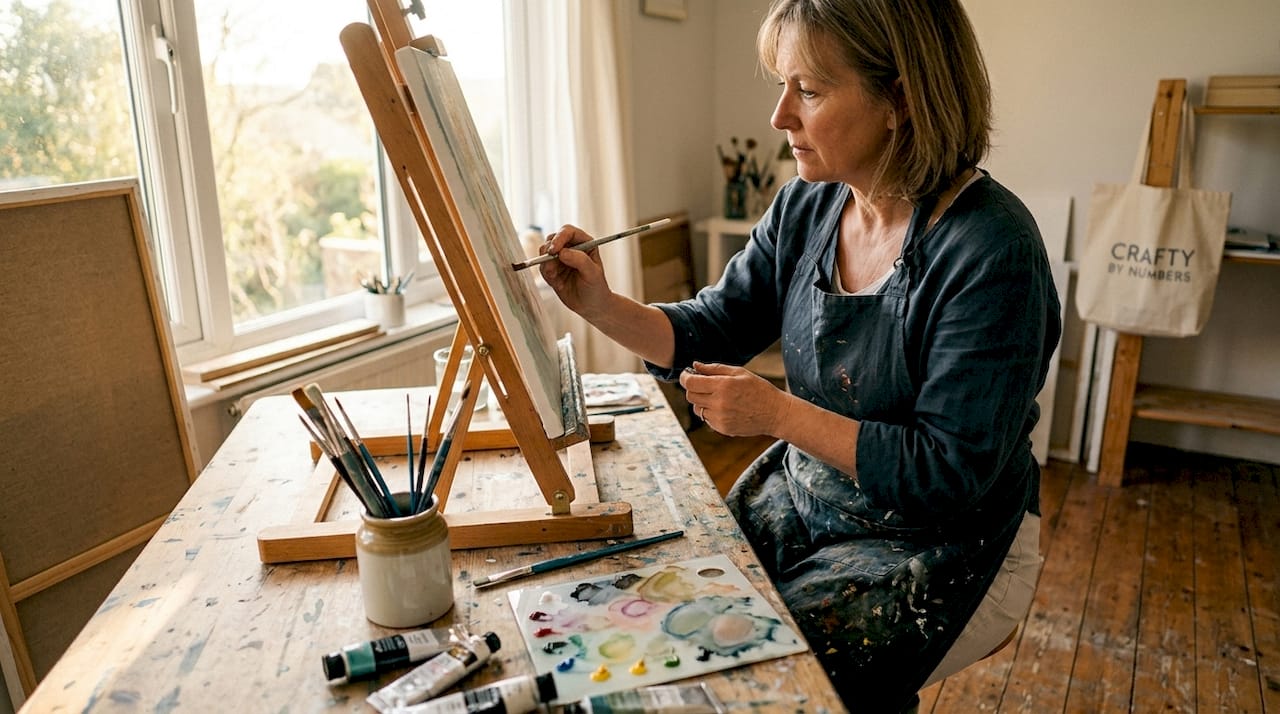
Wet-on-wet blending means applying fresh paint directly into wet paint already on the canvas. This creates soft, seamless color transitions. Acrylics dry fast, so you need to work quickly or use a retarder medium to extend your working window.
Palette knife work uses a flexible metal blade instead of a brush. It pushes and drags thick paint across the surface, creating bold ridges and impasto texture. This method works especially well for expressive, abstract, or landscape painting styles.
Dry brushing means loading a brush with minimal paint and dragging it lightly over a dry surface. Dry brushing creates broken, textured marks that are perfect for natural textures like grass, fur, or rough stone. The less paint on the brush, the more pronounced the texture effect.
Stippling builds texture and tone through repeated small dots of paint. It takes patience, but the result is a rich, tactile surface that reads differently at close range versus from a distance.
Layering is the practice of building a painting through successive coats of paint, letting each one dry fully before adding the next. Proper layering preserves optical clarity and keeps colors vibrant instead of muddy.
Pouring involves thinning paint to a fluid consistency and pouring it directly onto the canvas. The paint flows and blends organically, producing abstract patterns that are nearly impossible to replicate with a brush.
Pro Tip: Keep a small reference card next to your canvas. Test your wash, blend, or glaze on the card first so you know exactly how the paint will behave before it touches your main surface.
2. How acrylic mediums affect your painting methods
Acrylic mediums are not optional extras. They are tools that change how paint behaves, and choosing the right one shapes the outcome of every technique you use.
- Matte medium increases coverage and opacity without adding shine. Use it when you want flat, even color fields or a non-reflective finish.
- Gloss medium adds transparency and depth. It makes colors appear richer and is the go-to choice for glazing layers.
- Retarder medium slows the drying process by chemically slowing the acrylic cure. This is different from adding water, which thins paint and weakens the film. Retarder keeps the paint workable longer without compromising its structure.
- Glazing medium is formulated specifically for thin, transparent layers. It enables optical color mixing across multiple passes, which is how professional painters achieve nuanced luminosity.
- Gel medium adds body to paint for thick, textured applications. It is the standard choice for impasto work and palette knife techniques.
- Texture medium introduces physical grit or fiber into the paint, creating tactile surface effects without requiring heavy paint application.
Acrylic paint polymerizes permanently once dry and cannot be reactivated. That fact makes medium selection critical. Applying thick paint over thin, flexible layers risks cracking over time, so always follow the thin-to-thick rule when building up a painting.
Pro Tip: Mix your retarder medium into a small amount of paint on a stay-wet palette rather than adding it directly to the tube. You get more consistent control over the drying time across your whole session.
For a deeper look at how each medium changes your results, the complete acrylic medium guide from Craftybynumbers covers gloss, matte, and gel options in detail.
3. How to combine acrylic painting methods effectively
Combining acrylic techniques is where painting gets interesting. The key is building your painting in a logical sequence rather than attacking the canvas all at once.
Start with an underpainting. This is a thin, monochromatic layer that maps out the tonal structure of your composition. It dries fast and gives every subsequent layer a clear foundation to work from. Burnt umber or raw sienna are common choices because they dry to a neutral mid-tone.
From there, build through layering rather than thick blending. Each layer adds information: color, value, edge quality, or texture. Letting each layer dry fully before adding the next is the single most important habit to develop. Painters who skip this step end up with muddy colors and lifted paint.
A practical workflow for combining techniques looks like this:
- Apply a thin underpainting and let it dry completely.
- Block in mid-tones with flat, opaque layers.
- Add wet-on-wet blending in areas where you want soft transitions, like skies or skin.
- Once dry, apply glazing layers to shift color temperature and add depth.
- Use dry brushing on top of dried glazes to add texture in specific areas.
- Finish with palette knife accents or stippling for surface interest.
Practice washes, layering, and blending on a reference card before committing to a full canvas. This habit alone prevents most beginner mistakes.
The most common errors painters make when combining techniques are mixing too many colors at once and applying new paint before the previous layer is dry. Both produce the same result: dull, muddy surfaces. For a full breakdown of what goes wrong and how to fix it, the beginner painting mistakes guide from Craftybynumbers is worth reading before your next session.
Pro Tip: Color mixing is the most useful skill to build early. Mix larger quantities than you think you need on a stay-wet palette so you do not run out mid-layer and have to remix from scratch.
4. Specialty techniques to expand your acrylic art
Once you are comfortable with the core acrylic painting methods, specialty techniques open up a wider range of creative possibilities. Advanced techniques like sgraffito, scumbling, and pouring allow artists to develop unique surface qualities and personal styles.
- Sgraffito involves scratching into wet paint with a palette knife, brush handle, or other sharp tool to reveal the layer underneath. The result is a graphic, incised line that reads differently from any brushstroke. It works best when the top layer contrasts strongly with the layer below.
- Sponging uses a natural or synthetic sponge to apply or lift paint. The irregular surface of the sponge creates organic, mottled textures that are ideal for foliage, clouds, or stone effects.
- Scumbling is the loose application of opaque or semi-opaque paint over a dry layer using a dry brush or crumpled cloth. The paint catches only the raised texture of the surface, creating a hazy, atmospheric effect. It is particularly effective for suggesting distance in landscape paintings.
- Color blocking uses flat areas of solid color with hard edges to create bold, graphic compositions. It requires confident brushwork and clean edges, making it a good discipline for painters who want to sharpen their control.
- Splatter applies paint by flicking a loaded brush or tapping it against another brush. The result is a spontaneous spray of droplets. Jackson Pollock made it iconic, but controlled splatter also works well for adding energy to backgrounds or suggesting rain and light.
- Acrylic pouring thins paint to a liquid consistency and pours multiple colors onto the canvas simultaneously. The colors blend and separate as they flow, creating cell patterns and organic shapes that no brush technique can replicate. It is one of the most accessible creative methods for new painters because the process itself generates the composition.
Key Takeaways
Mastering acrylic painting requires applying the right technique for each effect, using mediums to control paint behavior, and building layers in the correct sequence to maintain clarity and vibrancy.
| Point | Details |
|---|---|
| Start with core techniques | Glazing, wet-on-wet blending, and layering form the foundation of all acrylic painting styles. |
| Use mediums intentionally | Retarder, gloss, and gel mediums change how paint behaves and must match the technique you are using. |
| Follow thin-to-thick layering | Applying thick paint over thin layers risks cracking; always build from transparent to opaque. |
| Let each layer dry fully | Painting into wet layers causes muddy colors and lifted paint, which are the most common beginner errors. |
| Experiment with specialty methods | Sgraffito, scumbling, and pouring expand your range and help you develop a personal painting style. |
What I have learned from working with acrylics
Acrylics have a reputation for being forgiving, and in some ways they are. But the fast drying time catches nearly every new painter off guard. The first time I tried wet-on-wet blending without a retarder medium, the paint was already tacky before I finished the second stroke. That experience taught me more about acrylic chemistry than any tutorial had.
The thing most articles do not say clearly enough is this: acrylics are not a shortcut to oil painting or a simpler version of watercolor. They are their own medium with their own logic. Once you stop trying to force them to behave like something else and start working with their natural properties, the results improve fast.
Mediums changed everything for me. I spent months fighting the paint before I understood that a gloss medium is not just for shine. It is how you build genuine depth through glazing. A retarder is not a crutch. It is a precision tool. The painters who get the most out of acrylics are the ones who treat mediums as part of the technique, not an afterthought.
My honest advice for anyone learning how to paint with acrylics: slow down on the drying. Rushing a layer is the single most reliable way to ruin a painting that was going well. Set a timer if you have to. The patience you build around drying time will pay off in every painting you make from that point forward.
— Paula S.
Craftybynumbers kits for practicing acrylic techniques
Knowing the techniques is one thing. Having quality materials to practice them on makes a real difference in how quickly your skills develop.

Craftybynumbers offers a range of paint-by-numbers kits that include pre-printed canvases, detail brushes, and high-quality acrylic paints, giving you a structured way to practice layering, glazing, and blending without starting from a blank canvas. The Acrylic Medium Gloss Gel is a strong starting point for painters who want to experiment with glazing and impasto effects. For a full painting experience, kits like Ivory Essence and Garden of Dreams give you detailed, vibrant compositions to work through at your own pace. Craftybynumbers has helped over 120,000 painters build confidence and produce work they are proud to display.
FAQ
What are the main types of acrylic painting techniques?
The main types include glazing, wet-on-wet blending, dry brushing, palette knife work, stippling, layering, and pouring. Each method produces a distinct texture or visual effect and serves a different creative purpose.
What is the best acrylic technique for beginners?
Layering is the best starting point because it builds good habits around drying time and paint control. Wet-on-wet blending and simple washes are also accessible early techniques that teach you how paint behaves on the surface.
Do I need mediums to use acrylic painting methods?
Mediums are not required for every technique, but they significantly improve results. Retarder medium extends blending time, gloss medium enhances glazing depth, and gel medium adds body for palette knife and impasto work.
How do I avoid muddy colors when layering acrylics?
Let each layer dry completely before applying the next one. Failing to dry layers fully is the most common cause of muddy color and lifted paint in acrylic work.
What is the difference between glazing and scumbling?
Glazing applies thin, transparent paint over a dry layer to build depth and shift color. Scumbling applies opaque or semi-opaque paint loosely over a dry layer to create a hazy, textured atmospheric effect.
Recommended
- Medium for Acrylic Paint: Your Complete Guide – Crafty By Numbers
- Master the Art of Acrylics in Paint by Numbers: Techniques, Tips, and – Crafty By Numbers
- Easiest Painting Styles for New Artists: 2026 Guide – Crafty By Numbers
- Common Beginner Painting Mistakes and How to Fix Them – Crafty By Numbers
0 comments