

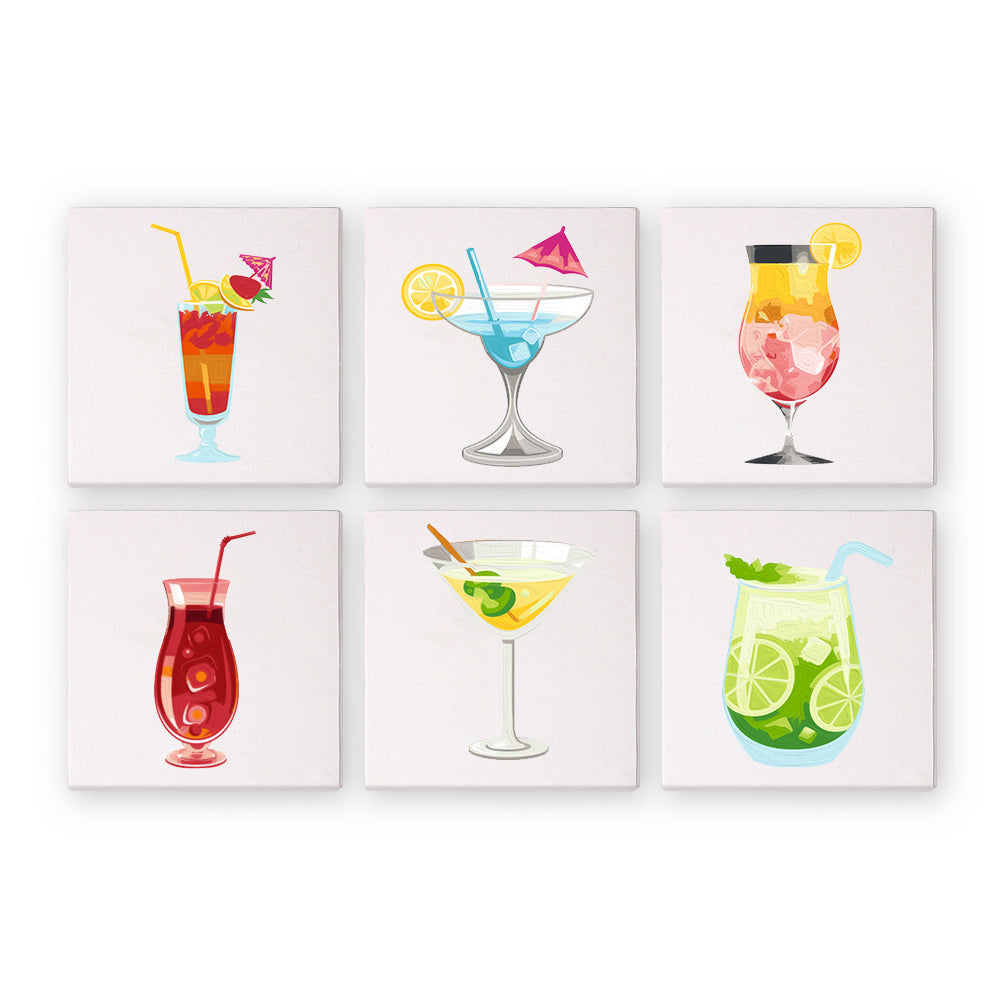
For most beginners, the fastest route into painting cocktails is a themed paint-by-numbers kit or a single guided paint-and-sip session, not a blank canvas and a prayer. Both give you a pre-drawn glass shape, a limited color plan, and a finished piece in one sitting. Buy a kit like Cocktail Hour (Set of 6) if you want to work solo on your own schedule, or book a local paint-and-sip class if you want company and a hosted drink while you paint. Either way, plan on one to three hours per painting, since the glass shapes act as built-in guides that make the composition forgiving even on your first attempt.
Key Takeaways
Painting cocktails works best when beginners start with a pre-drawn glass shape, a limited palette, and a repeatable six-step workflow rather than a blank canvas.
| Point | Details |
|---|---|
| Choose your entry point | Buy a themed kit for solo work, or book a workshop for a hosted, social session. |
| Follow the six-step workflow | Sketch, background, two-tone liquid gradient, pale grey glass edges, garnish, grounding shadow. |
| Pick a forgiving glass shape | Martini, highball, or rocks glasses are easiest for a first attempt. |
| Never mix alcohol into paint | Keep spirits and solvents separate from acrylics to avoid an uneven, tacky finish. |
| Start with a kit from Craftybynumbers | Sets like The Cocktail Cuties include canvas, paint, brushes, and a guide in one box. |
Table of Contents
- Where to Start Painting Cocktails Right Now
- How Do You Paint a Cocktail in One Sitting?
- What Materials Do You Actually Need?
- How Do You Host a Cocktail Painting Night?
- What Makes a Cocktail Painting Look Professional?
- Why Cocktail Kits Work So Well for Beginners
- Try a Kit for Your First Cocktail Painting
- Sources
- FAQ
Where to Start Painting Cocktails Right Now
You’ve got four realistic entry points, and they split mostly by how much guesswork you want removed before you pick up a brush.
- Paint-by-numbers kits: a numbered canvas with matched paints tells you exactly what color goes where, so there’s zero composition guesswork.
- Pre-drawn canvas kits: the outline is already there, but you choose your own palette, giving a bit more creative room than numbered kits.
- Printables and recipe cards: free or cheap downloadable outlines you print and paint over, good for practicing before committing to canvas.
- Paint-and-sip workshops: instructor-led sessions, often with a hosted cocktail included in the ticket price.
A solid kit typically includes a pre-printed canvas, small pots of numbered acrylic paint, two or three detail brushes, and a printed reference guide showing the finished image. That’s the whole kit vs. blank-canvas argument in one sentence: everything you need arrives in the box.
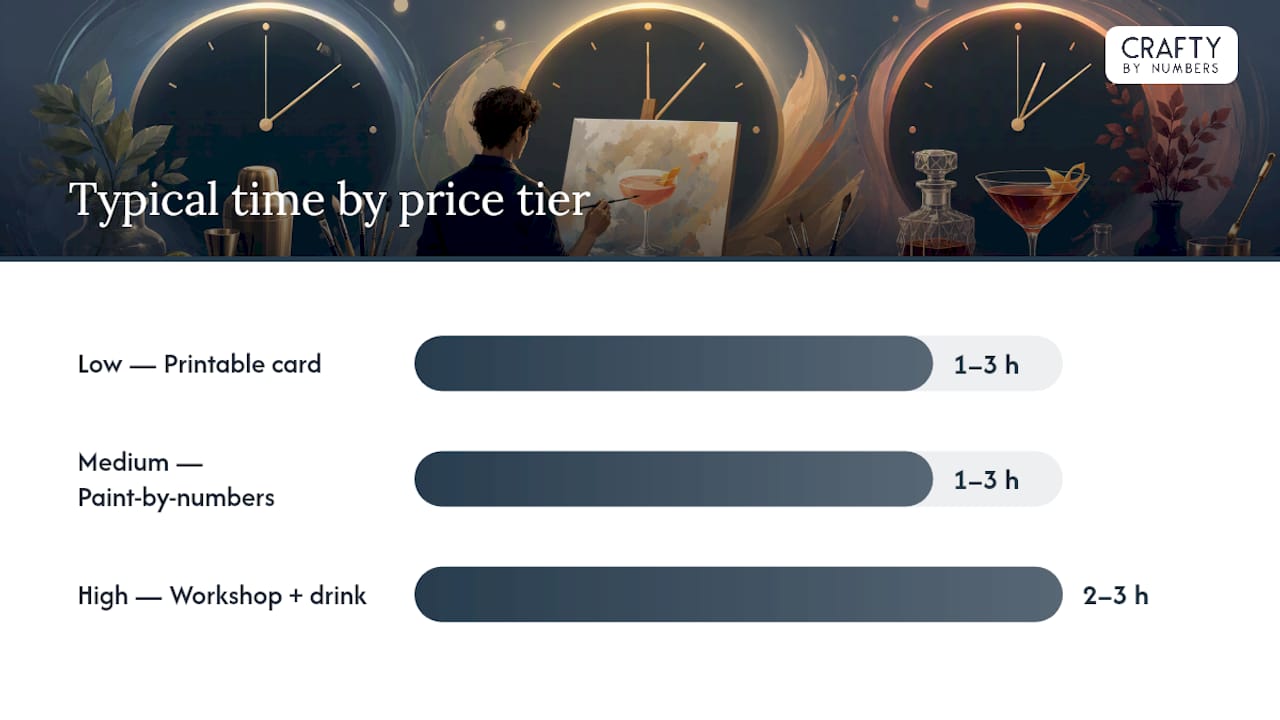
| Price tier | What you get | Typical time |
|---|---|---|
| Low | Printable outline or single recipe card | one to three hours |
| Medium | Paint-by-numbers kit (canvas, paint, brushes, guide) | 1–3 hours |
| High | Instructor-led workshop with materials and a drink | 2–3 hours |
Kits ship online and can be started the same evening they arrive. Workshops depend on local availability, so check listings a week or two ahead if you’re planning a group night. If you want a broader theme library before deciding, Innovative Ideas to Inspire Your Artistry covers other subject options worth browsing alongside cocktail themes.
How Do You Paint a Cocktail in One Sitting?
Here are the six steps to paint a cocktail in one session, start to finish.
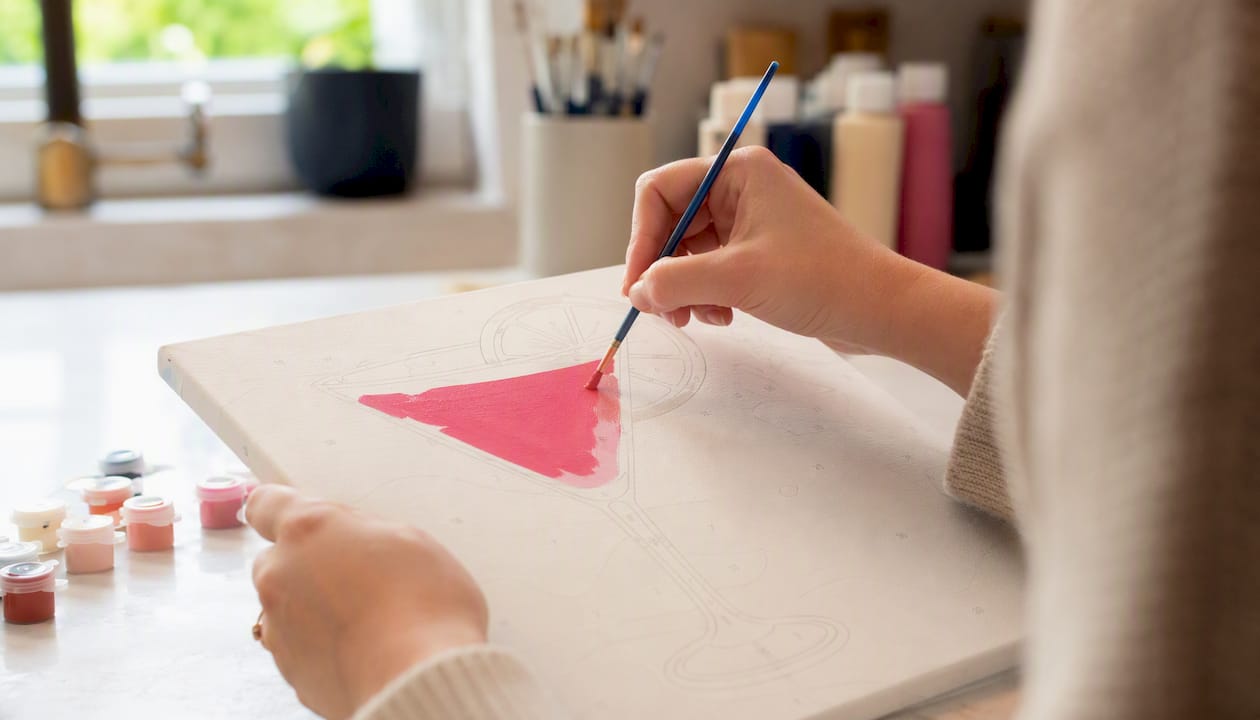
- Sketch the glass outline. Draw a light centerline down the middle of your canvas first, then build the glass shape symmetrically off that line. This single trick prevents the lopsided glasses that trip up almost every first attempt.
- Block in the background. Pick one mood color (deep navy for a moody bar scene, warm cream for a daytime patio) and cover the canvas around the glass before touching the liquid.
- Paint the liquid with a two-tone gradient. Load your brush with a lighter shade on one edge and a darker shade on the other, then drag top to bottom so the lighter tone sits near the rim, mimicking how light passes through liquid.
- Add glass edges and highlights. This is where the pale grey edge technique comes in, and it’s the single move that makes a flat shape look like actual glass.
- Add garnish and condensation. A lime wedge, olive, or mint sprig gives the eye something specific to land on, and small white dots along the glass suggest condensation without much effort.
- Finish with a grounding shadow. A soft, muted oval under the base of the glass keeps the whole piece from looking like it’s floating.
Pro Tip: Mix a small dab of titanium white with a trace of black to get a pale grey, then run it along the outer edge of your glass shape. That thin grey line is what separates an amateur cocktail painting from one that actually reads as glass catching light.
If you’re picking a glass shape for your first project, three options are especially forgiving for beginners: the martini or coupe glass (simple triangular or curved shape, minimal detail), the highball (tall and straight, easy to shade evenly), and the rocks glass (short and wide, quick to fill in). Start with one of these before attempting anything with stems, handles, or unusual curves.
What Materials Do You Actually Need?
Acrylics on a pre-printed canvas are the easiest combination for a beginner cocktail painting; watercolors work better if you’re illustrating a recipe card or something looser and more sketch-like. That’s the short answer. The longer answer depends on whether you buy a kit or gather your own supplies.
| Criteria | Kit | DIY |
|---|---|---|
| Cost | Fixed price, everything included | Variable, buy each item separately |
| Setup time | Minutes, open box and start | Longer, requires sourcing paints and canvas |
| Guidance | Numbered reference built in | None, you plan composition yourself |
| Reliability | Consistent, recognizable result | Depends on skill and planning |
| Best setting | Solo evening, gift, party pack | Practiced hobbyists, custom projects |
If you’re going the DIY route, here’s what to have on hand:
- A small acrylic palette covering white, black, one warm color, one cool color, and a metallic gold or silver for garnish accents.
- Two or three detail brushes in different sizes: one round for outlines, one flat for backgrounds.
- A stretched canvas or canvas board, 8x10 inches is a comfortable beginner size.
- A satin or gloss varnish for a finished look, plus a jar of water and paper towels for cleanup.
One safety note worth repeating: never mix isopropyl alcohol or actual spirits into your paint to try to thin it or add shine. Acrylic paint is a plastic polymer suspension, and alcohol disrupts how it dries and can create an uneven, tacky finish. Keep your painting supplies and your drinks on separate tables, full stop. For more foundational setup advice, Paint a Picture You’ll Love walks through brush care and canvas prep in more depth.
How Do You Host a Cocktail Painting Night?
A single cocktail painting comfortably fills a one to two hour social session, which makes it one of the easiest themes to build a party around. Here’s what actually needs to happen before guests arrive:
- Choose one simple glass shape for everyone to paint, not five different cocktails.
- Pre-select a limited palette (four to six colors) so nobody is stuck mixing on the fly.
- Provide disposable palettes or paper plates for paint, plus paper towels and wipes at every seat.
- Set out reference photos or printed recipe cards so guests aren’t painting from memory.
- Have aprons or old shirts available, because acrylic paint does not come out of good clothes easily.
A realistic timeline runs about 15 to 20 minutes for intro and setup, 45 to 75 minutes of actual painting time, and 10 to 15 minutes for finishing touches and photos. That’s a tight, satisfying arc that doesn’t drag.
On the drink question: some hosts serve the cocktail being painted, others keep it strictly bring-your-own. Professional workshops tend to include one drink per attendee as part of the ticket, which functions as a built-in trust signal when you’re comparing class listings. The paint-and-sip model scales well for group bookings generally, whether it’s a birthday party or a work event. If you’re planning your own at-home version, How to Host a Fabulous Paint by Numbers Party covers logistics that apply directly to a cocktail-themed night.
What Makes a Cocktail Painting Look Professional?
Three techniques do most of the heavy lifting: the two-tone gradient for liquid, the pale grey edge for glass, and a subtle grounding shadow underneath. Master those three and your painting reads as intentional rather than accidental, even if your brushwork is rough elsewhere.
A few more moves worth stealing:
- Load your brush with two colors side by side rather than mixing them fully. That side-by-side loading is what creates a natural gradient instead of a muddy blend.
- Place your brightest highlight slightly off-center on the glass, never dead center. A centered highlight looks pasted on; an off-center one looks like actual reflected light.
- Let your background color hint at mood. Deep purple suggests a late-night lounge, soft yellow suggests a beach afternoon, and that single choice does a lot of storytelling.
- Add one unexpected detail, a mismatched straw color, an odd-shaped ice cube, a tiny painted fingerprint smudge near the base. Give the piece one deliberate quirk that makes it yours instead of a copy of the reference.
Cocktail paintings sit comfortably within the still life tradition, where artists treat a drink almost like a compact portrait, built around glass shape, garnish, and light. Gerald Murphy’s 1927 painting Cocktail, held by the Whitney Museum, is worth a look if you want to see how the genre handled reflection and geometry a century ago using flat color blocks and confident outlines. Some at-home tutorials, like the acrylic cocktail course from Liquid Art, build entire lesson plans around exactly this kind of reflective glass study.
A cocktail painting works because the glass gives you rigid, recognizable geometry to build from. Get the outline right, and the rest of the piece almost paints itself.
Why Cocktail Kits Work So Well for Beginners
Paula S. has spent years watching new painters freeze up in front of a blank canvas, and cocktail subjects consistently solve that problem better than almost any other theme. The glass shape does the composition work for you, the palette is naturally limited to four or five colors, and the payoff, a genuinely nice-looking piece, arrives in a single sitting rather than after weeks of practice.
That’s exactly why Craftybynumbers builds themed sets like The Cocktail Cuties around this subject. If you’re on the fence about whether painting is “for you,” a themed kit removes every barrier except actually picking up the brush. And if you want something with your own flair, personalization options let you tweak colors or add initials so the finished piece feels like yours, not a template.
Try a Kit for Your First Cocktail Painting
Skip the blank canvas and the guesswork. Craftybynumbers kits arrive with a pre-printed canvas, matched acrylic paints, detail brushes, and a reference guide, so the hardest part of starting is already solved before you open the box.
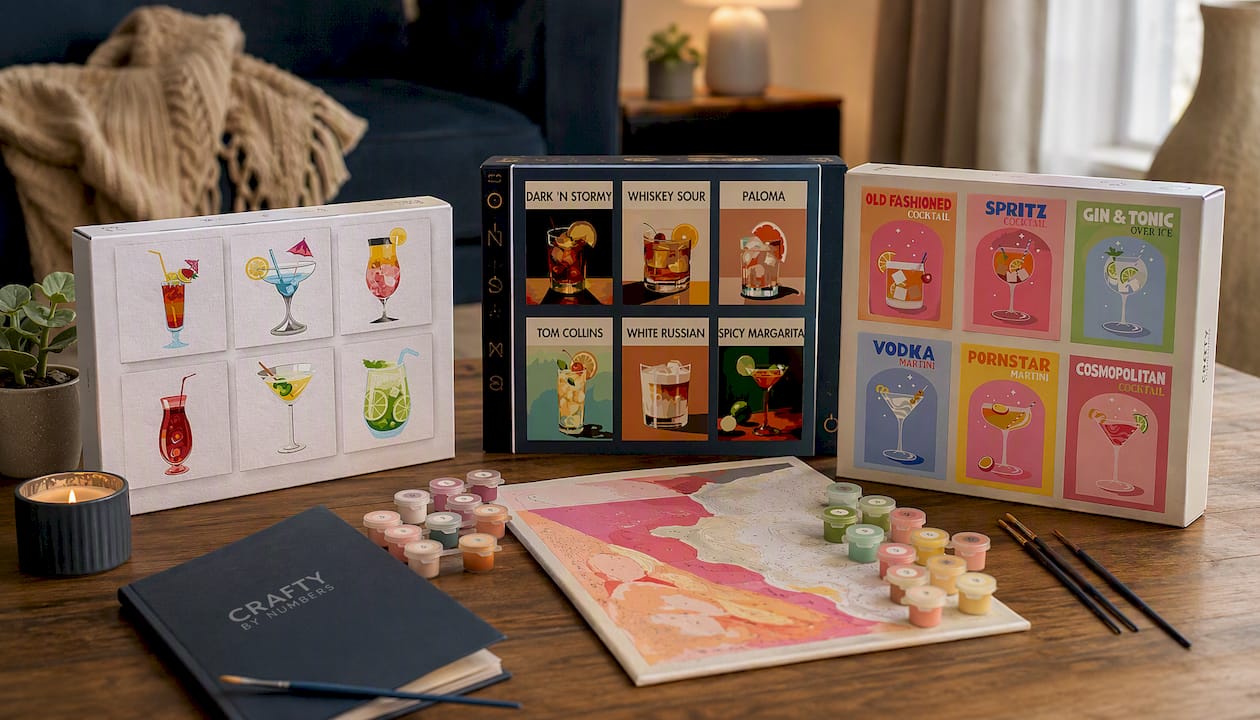
If you’re planning a solo project, Pour & Paint (Set of 6) gives you six different cocktail designs to work through at your own pace, one evening at a time. Hosting friends instead? A set format like Cocktail Hour (Set of 6) lets everyone paint a different glass from the same collection, so the table looks coordinated without everyone painting an identical copy. Pick a set, check the design lineup, and get your first canvas started tonight.
Sources
- Cocktail Still Life | Todd M. Casey | LINEA
- How to Paint a Cocktail (Easy Beginner Guide) | Paint Juicy
- Gerald Murphy | Cocktail | Whitney Museum of American Art
- Learn To Paint An Illustrated Cocktail Recipe — Helen Ridley Illustration
- Acrylic Painting Tutorial - Colour By Cocktails - Liquid Art
FAQ
What Happens When You Mix Acrylic Paint and Alcohol?
Mixing isopropyl alcohol or spirits into acrylic paint disrupts the polymer’s normal drying process, often leaving a tacky, uneven finish. Keep painting supplies and drinks on separate surfaces entirely.
How Do You Make a Cocktail Look Visually Appealing to Paint?
Choose a drink with clear color contrast between the liquid and garnish, like a bright green mojito with a lime wedge, since strong contrast reads well even for a first attempt. Simple glass shapes like a rocks glass or coupe also photograph and paint better than heavily faceted glassware.
What Is the 2:1:1 Rule for Cocktails?
The 2:1:1 rule is a mixology ratio for balancing spirit, sour, and sweet in a drink recipe, not a painting or composition guideline. It’s worth knowing if you’re illustrating a recipe card alongside your painting, but it has no bearing on how you paint the glass itself.
What Is Cocktail Art Called?
Cocktail art generally falls under the still life painting genre, since it focuses on glass transparency, reflections, and garnish detail the same way a traditional fruit or flower still life does. Artists sometimes describe individual cocktail paintings as drink “portraits” because of how much personality a single glass can carry.
How Long Does a Cocktail Painting Take?
A single cocktail painting typically takes one to three hours depending on detail level, with paint-by-numbers kits landing on the faster end since the composition work is already done. Workshops usually build a two to three hour session around the same core steps.
0 Kommentare