

Painting is the process of applying color to a surface to create images that express creativity, and it doubles as one of the most effective stress-relief activities available to adults. You don’t need formal training or expensive supplies to get started. Creative hobbies like painting reduce stress and improve mood, making the activity as good for your mind as it is for your walls. Whether you want to paint a canvas for your living room or craft a one-of-a-kind gift, this guide walks you through every step with clarity and confidence.
What do you need to paint a basic artwork?
The right materials make the difference between a frustrating first session and an enjoyable one. Acrylic paint is the best choice for beginners. It dries fast, cleans up with water, and works on almost any surface. Watercolor is a softer option that suits loose, flowing styles, but it requires more patience with wet-on-wet techniques.
Paints, brushes, and surfaces
Start with a basic set of acrylic colors: red, blue, yellow, white, and black. You can mix these five to create almost any shade you need. For brushes, grab a flat brush for broad strokes, a round brush for detail work, and a fan brush for blending textures like grass or clouds. A pre-stretched canvas is the most forgiving surface for beginners. Watercolor paper works well for smaller, lighter pieces.
| Supply | Recommended option | Why it works |
|---|---|---|
| Paint | Acrylic, student grade | Fast drying, easy cleanup |
| Brushes | Flat, round, fan | Covers all basic techniques |
| Surface | Pre-stretched canvas | Holds paint well, easy to frame |
| Palette | Disposable paper palette | No cleanup needed |
| Water cup | Any wide-mouth cup | Keeps brushes clean between colors |
Pro Tip: Lay out all your supplies before you open a single paint tube. A tidy workspace keeps you focused on creating, not searching for tools.
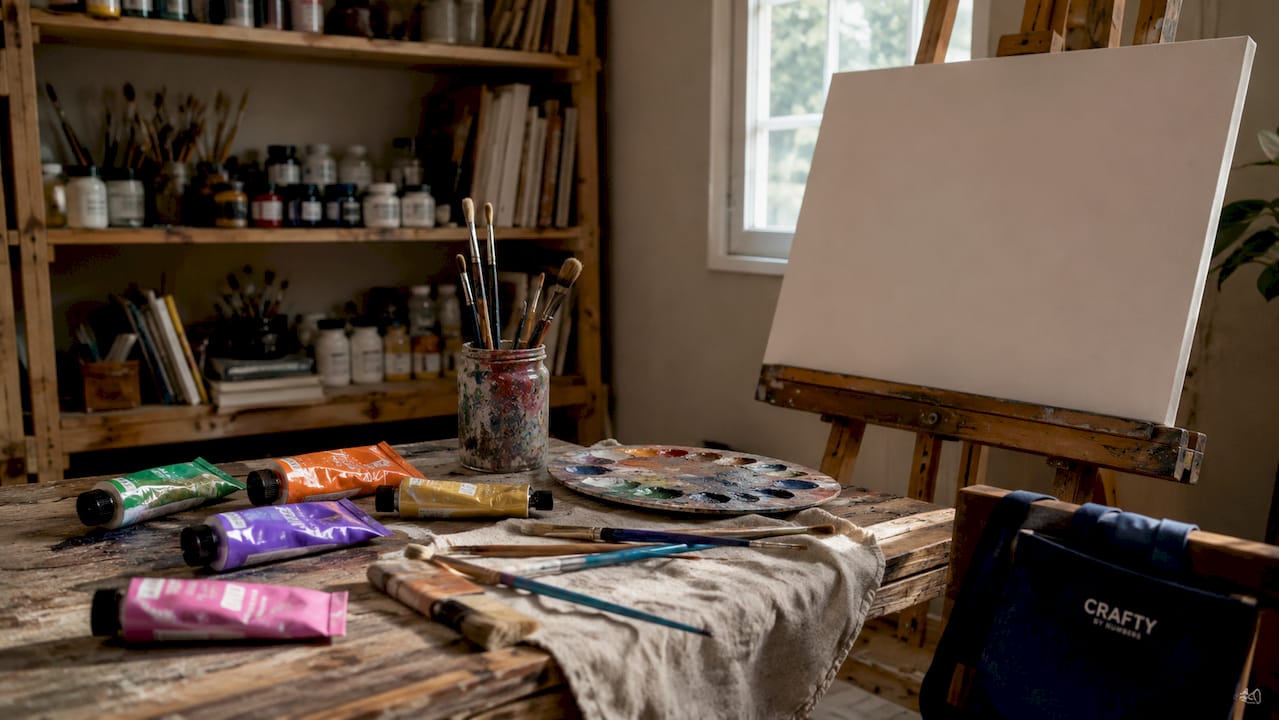
Workspace setup matters more than most beginners expect. Work near natural light when possible. Cover your table with a plastic sheet or old newspaper. Keep a damp cloth nearby to wipe brushes quickly. You can find a wide range of paint, colors, and canvas supplies to stock your creative space before your first session.
How do you paint a canvas step by step?
A clear process removes the guesswork and lets you focus on enjoying the experience. Beginners benefit most from a stress-free, process-focused approach rather than striving for technical perfection. Follow these steps to complete your first painting from start to finish.
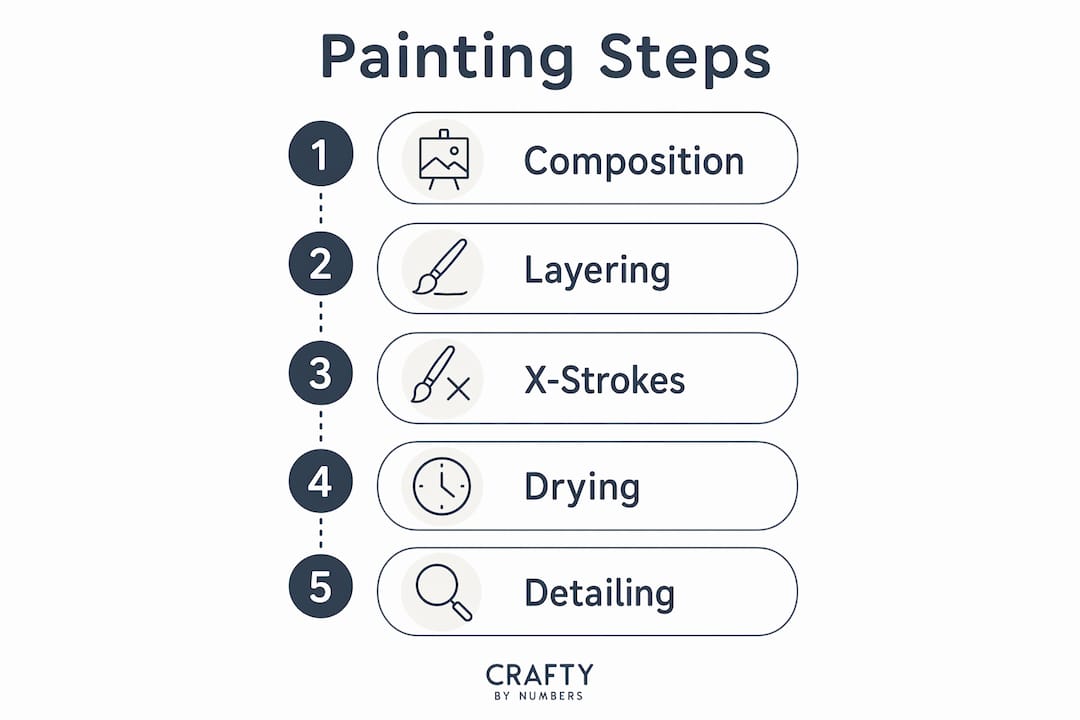
- Choose a simple composition. Pick a reference image with clear shapes and limited detail. A sunset, a single flower, or a simple landscape works perfectly. Avoid portraits or complex scenes for your first attempt.
- Sketch lightly on the canvas. Use a pencil or thin brush with watered-down paint to outline your main shapes. Keep lines loose. This is just a guide, not a final drawing.
- Paint the background first. Fill in the largest areas of color before adding any detail. For a sky, blend blue and white across the upper canvas. Let this layer dry completely before moving forward.
- Build up layers gradually. Add midground elements next, then foreground details last. Each layer should be fully dry before you add the next. This prevents muddy colors and keeps your painting crisp.
- Add details and finishing touches. Use a small round brush for fine lines, highlights, and any text or patterns. Step back from the canvas every few minutes to check your progress from a distance.
Pro Tip: Thin your acrylic paint with a small amount of water to get a smoother, more controlled stroke. Too much water weakens the paint’s adhesion, so aim for a consistency like heavy cream.
The layering approach is the single most important technique for beginners. X-strokes in acrylic painting help keep colors vibrant and reduce frustration by avoiding overblending. An X-stroke means crossing your brush in an X pattern rather than scrubbing back and forth. This keeps each color clean and distinct.
| Step | Action | Key tip |
|---|---|---|
| 1. Composition | Choose a simple reference | Limit shapes to 3–5 main elements |
| 2. Sketch | Outline shapes lightly | Use pencil or diluted paint |
| 3. Background | Fill large color areas | Let dry fully before next layer |
| 4. Layers | Build from back to front | One layer at a time |
| 5. Details | Add fine lines and highlights | Use a small round brush |
What mistakes do beginners make when they paint?
Most beginner frustration comes from a handful of fixable habits. Knowing what to watch for saves you time and keeps the experience enjoyable. Common beginner painting mistakes include overblending, impatience with drying times, and hesitation to experiment.
- Overblending colors. Mixing too many colors together on the canvas creates a muddy brown or gray. Fix this by letting each color dry before placing the next one beside it. Use X-strokes to apply paint rather than scrubbing.
- Skipping drying time. Acrylic paint feels dry to the touch in 10–20 minutes, but a thick layer can stay wet underneath. Rushing the next layer lifts the paint below and creates streaks. Give each layer at least 15 minutes before continuing.
- Using the wrong brush size. Painting fine details with a large flat brush produces blurry, imprecise results. Match your brush size to the area you are covering. Switch to a small round brush for anything smaller than your thumbnail.
- Gripping the brush too tightly. A tight grip produces stiff, choppy strokes. Hold the brush near the middle of the handle, not at the base, and let your wrist do the work.
- Giving up after one mistake. Every painter covers errors with a new layer of paint. White acrylic dries in minutes and gives you a clean surface to repaint any section. Imperfections are part of the process, not proof of failure.
The most encouraging truth about painting is that almost every mistake is fixable. A fresh coat of the background color covers most errors completely. Embracing imperfection is not just good advice. It is the actual technique professional artists use every day.
How can you personalize a painting as a gift or home decor?
A personalized painting carries emotional weight that a store-bought print never can. You can paint your own picture around a theme that matters to the recipient, making it a gift they will keep for years. The key is choosing one clear personal element and building the composition around it.
- Use meaningful colors. Paint a landscape in the recipient’s favorite color palette, or recreate the colors of a place that holds special meaning, like a beach town or a childhood home.
- Add simple text or lettering. A name, a date, or a short phrase painted in a contrasting color adds a personal layer without requiring calligraphy skills. Block letters work perfectly for beginners.
- Incorporate a personal symbol. A pet’s silhouette, a favorite flower, or a meaningful landmark makes the painting instantly recognizable as a custom piece.
- Frame it thoughtfully. A simple wooden frame from a craft store elevates any canvas painting into a finished, display-ready piece. Match the frame color to the room’s existing decor for a polished look.
- Match the painting to an occasion. A soft floral painting suits a housewarming gift. A bold abstract works for a birthday. Seasonal colors like deep reds and golds make a painting feel tied to a specific moment in time.
Gifting handmade art also removes the pressure of perfection. The recipient values the time and intention behind the piece far more than technical skill. A painting made with care is always the right gift.
Are there digital tools that help you paint a picture?
Digital painting gives you the same creative satisfaction with an undo button. AI-powered photo-to-painting converters can turn a photo into a painting that mimics famous artists’ styles instantly, with no download required. These tools work best with images sized between 1–5MB for the clearest conversion results.
- AI art converters let you upload a photo and choose a style, such as impressionist, watercolor, or oil painting. The result is a digital image you can print and frame.
- Wall paint visualizer tools let you upload a photo of your room and preview different wall colors before buying a single can. Features like adjustable opacity and flood-fill make color planning fast and accurate.
- Digital drawing apps like Procreate (for iPad) give you full painting control with layers, brushes, and color mixing, all without physical supplies.
Pro Tip: Use a digital tool to plan your color palette before you pick up a physical brush. Seeing your color choices on screen first saves you from mixing the wrong shades on canvas.
Digital and traditional painting work well together. Many artists sketch digitally, then recreate the composition on canvas. Others use digital tools to experiment with styles before committing to a physical medium. Neither approach is better. The goal is to find what keeps you creating.
Key Takeaways
Painting is most enjoyable and effective as a creative outlet when you focus on the process, use the right basic materials, and allow yourself to learn through small, fixable mistakes.
| Point | Details |
|---|---|
| Start with acrylics | Acrylic paint dries fast, cleans up easily, and suits almost every beginner project. |
| Layer from back to front | Paint backgrounds first and add details last to keep colors clean and compositions clear. |
| Fix mistakes with paint | Cover errors with a fresh layer of background color rather than abandoning the canvas. |
| Personalize for gifts | One meaningful element like a name, color, or symbol turns any painting into a personal gift. |
| Try digital tools first | AI converters and visualizer apps help you plan compositions and colors before touching a canvas. |
Why I think the “perfect painting” mindset is the biggest beginner trap
Paula S.
After years of watching adults pick up a brush for the first time, the pattern I see most often is this: people stop painting not because they lack talent, but because they judge their first attempt against finished work by experienced artists. That comparison is the real obstacle.
The truth is that painting for stress relief works precisely because the process demands your full attention. You cannot worry about your inbox while you are deciding whether to add more blue to a sky. That focus is the point. The finished painting is a bonus.
My favorite technique for beginners is the simplest one: paint a single object on a solid background. One apple. One candle. One flower. The constraint forces you to observe carefully and commit to your strokes. That single-object exercise builds more confidence than any complex scene. And when you give that painting to someone who matters to you, the imperfections become the proof that a real person made it with real care.
— Paula S.
Craftybynumbers kits make it easy to start painting today

Craftybynumbers takes the guesswork out of your first painting session. Each kit arrives with a pre-printed canvas, numbered sections, high-quality acrylic paints, and detail brushes, so you spend your time painting, not planning. The Ivory Essence kit is a top pick for beginners who want a calming, satisfying first project. The Garden of Dreams kit suits anyone looking for a lush, colorful scene to display or gift. With over 120,000 satisfied customers, Craftybynumbers has helped adults at every skill level turn a quiet evening into a finished piece of art they are proud to hang on the wall.
FAQ
What is the easiest subject to paint for beginners?
Simple subjects with large, clear shapes work best. A sunset, a single flower, or a basic landscape gives you room to practice without getting lost in detail.
How long does it take to paint a canvas as a beginner?
A small canvas (8x10 inches) takes most beginners between one and three hours. Drying time between layers adds to the total, so plan for a relaxed session rather than a rushed one.
Can painting really reduce stress?
Yes. Creative hobbies like painting reduce stress and improve mood by shifting focus away from daily pressures and into a hands-on, present-moment activity.
What paint is best for a beginner painting on canvas?
Acrylic paint is the best starting point. It dries quickly, is easy to correct, and works directly on canvas without any special preparation or primer.
How do I avoid muddy colors when I paint?
Use X-strokes and limit blending to keep colors vibrant. Let each layer dry fully before adding the next color beside or on top of it.
0 comments