

Most acrylic paint that’s gone gummy, tacky, or crusty within a day or two can be revived with distilled water or acrylic medium. Fully cured paint, the kind that’s turned rubbery or cracks like plastic, is gone for good because the polymer has permanently cross-linked. Start with water or medium, move to a warm soak or isopropyl alcohol if that fails, and always test the rescued paint on scrap before trusting it on a real piece.
TL;DR:
- Rehydration is most successful within 24 to 48 hours of drying, as the polymer chains are not yet fully cross-linked and water loss is reversible.
- Starting with distilled water is recommended, adding drops gradually and waiting two to three minutes between additions to prevent over-thinning the paint.
- Using acrylic medium or flow improver provides better pigment retention during rehydration compared to water alone, especially for active painting.
- Warm soak or gentle heat can soften stubborn paint in sealed containers but should never involve microwaving or boiling water, which can damage the paint or container.
- Always test rehydrated paint on a scrap surface before using it on your project, checking adhesion, drying time, opacity, and finish to ensure it remains suitable for your work.
Table of Contents
- How to Tell if Dried Acrylic Paint Can Still Be Saved
- Step-by-Step Ways to Rehydrate Dried Acrylic Paint
- Testing Rehydrated Paint Before You Trust It
- Stopping the Problem Before It Starts
- Why Crafty By Numbers Knows This Territory Well
- What Actually Matters When You’re Trying to Save Paint
- Rescue What You Can With Crafty By Numbers’ Revive Products
- Sources
- FAQ
How to Tell if Dried Acrylic Paint Can Still Be Saved
Press it with a palette knife first. If the paint gives, feels gummy, or leaves a dent, you’re likely dealing with water loss rather than a finished chemical reaction, which means it can probably be rehydrated. Acrylics dry two ways: water evaporates and the polymer emulsion in the paint cross-links into a permanent film. The drying chemistry from Golden Artist Colors explains that once cross-linking finishes, the paint becomes water-resistant by design, and no amount of soaking undoes that.
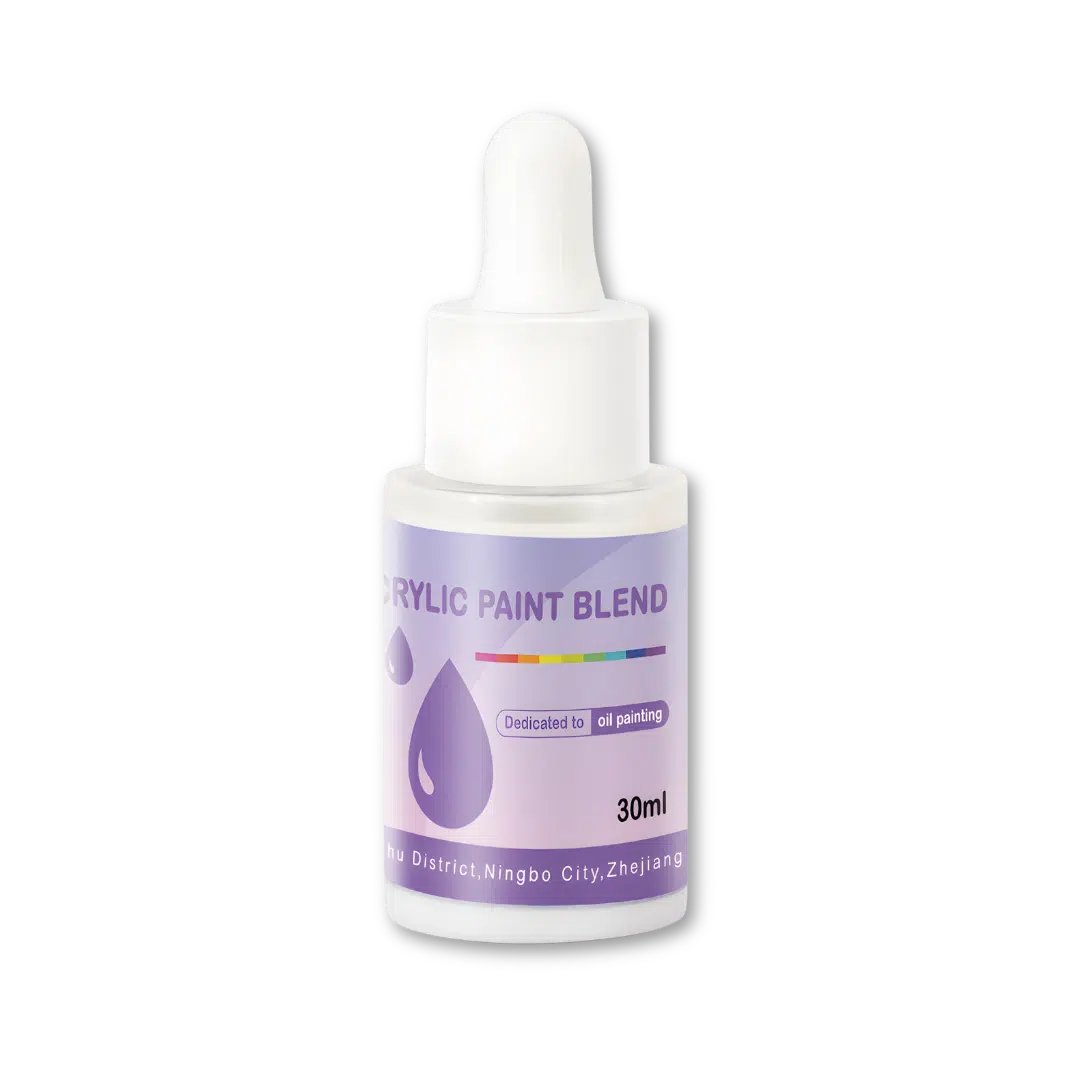
Timing tells you almost everything. Paint dried within 24 to 48 hours still has a shot because the polymer chains haven’t fully locked together, according to PlasticRanger’s guide to rehydrating acrylics. Paint that’s been sitting for weeks is a different story.
Run through these quick checks before you commit any real effort:
- Texture: Soft, pasty, or gummy means recoverable. Hard, rubbery, or cracked like plastic means cured.
- Age: Under 48 hours gives you the best odds; anything past a week or two gets harder fast.
- Cap condition: A crusted-over cap with wet paint underneath is a good sign; a solid plug all the way through is not.
- Smell and color: No off odor and consistent color usually mean the paint hasn’t degraded beyond the drying itself.
If it snaps or crumbles instead of bending, don’t waste distilled water on it.
Step-by-Step Ways to Rehydrate Dried Acrylic Paint
Work from gentle to aggressive. Jumping straight to alcohol or a boiling-water bath on paint that just needed a few drops of water wastes pigment and risks ruining the color for nothing.
-
Start with distilled water. Add it one drop at a time, not a splash. Tap water carries minerals and chlorine that can destabilize pigment over time, which is why RapidRepair’s guide to reviving dry paint recommends distilled specifically. Mix with a palette knife, folding rather than stirring, and wait two to three minutes between additions so the water has time to soak in before you judge the consistency. Stop the moment the paint moves like fresh paint again. Overshoot and you’ll thin the pigment load until the color goes weak.
-
Switch to acrylic medium or flow improver for anything that matters. Water works, but it dilutes pigment concentration along with the paint. A fluid acrylic medium rebuilds the binder structure instead of just adding moisture, which is why FineBrushVault’s research on reviving dried acrylic points to medium as the better call for paint you plan to actually paint with, not just test. Use a roughly 1:1 ratio of medium to dried paint by volume as a starting point, then adjust. A palette knife again beats a brush here. Brushes push moisture around the surface; a knife works it through the mass.
-
Try a warm soak for stubborn pots and tubes. Set the closed container in a bowl of warm (not boiling) water for 10 to 15 minutes. The warmth softens the polymer from the outside in, and the sealed container traps humidity around the paint, which is especially effective for the small round pots that come in paint-by-numbers kits, since the container itself creates a tiny greenhouse effect. Never microwave a paint tube. Metal caps and trapped air don’t mix well with sudden heat.
-
Reach for isopropyl alcohol only as a last resort. A drop or two, no more, can break the surface tension on paint that’s laughed off water and medium, according to PlasticRanger’s rehydration research. Work in a ventilated space. Alcohol speeds up drying time once you resume painting and can flatten the finish slightly, so treat it as a way to save paint for underlayers, not a free pass for finish-quality color.
-
Cut and rescue when the tube itself is the problem. If the opening is clogged solid but you can feel movable paint deeper inside, cut the tube open rather than fighting the nozzle. Transfer everything into a small airtight jar and work moisture in there. Kneading inside a sealed tube almost always mixes unevenly and wastes paint you could have saved, based on storage guidance from ArtNoise.
Pro Tip: Keep a small dropper bottle of glycerin next to your palette. One or two drops mixed into rehydrated paint acts as a humectant, buying you extra open time without shifting the color noticeably, which matters most if you’re a slow painter working in a dry room.
Testing Rehydrated Paint Before You Trust It
Never put rescued paint straight onto your canvas. Test it on a scrap piece of the same surface first, whether that’s canvas board, a paint-by-numbers offcut, or a spare piece of paper.
Check these before committing to real work:
- Adhesion: Let it dry fully, then gently scratch it with a fingernail. If it flakes, the binder didn’t fully reconstitute.
- Drying speed: Rehydrated paint, especially anything touched by alcohol, tends to dry faster than fresh paint from the tube.
- Opacity: Watch for reduced covering power. You may need a second coat where one used to do the job.
- Finish: Sheen can shift slightly, going flatter or patchier depending on how much water you added.
Rehydration doesn’t restore paint to its original state. It restores it to workable. That difference matters most on final layers, where color accuracy and adhesion count, and matters less on underpainting or blocking in shapes, where a slightly weaker coat gets covered anyway. Each time paint dries and gets rehydrated, its binder loses a bit more strength, per the storage research from ArtNoise, so treat revived paint as a one-time save, not a paint you cycle through drying and rescuing repeatedly.
Stopping the Problem Before It Starts
Rescuing paint is a skill worth having. Not needing to rescue it is better. Store your acrylics somewhere between 65°F and 75°F (18°C to 24°C), away from direct sun and away from a radiator or window that swings temperature during the day. Heat and light both accelerate the surface drying that starts the whole problem.
Cap care matters more than most painters give it credit for. Wipe the threads clean before closing, and store tubes cap-side down so any air pocket sits away from the opening instead of drying out the paint right at the nozzle.
A few habits pay off fast:
- Use a stay-wet palette for session work; the damp sponge layer underneath keeps mixed paint workable for days instead of hours.
- Transfer bulk paint into small airtight jars if you’re not using a full tube’s worth soon.
- Squeeze out only what you need per session, and mix in a small cup rather than directly on an open palette.
- Keep a small bottle of acrylic medium or glycerin within reach for quick top-ups during a long painting session.
Pro Tip: If you paint in short bursts across several days, a stay-wet palette saves more paint over a month than any rescue method ever will.
Why Crafty By Numbers Knows This Territory Well
Paula S. has spent years working with paint-by-numbers kits and the small-format acrylic pots that come with them, which dry out faster than tube paint because of their shallow, wide surface area exposed to air every time the lid comes off.
The company has built kits that ship with pre-matched acrylic paints, detail brushes, and a numbered canvas designed to support the painting process from the first stroke. That volume means the team has seen every version of a dried-out paint pot a hobbyist can run into.
A few things worth knowing from that experience:
- Kit paints dry faster than tube paint because the pots are shallow and wide, giving more surface area exposed to air.
- A quick water-drop rescue works fine for kit paints used within a day or two of drying.
- For paint that’s fully hardened between kit sessions, a dedicated rehydration product saves more color than guessing with tap water.
Related reading on getting the most from kit paints lives in the Crafty By Numbers guide to acrylics in paint-by-numbers kits.
What Actually Matters When You’re Trying to Save Paint
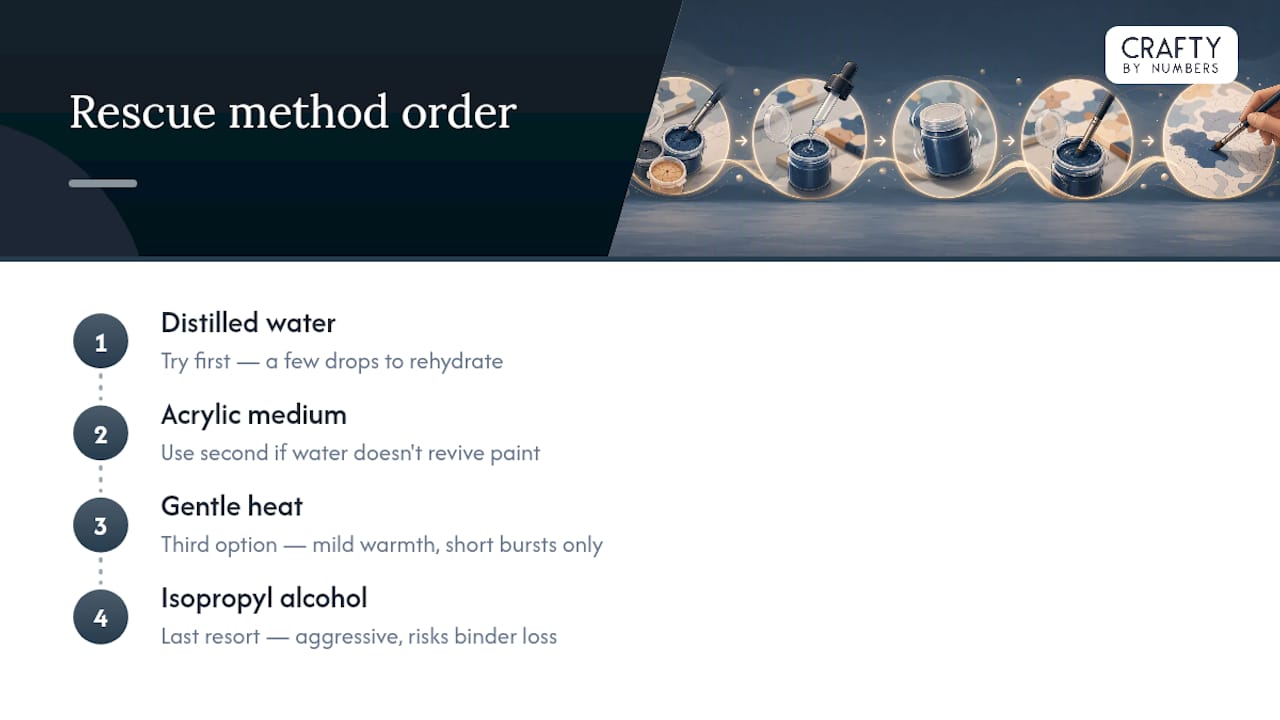
The order matters more than most guides let on. Reach for water first, medium second, heat third, and alcohol only when nothing else has worked. Painters skip straight to the aggressive fix because it feels more decisive, and end up wasting good color that a few drops of distilled water would have saved.
The bigger gap in conventional advice is the testing step. Plenty of guides walk through the rescue methods and then stop, as if reviving the paint is the finish line. It isn’t. Revived paint behaves differently once it’s back on your brush, and skipping the scrap test is how painters end up with patchy coverage on a piece they can’t easily fix. Test first, use for underlayers if the result is shaky, and save your best rehydrated batches for work where a slightly different finish won’t matter.
If there’s one habit worth adopting over any rescue trick, it’s storage. Every dry-then-revive cycle costs the paint some binder strength. Prevention isn’t the exciting part of this topic, but it’s the part that actually saves you money and frustration over a full year of painting.
— Paula S.
Rescue What You Can With Crafty By Numbers’ Revive Products
Rehydrating paint with water and medium works, but it takes patience and a bit of trial and error to get the ratio right. Crafty By Numbers built its Revive Dry Paints formula specifically for that gap: a few drops mixed into a dried kit pot brings the paint back to a workable consistency without the guesswork of measuring water against pigment by eye.
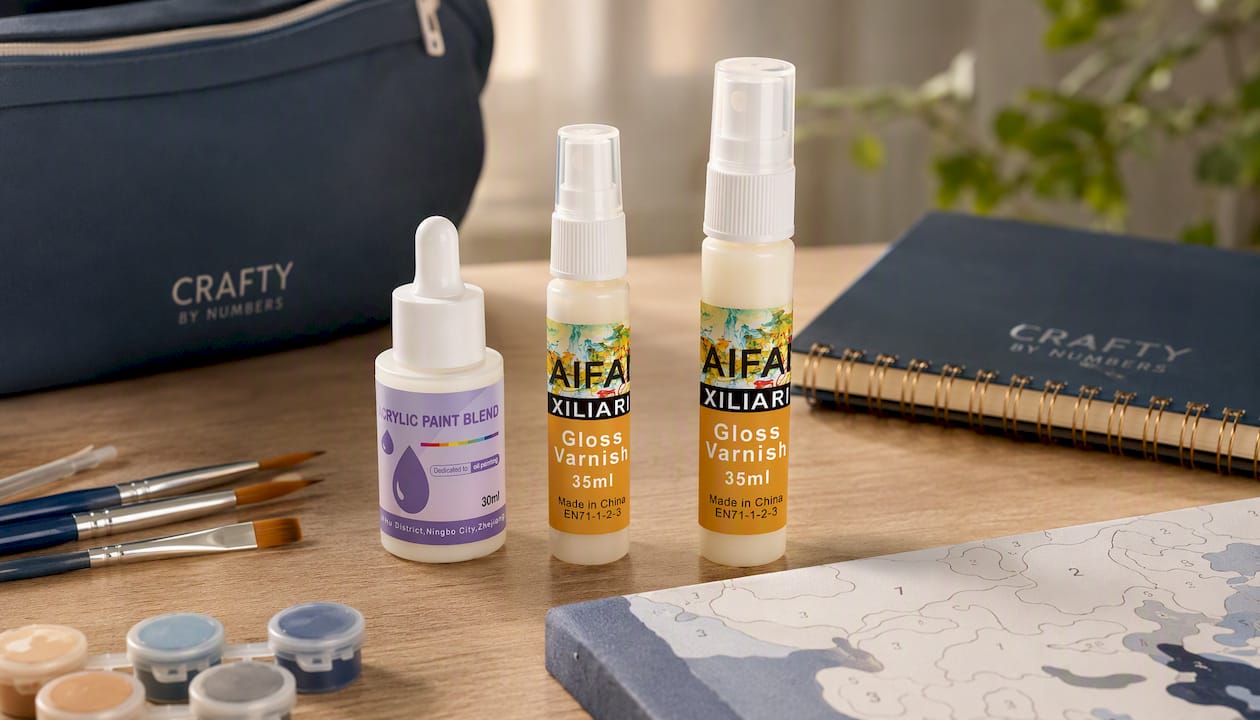
It fits right into the rescue order covered above, sitting between the plain-water step and the more aggressive heat or alcohol methods, and it’s built with the small, shallow pots that ship in paint-by-numbers kits specifically in mind. Once your paint is back and your piece is finished, the Bundle Gloss & Revive pairs rescue with a finishing coat, so you’re covered from a dried-out pot to a sealed, display-ready canvas in one purchase. If you’re finishing a piece that already used mostly fresh paint and just need the protective top coat, the standalone Gloss Varnish does that job on its own. Check current stock and pricing on the Revive Dry Paints product page before your next session runs into a dried-out pot.
Sources
The chemistry behind why some paint comes back and some doesn’t is worth understanding beyond this guide. Golden Artist Colors’ drying technical notes lay out the polymerization process in more depth than most hobby sites attempt. For step-by-step tube rescues, FineBrushVault’s guide to fixing dried acrylic in the tube covers the warm-soak method in detail. PlasticRanger’s rehydration guide is the strongest resource on timeline and the alcohol fallback. For prevention and long-term storage habits, ArtNoise’s guide to storing acrylics goes further into why repeated drying cycles degrade paint quality.
- How to revive dried out acrylic paint without losing pigment saturation – FineBrushVault
- Drying technical notes – Golden Artist Colors
- How to rehydrate dried acrylic paint and save your supplies – PlasticRanger
- Rapidrepair
FAQ
Why is my acrylic paint still tacky after it dried?
Tacky paint usually means the top layer dried while moisture is still trapped underneath, or the paint layer was applied too thick for the air around it to fully cure. Give it more time in a dry, well-ventilated space before assuming it’s ruined.
How do you revive dried acrylic paint?
Add distilled water a drop at a time and mix with a palette knife, or use acrylic medium for a stronger rebuild that protects pigment saturation. If that doesn’t work, try a warm water soak on the sealed container before reaching for isopropyl alcohol as a last resort.
Does acrylic paint dry permanently?
Yes, once the polymer emulsion in acrylic paint fully cross-links, it becomes a permanent, water-resistant film that no rehydration method can reverse. That’s why recently dried paint has a much better shot at recovery than paint that’s been hardening for weeks.
How do you soften acrylic paint that’s hardened?
A warm water bath around a sealed tube or pot for 10 to 15 minutes softens the polymer from the outside, often enough to get a workable paint again once you mix in a bit of water or medium. For paint that resists even that, a small amount of isopropyl alcohol can break the surface tension, though it changes drying speed and finish slightly.
Can revived acrylic paint be used for finished artwork?
Revived paint is usually fine for underlayers or practice work, but test it on scrap first, since adhesion, opacity, and finish can all shift slightly compared to fresh paint. Save your best-performing rehydrated batches for visible top layers, and consider sealing the finished piece with a gloss varnish for extra protection.
0 comentarios