

The fastest reliable routine: wipe off excess paint, rinse bristles in lukewarm water, work in a mild soap or dedicated brush cleaner, rinse again until the water runs clear, then reshape the bristles and dry the brush flat or bristle-down. Some paint-by-numbers kits are designed around this exact sequence, and it lines up with the same routine Winsor & Newton recommends. Dried paint on a brush isn’t a death sentence either. A few rescue tricks, covered further down, can often bring a stiff brush back to life.
TL;DR:
- Wipe excess paint before rinsing to prevent solids from contaminating rinse water and making cleaning less effective.
- Rinse brushes in lukewarm water and work in gentle soap, avoiding pressure on the ferrule to prevent damage or stiffness.
- Store brushes flat or bristle-down between sessions to prevent water and paint from seeping into the ferrule, which can cause cracking and fraying.
- Use short, controlled soaks in warm water or alcohol for stubborn dried paint, but avoid prolonged submersion or harsh solvents that could ruin brushes.
- Select high-quality brushes designed for repeated cleaning and proper tools like a brush washer to extend their lifespan and maintain performance.
Table of Contents
- Step-by-Step Routine to Clean Acrylic Brushes After Every Session
- Preventive Care: How to Store Acrylic Brushes Between Sessions
- How Do You Get Dried Acrylic Paint Off a Brush?
- What Cleaners and Tools Actually Work
- Common Mistakes That Wreck Brushes (and Quick Fixes)
- Why Brush Care Is Part of the Design, Not an Afterthought
- Get Brushes and Tools Built for Easy Cleanup
- Sources
- FAQ
Step-by-Step Routine to Clean Acrylic Brushes After Every Session
Acrylic paint is unforgiving because it dries fast and permanently once it cures. A brush left sitting for even ten minutes with paint near the ferrule (the metal band holding the bristles) can start hardening before you notice. The good news: a consistent five-step habit keeps that from ever becoming a problem.
- Wipe first, always. Before any water touches the brush, drag it across a paper towel or rag to remove the bulk of the paint. This one step does more to keep your rinse water clean than anything else in the process.
- Rinse in lukewarm water. Swirl the brush in a jar of lukewarm, not hot, water. Hot water can loosen the glue that holds bristles into the ferrule, and repeated exposure warps wooden handles over time, according to Canson.
- Work in soap. Lather the bristles gently on a rubber cleaning mat or in the flat of your palm. Avoid pressing hard against the ferrule. Pushing pigment upward into that joint is exactly how brushes end up permanently stiff at the base.
- Rinse until the water runs clear. Use two jars if you can. One holds the first dirty rinse, the other holds clean water for a final pass. Repeat the soap and rinse cycle until no more color lifts out.
- Reshape and dry flat. Smooth the bristles back into their original point or edge with your fingers, then lay the brush flat on a towel or hang it bristle-down. Never stand a wet brush bristle-up in a cup.
That sequence, sometimes called the “wipe, rinse, soap, rinse, reshape” method, is the version Winsor & Newton and most brush manufacturers land on because it works without overcomplicating things.
For quick reference, here’s the everyday checklist worth taping near your workspace:
- Wipe excess paint onto a rag before rinsing.
- Rinse in lukewarm water, never hot.
- Lather soap gently, away from the ferrule.
- Rinse twice, checking that water runs clear.
- Reshape bristles and dry flat or bristle-down.
Pro Tip: Keep a small rubber cleaning mat with raised ridges near your rinse jar. Working soap against the ridges instead of your palm gets pigment out of the base of the bristles faster, and it saves your hands from a constant film of dried paint.
Preventive Care: How to Store Acrylic Brushes Between Sessions
Most brush damage happens during pauses, not during painting. Acrylic starts setting inside a ferrule within minutes of a break, so the habits you build between color changes matter as much as the end-of-session cleanup.
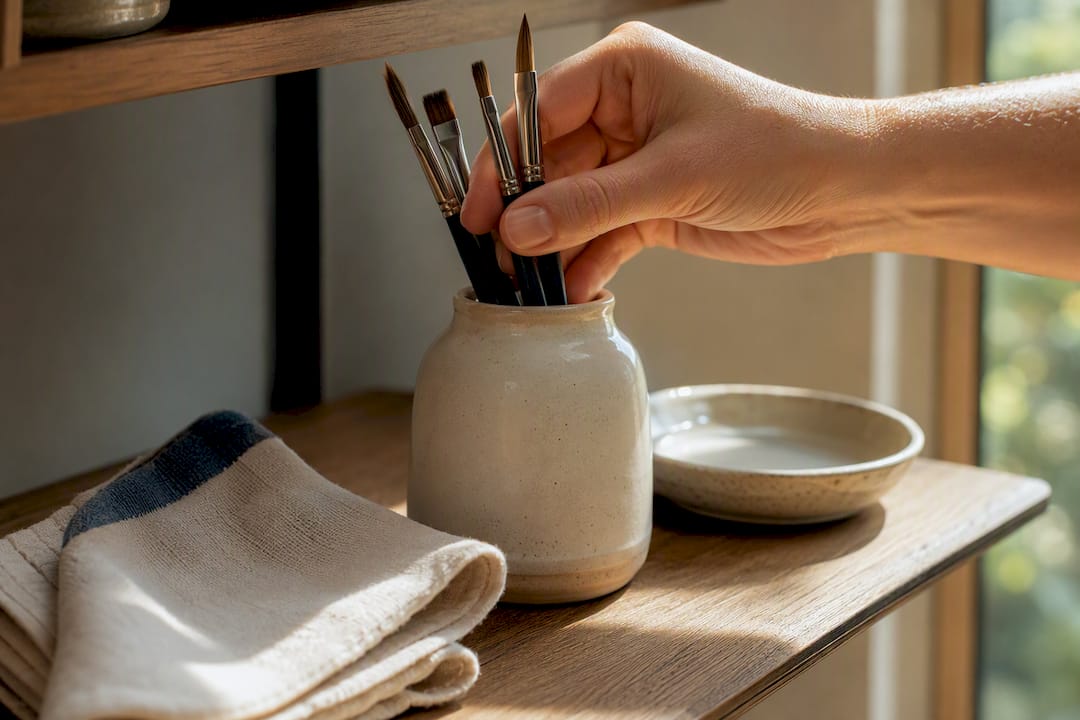
Rinse your brush any time you switch colors, even mid-painting, since letting paint sit even briefly gives it time to begin curing inside the ferrule, a point Canson makes about acrylic’s fast cure time. For short breaks, a damp brush laid flat on a tray works fine. For anything longer than 20 to 30 minutes, rinse it properly rather than trusting a quick dip.
A few habits worth building into your routine:
- Keep a designated jar of water at your station just for rinses between colors.
- Store brushes flat in a tray or drawer for long-term storage rather than upright in a cup, which stresses bristle shape.
- Reserve a separate brush for glues, mediums, or varnish so you’re never cross-contaminating your painting set.
- Wipe excess paint onto a rag before rinsing to cut down on how much pigment ends up in your wastewater.
On that last point: letting rinse water sit so paint solids settle to the bottom, then pouring off the clear water on top rather than the whole cloudy jar, is a simple step that keeps more pigment out of the drain, based on guidance from JustPaint. If you paint often, this habit adds up. A single hobbyist working through a few kits a month can generate a surprising amount of rinse water over a year, and small changes in how you dispose of it make a real difference. Our guide on safe acrylic paint disposal covers the specifics if you want to go further than the basics.
How Do You Get Dried Acrylic Paint Off a Brush?
Dried acrylic isn’t automatically a lost cause. The right rescue method depends on how far gone the brush actually is, and starting gentle before going stronger saves more brushes than jumping straight to solvents.
- Warm soak, 15 to 20 minutes. Submerge only the bristles, never the ferrule or handle, in warm (not hot) water. Check every five minutes and work soap into the bristles once the paint starts to soften.
- Isopropyl alcohol for stubborn spots. If the warm soak alone doesn’t cut it, a short soak in 70 to 90 percent isopropyl alcohol can loosen paint that’s more fully cured, an approach detailed by PlasticRanger. Follow it immediately with a conditioning soap, especially on natural-hair brushes, since alcohol strips natural oils and leaves bristles brittle if you skip that step.
- Commercial brush cleaners for tougher cases. Products made specifically for reviving stiff brushes tend to be gentler than pure solvents. Apply them to the bristles only, following the label’s soak time, and rinse thoroughly afterward.
- Acetone or paint thinner as a last resort. These will strip dried acrylic, but they can also dissolve glue and damage synthetic bristles, so use them only on brushes you’re prepared to lose if it goes wrong, and never on anything with wooden or lacquered handles.
Pro Tip: Before reaching for alcohol or solvents, ask whether the brush is actually worth saving. A $2 craft-store brush with dried paint halfway up the ferrule is often better retired to glue or varnish duty than nursed back with chemicals that might not fully restore it anyway.
What Cleaners and Tools Actually Work
Mild dish soap handles most synthetic-bristle brushes fine for everyday cleaning. Natural-hair brushes do better with a dedicated brush soap, since those formulas include conditioning agents that keep hair from drying out and turning brittle, something Bromleys Art Supplies notes as a reason to avoid harsh household soaps on natural fibers long term.
Skip anything marketed as a heavy degreaser or antibacterial soap. Both tend to strip natural oils from bristles faster than they clean, and long hot-water soaks do more harm than the paint itself ever would.
- Mild dish soap works well for synthetic bristles used in everyday acrylic painting.
- Dedicated brush soap is worth the extra cost for natural-hair brushes or brushes you use constantly.
- Professional Brushes from Crafty By Numbers are built with cleaning resilience in mind, so they hold their shape through repeated rinse cycles.
- A Brush Washer keeps bristles suspended bristle-down while rinsing, which cuts down on the ferrule damage that comes from bristle-up soaking.
- Premium Paint Brushes (Set of 10) give hobby painters a full range of shapes that hold up to the wipe-rinse-soap routine without fraying prematurely.
Common Mistakes That Wreck Brushes (and Quick Fixes)
Most ruined brushes trace back to the same handful of habits. Fixing them is usually simple once you know what to look for.
- Using hot water. It softens ferrule glue over time and warps handles. Switch to lukewarm water immediately, even mid-session.
- Drying bristle-up. Water and paint seep down into the ferrule and set there. Lay brushes flat or hang them bristle-down instead, a fix confirmed by Painters Online.
- Scrubbing paint into the ferrule. Pressing hard against the metal band pushes pigment where it’s hardest to remove. Lather in the middle of the bristles, not against the base.
- Leaving brushes soaking for hours. Extended submersion loosens glue and splits natural bristles. Limit soaks to the 15 to 20 minute window covered above.
| Core action | Why it matters |
|---|---|
| Wipe before rinsing | Cuts down on solids in your rinse water |
| Lukewarm water only | Protects ferrule glue and handle finish |
| Soap away from the ferrule | Prevents pigment buildup at the base |
| Dry flat or bristle-down | Stops water and paint from seeping into the ferrule |
| Rescue soaks under 20 minutes | Avoids glue and bristle damage from over-soaking |
Why Brush Care Is Part of the Design, Not an Afterthought
Some paint-by-numbers kits are designed with cleanup in mind, not just painting. Brushes chosen aim to hold up to a standard wipe, rinse, soap, rinse routine so they do not demand special handling. These kits are created for repeated rinse cycles, not just a single project.
My honest take, having looked closely at how most cleaning advice online treats brushes as an afterthought: the brush is doing half the work of the finished painting, and it gets a fraction of the attention canvas quality or paint pigment does. If you’re using paint by numbers brushes from a kit, treat that first cleaning session as part of learning the kit, not a chore tacked onto the end. A brush cleaned properly after session one will paint finer lines by session five than one that got rinsed carelessly and started fraying at the tip.
— Paula S.
Get Brushes and Tools Built for Easy Cleanup
A brush that fights you every time you clean it isn’t worth keeping around, no matter how cheap it was. Some brush lineups are designed so the standard wipe, rinse, soap, rinse, dry routine doesn’t wear bristles down after a handful of uses, unlike flimsy sets that ship with many budget kits.
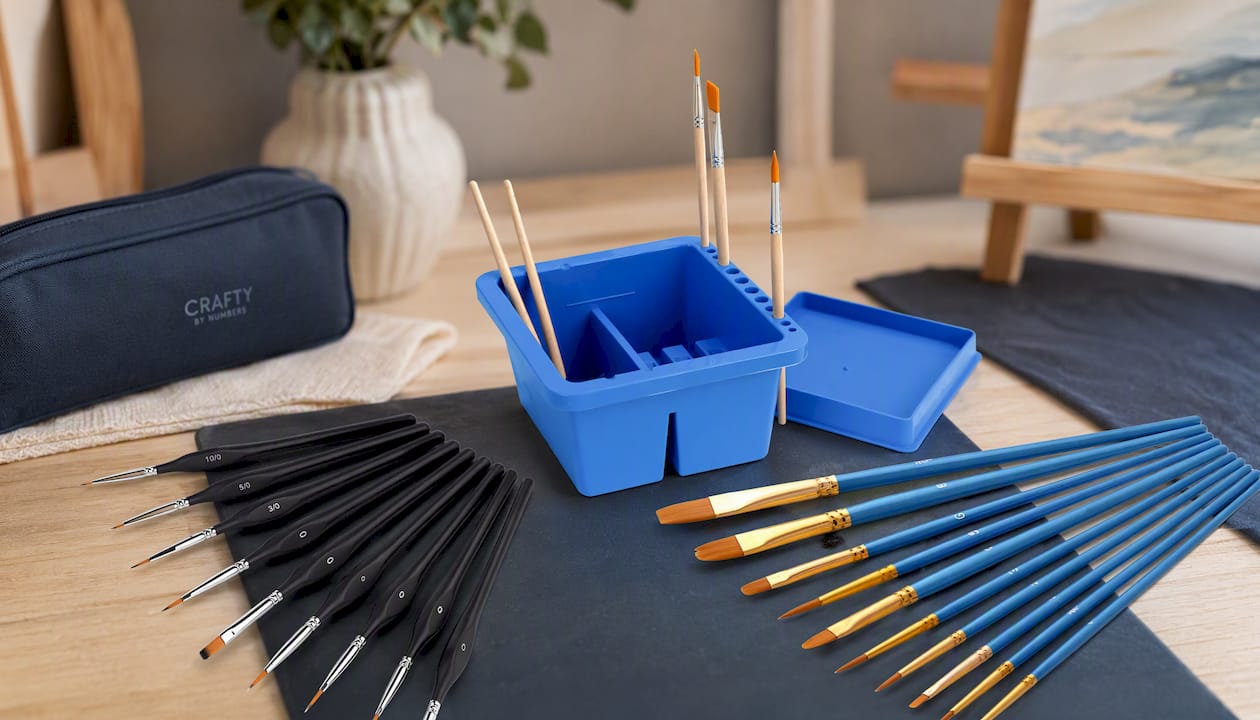
The Professional Brushes hold their point through repeated rinsing, which matters if you’re painting fine detail work regularly. The Brush Washer keeps bristles suspended correctly during cleaning, so you’re not fighting the bristle-up drying mistake covered earlier. And the Premium Paint Brushes (Set of 10) give you enough variety in shape and size to handle everything from broad backgrounds to tight detail without switching between mismatched tools.
If your current brushes are already fraying or stiff at the base, start with a set built to last, and check out the Professional Brushes page to see the full lineup.
Sources
- How to clean acrylic paint brushes? — Winsor & Newton
- Cleaning and maintaining your acrylic materials — Canson
- How to Wash Acrylic Paint Brushes Properly for Long-Lasting Use — PlasticRanger
- Removing water-based paint solids from rinse water — JustPaint
FAQ
What do I use to clean my acrylic brushes?
Lukewarm water and a mild dish soap or dedicated brush soap handle most cleaning needs. Work the soap gently through the bristles, avoiding the ferrule, and rinse until the water runs clear.
Is it okay to wash acrylic paint brushes in the sink?
Yes, but run lukewarm water rather than hot, and avoid letting the brush sit directly under a strong stream that forces water up into the ferrule. Rinsing into a jar first, then a final rinse under the tap, gives you more control.
How do you make a stiff acrylic brush soft again?
A warm soak of 15 to 20 minutes followed by a gentle soap wash softens most partially dried brushes. For fully hardened bristles, a brief isopropyl alcohol soak followed by conditioning soap is often the next step up.
What kind of liquid can I use to clean acrylic paint from my brushes?
Lukewarm water combined with mild soap covers daily cleaning. For dried paint, isopropyl alcohol between 70 and 90 percent or a commercial brush reviver works on tougher buildup, though solvents should be a last resort on natural-hair brushes.
0 comments