

Thin acrylic layers dry to the touch quickly under normal studio conditions; thicker brush loads take longer. Full cure, the point where the film is genuinely hard and stable, can take several days for thin washes and much longer for heavy impasto. The practical rule for most hobbyists: wait at least a day before recoating thick layers, and hold off on varnishing for several days on standard canvases.
Here is the quick-reference breakdown:
- Thin wash: touch-dry quickly; safe to recoat after a short wait
- Normal brush layer: touch-dry within the hour; recoat after a moderate wait
- Heavy impasto: touch-dry can take a couple of hours or more; wait at least a day or two before recoating, and considerably longer before varnishing
- Touch-dry means the surface has skinned over but the film underneath is still soft and vulnerable
- Fully cured means the polymer has coalesced into a hard, stable film — the only safe state for varnishing, framing, or shipping
Manufacturers including Golden Artist Colors are deliberate about not publishing exact universal times, because conditions vary so widely that any fixed number can mislead. Test in your own studio.
Table of Contents
- How acrylic paint actually dries: two stages you need to know
- Typical drying times by thickness and surface
- What actually changes how fast your paint dries
- How to speed up drying or keep paint open longer
- When to recoat, varnish, frame, or ship
- Simple tests to tell if your paint is fully cured
- Common beginner mistakes and how to fix them
- Key Takeaways
- What most guides get wrong about drying time
- Craftybynumbers products that help with drying and finishing
- Useful sources for further reading
- FAQ
How acrylic paint actually dries: two stages you need to know
Acrylic paint does not simply “dry” the way a puddle evaporates. It goes through two distinct physical stages, and confusing them is the single most common source of ruined paintings.
Stage 1: Surface skin (touch-dry). Water evaporates from the top of the film first, leaving a skin that feels dry. Underneath, the paint is still soft, pliable, and full of moisture. Press a fingernail into a touch-dry thick layer and it will dent. This stage happens fast, sometimes within minutes for thin washes.
Stage 2: Full coalescence (cure). Polymer spheres throughout the entire film deform and fuse into one continuous, hard layer. This is the chemistry that gives acrylic its durability. According to Golden Artist Colors’ technical notes, temperatures below about 49°F (9°C) prevent proper coalescence entirely, causing the film to crack or powder rather than bond. Studio temps in the 60–75°F range keep the process running correctly.
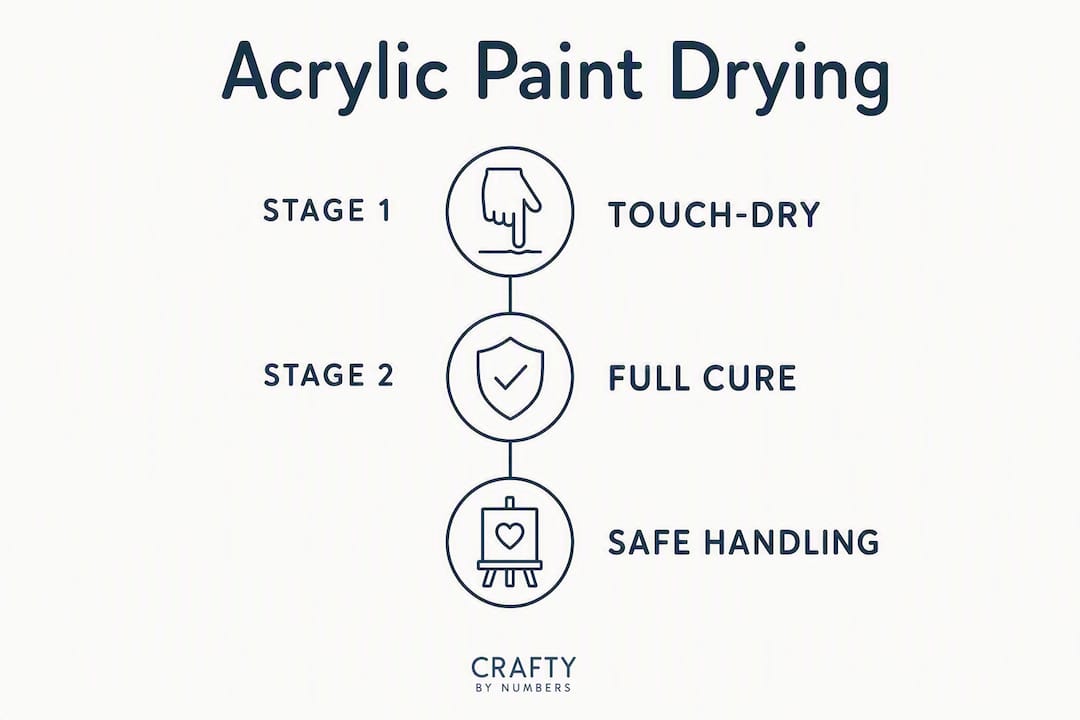
The gap between these two stages is larger than most beginners expect. Research published by Just Paint found that thin paint films can reach a solid state in roughly three days, while thick films may take weeks or months to fully coalesce. A touch-dry surface can still hold 5–20% of its original volatiles, meaning adhesion, hardness, and optical clarity are still developing long after the paint stops feeling wet.
Pro Tip: Press a fingernail gently into an inconspicuous edge of your painting. If it leaves a mark, the film has not cured. No mark means you are likely safe to proceed, though a conservative extra day never hurts.
Typical drying times by thickness and surface
The table below covers expected ranges under average studio conditions: roughly 65–70°F, 40–50% relative humidity, moderate airflow.
| Film type | Thickness | Touch-dry | Safe to recoat | Conservative cure |
|---|---|---|---|---|
| Thin wash | Thin layer | 10–30 minutes | Short recoat time | Several days to cure |
| Normal brush layer | Moderate layer | 1–2 hours | Moderate recoat time | Several days to a week to cure |
| Heavy impasto | Thick layer | 1–2 hours or more | At least a day or two before recoating | Weeks or more to fully cure |
Surface type shifts these numbers meaningfully. Porous substrates like unprimed canvas or raw wood wick moisture out of the paint film via capillary action, which speeds up the touch-dry stage noticeably. Sealed panels, plastic, and metal offer no absorption, so the film must dry entirely through evaporation from the top surface, which slows things down.
A few additional notes:
- Primed canvas sits between the two extremes: absorbent enough to speed touch-dry, stable enough for good adhesion
- Unprimed canvas dries the fastest but can cause uneven absorption and adhesion problems over time
- Sealed wood or panel behaves like plastic: slow to touch-dry, but produces a very smooth, even film
- Student and craft-grade paints often dry faster than professional grades because they carry less binder; professional-grade paints with higher binder loads can stay workable longer, which is useful for blending but requires more patience before recoating
What actually changes how fast your paint dries
Seven variables move the needle. Knowing which ones matter most helps you make smart studio decisions instead of just waiting and hoping.
Film thickness is the biggest single factor. Doubling the thickness does not double the drying time; it multiplies it, because internal zones stay wet long after the surface skins over.
Relative humidity has a larger effect on drying time than small temperature shifts. High humidity dramatically slows evaporation; a studio at 80% RH can extend touch-dry times by an hour or more compared to 40% RH. This cuts both ways: if you want to dry faster, lower the humidity; if you want to blend longer, raise it.
Temperature matters, but mainly at the extremes. Below 49°F, coalescence fails. Above 90°F, paint can skin over so fast that the surface traps moisture underneath, leading to wrinkling or adhesion problems. The 60–75°F sweet spot covers most studio situations.
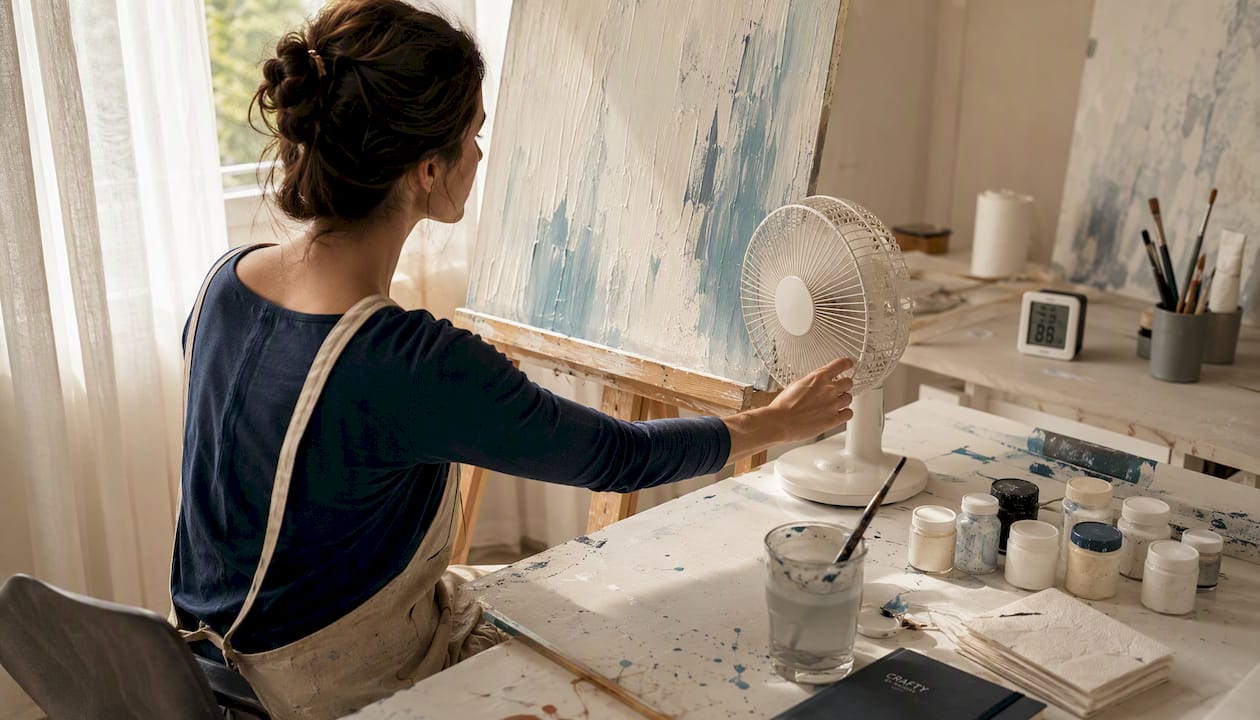
Airflow accelerates evaporation from the surface. A gentle fan speeds touch-dry time without the risks of direct heat.
Substrate absorbency was covered above, but worth repeating here: switching from sealed panel to raw canvas can cut touch-dry time in half.
Pigment and binder differences are real but often overlooked. Some pigments (certain earth tones, carbon black) interact with the binder differently and can feel slower or faster to dry. Heavy binder loads in professional paints extend workability.
Added water and mediums change the equation in opposite directions. A little water thins the paint and speeds drying; too much water weakens the binder and can cause adhesion failure. Retarders and glazing liquids slow drying intentionally.
Key stat: Humidity control is often the most practical lever available in a home studio. A small humidifier or a spray bottle of water can extend blending time more reliably than adjusting the thermostat.
How to speed up drying or keep paint open longer
Both goals are achievable. The trick is knowing which tools belong to which strategy.
To dry faster:
- Run a small fan across the painting surface; gentle, indirect airflow is more effective than a hair dryer aimed directly at wet paint
- A hair dryer on low heat, held 12+ inches away, works for thin layers; direct high heat causes skinning, bubbling, and uneven drying in thick applications
- Use an absorbent substrate (primed canvas over sealed panel)
- Apply thinner layers and let each one dry before adding the next — this is the single most reliable speed strategy for paint-by-numbers workflows
To extend open time for blending:
- Mist the palette and canvas surface lightly with water; this raises local humidity and slows evaporation without diluting the paint
- Use a stay-wet palette to keep mixed colors workable for hours
- Add a retarder medium sparingly. Retarders work by replacing some water evaporation dynamics with slower-evaporating glycols, but overuse leaves a soft, gummy surface and reduces intercoat adhesion. Follow manufacturer ratios and treat retarder as a precision tool, not a general additive
- Switch to a slow-dry acrylic line formulated to stay open longer; these are a better long-term solution than repeatedly over-thinning or adding excessive retarder
- Craftybynumbers’ Acrylic Medium Gloss Gel adjusts flow and body while adding a slight open-time extension, useful for glazing passes and smooth blending layers
If a tube or pot of paint has partially dried out, Craftybynumbers’ Revive Dry Paints is designed to refresh the consistency without compromising the binder.
Pro Tip: For blending in paint-by-numbers projects, misting the canvas lightly before you start a section buys you a few extra minutes of workable time. It is faster and safer than adding retarder to every color.
When to recoat, varnish, frame, or ship
Getting this timing wrong is where most beginner mistakes happen. Touch-dry is not a green light.
Recoating windows:
- Thin washes: recoat after 10–30 minutes; the surface is stable enough and the layer thin enough that adhesion is not at risk
- Normal brush layers: wait 1–2 hours minimum; pressing a new layer onto a still-soft film can lift or distort the one beneath
- Heavy impasto: wait at least a day or two before adding more paint; internal moisture needs time to escape
Varnishing:
Wait at least 3–7 days for standard canvases with normal brush layers before applying a varnish. For heavy impasto, the conservative recommendation is several weeks, because even a touch-dry surface can retain 5–20% of its original volatiles, and sealing those in under varnish can cause cloudiness, adhesion failure, or a permanently soft film. Craftybynumbers’ Gloss Varnish is designed for fully cured acrylic surfaces; applying it too early traps residual moisture and undermines the finish.
Handling, framing, and shipping:
- Never roll or stack paintings before full cure; even a cured acrylic film can block (stick to itself) under pressure
- When transporting, place glassine or silicone-release paper between painting surfaces
- For framing, a standard canvas with normal layers is generally safe after 7 days; impasto work warrants longer
Pro Tip: If you painted in a humid environment or used a retarder, add at least 50% more time to every window above. Residual humectants from retarder can keep the film soft longer than expected.
Simple tests to tell if your paint is fully cured
Touch alone is not enough. Here are four checks that give you better information:
- Fingernail test: Press gently into an edge or corner. A cured film leaves no mark; an uncured one dents or feels slightly rubbery.
- Flex test: For canvas, gently flex the support. A cured film moves with the canvas without cracking or lifting. An undercured film may feel stiff in a way that suggests brittleness, or it may feel tacky.
- Visual clarity: Acrylic paint shifts from milky or cloudy to clear or its final color as it cures. If a thick area still looks slightly hazy compared to thin areas, it has not fully coalesced.
- Edge adhesion check: Lightly drag a fingernail across a painted edge. If paint lifts or smears, the film is not ready for varnishing or handling.
If your studio has been running above 60% humidity or below 60°F recently, add extra time regardless of what the tests suggest. Environmental history matters because the film may have skinned over while still holding moisture inside.
Common beginner mistakes and how to fix them
Most drying problems trace back to a handful of predictable errors. Here is what goes wrong and what to do about it.
- Varnishing too soon: The varnish traps moisture, causing cloudiness or adhesion failure. Fix: let the painting cure fully (at minimum 3–7 days for normal layers), then apply varnish in a dry, well-ventilated space. If you already varnished too early and the finish looks cloudy, wait and see if it clears as the film continues to cure; if it does not, consult the varnish manufacturer’s removal guidance.
- Over-thinning with water: Adding too much water breaks down the binder, leaving a weak film that can crack or peel. Fix: use less water, or add an acrylic medium to thin without compromising adhesion.
- Using a hair dryer too close or too hot: Creates surface skinning that traps moisture underneath, leading to wrinkling. Fix: keep the dryer on low, at least 12 inches away, and move it constantly.
- Applying thick layers without waiting: Each layer needs to release moisture before the next one seals it in. Fix: build up color in thin passes, especially for paint-by-numbers accuracy.
- Painting in a cold studio: Below 49°F, coalescence fails and the film can crack. Fix: warm the room to at least 60°F before and during painting.
- Confusing touch-dry with cured: The most common mistake of all. Fix: use the fingernail test and add conservative buffer time before any critical step.
Pro Tip: For beginners, thin coats plus a gentle fan is the most reliable combination. You get faster drying without the risks of heat, and each layer stays thin enough to cure properly before the next one goes on.
Key Takeaways
Acrylic paint drying time depends on film thickness, humidity, and temperature: thin layers touch-dry in 10–30 minutes, but full cure takes days to weeks and is the only safe point for varnishing or framing.
| Point | Details |
|---|---|
| Touch-dry vs. fully cured | Touch-dry means the surface has skinned over; full cure (coalescence) takes days to weeks depending on thickness. |
| Thin layers dry fastest | Thin washes touch-dry in 10–30 minutes; heavy impasto can take 1–2 hours or more just to skin over. |
| Humidity beats temperature | Relative humidity has a larger effect on drying time than small temperature shifts; control it first. |
| Varnish timing matters | Wait at least 3–7 days for normal layers; impasto work needs several weeks before varnishing safely. |
| Craftybynumbers kits | Craftybynumbers’ Acrylic Medium Gloss Gel, Gloss Varnish, and Revive Dry Paints cover the main drying and finishing needs for hobbyist workflows. |
What most guides get wrong about drying time
The standard advice — “acrylics dry fast, so you can keep painting” — is technically true and practically misleading. Fast touch-dry is real. Fast cure is not.
The part that gets skipped is the internal state of the film. A thick passage that feels dry on the surface may be holding significant moisture inside for days. Varnish it, stack it, or roll it, and you are working against a film that has not finished forming. The damage often does not show up immediately, which is why artists blame the varnish or the canvas rather than the timing.
The more useful mental model: think of touch-dry as “safe to look at” and fully cured as “safe to do anything with.” Every step between those two points, recoating, handling, framing, shipping, carries some risk proportional to how much moisture is still in the film.
For hobbyists working through a Craftybynumbers kit, the practical upshot is simple: paint in thin layers, let each section dry before moving to adjacent areas, and give the finished painting a full week before you even think about varnishing. The kit’s pre-matched acrylic paints are formulated for exactly this kind of layered, patient workflow.
Craftybynumbers products that help with drying and finishing
Three products from Craftybynumbers address the most common drying and finishing needs directly.
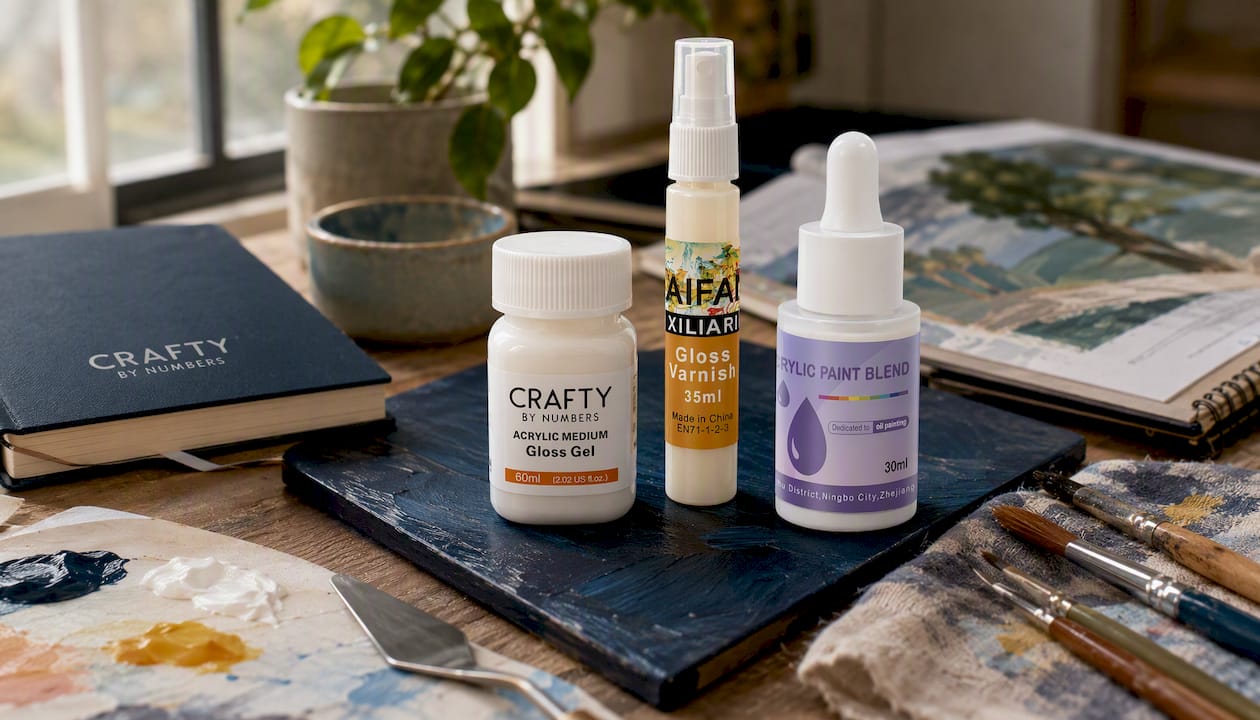
The Acrylic Medium Gloss Gel adjusts paint flow and body, adds a gloss sheen, and slightly extends open time for blending passes. Mix a small amount into your paint when you need smoother leveling or want a glazing layer to stay workable a little longer.
Gloss Varnish is the final protective coat for a fully cured painting. Apply it only after the cure windows above have passed; it seals the surface against dust and UV and gives the finished piece a gallery-quality finish.
Revive Dry Paints rescues partially dried paint in tubes or pots, restoring workable consistency without weakening the binder. Keep it on hand for any session where paints have started to thicken.
All three are optional enhancements. Browse the full range and product details at Craftybynumbers.
Useful sources for further reading
These are the primary technical references behind this article. For special cases (exterior murals, very thick sculptural impasto, or unusual substrates), the manufacturer technical sheets are the right place to go.
- Just Paint: Investigating the Drying Process of Acrylic Color and Gel Medium — The most detailed publicly available research on the two-stage drying process, volatile retention, and why thick films take so long to cure.
- Just Paint: Understanding and Controlling Acrylic Drying Time — Practical guidance on humidity, retarders, substrate effects, and environmental controls; the source for most of the humidity and retarder guidance in this article.
- Golden Artist Colors: Drying Technical Notes — Manufacturer-level detail on coalescence temperatures, minimum film-formation temperatures, and studio recommendations from one of the most respected acrylic producers.
FAQ
How long does 100% acrylic paint take to dry?
Thin layers touch-dry in 10–30 minutes; normal brush layers dry to the touch in 1–2 hours; heavy impasto can take 1–2 hours or more. Full cure, the point where the film is genuinely hard and stable, takes days to weeks depending on thickness and studio conditions.
How can you tell if acrylic paint is fully cured?
Press a fingernail gently into an edge of the painting. A fully cured film leaves no mark and does not feel rubbery or tacky. You can also check for visual clarity: thick areas that still look slightly hazy have not finished coalescing.
What are the most common mistakes beginners make with drying time?
Varnishing too soon is the most damaging error, followed by over-thinning with water and applying heat too close to the surface. All three can cause adhesion failure, cloudiness, or wrinkling that is difficult to reverse.
How do you speed up acrylic paint drying safely?
Use a gentle fan for indirect airflow, apply thinner layers, and work on an absorbent substrate like primed canvas. A hair dryer on low heat held 12+ inches away works for thin layers; direct high heat on thick paint causes more problems than it solves.
What happens if you varnish acrylic paint too early?
Varnishing before full cure traps residual moisture in the film, which can cause cloudiness, a permanently soft finish, or adhesion failure between the paint and varnish layers. Wait at least 3–7 days for normal brush layers, and several weeks for heavy impasto.
0 comments