


Key Takeaways
- Uncurling a rolled poster is usually straightforward if you use gentle, gradual pressure and avoid heat or moisture initially—the fastest safe methods are weighing the poster down on a clean flat surface, using the reverse roll technique, or letting a frame do the work over 24–72 hours.
- Valuable or vintage posters (original 1999 movie prints, signed gig posters, limited edition art) should never be ironed, steamed, or taped—treat them like artwork and handle with care.
- Posters that have been rolled tightly for months or years may take several days to fully relax; patience is far safer than applying excessive heat or pressure.
- Beyond flattening, this guide covers fixing minor wrinkles and tears, long-term storage practices, and knowing when to call a professional paper conservator.
Why Posters Curl—And Why You Should Uncurl Them Carefully
Understanding Poster Curl
When a poster arrives in your mailbox after spending days or weeks rolled in a tube, it develops what’s known as “paper memory.” The fibers and coating layers adapt to that curved shape over time, with the outer side stretched under tension and the inner side compressed. The longer a poster stays rolled—and the tighter the tube—the more stubbornly it wants to stay curled.
This curl happens because paper isn’t a uniform material. The base fibers, surface coating, and ink layers all expand and contract at different rates depending on humidity and temperature. When you try to force a rolled poster flat too quickly or aggressively, you risk creating cracks in the coating, tears along the edges, or even color shifts where the ink has been stressed. Modern digitally printed posters and older offset prints react differently to flattening attempts, which is why a careful approach matters.
Why Flattening Matters
Getting your poster to lay flat before framing, mounting with spray adhesive, or hanging with poster strips is essential. If you frame a curled poster without addressing the curl first, it can buckle, bow toward the glass, or create visible ripples that ruin the display. In humid conditions, a curled poster pressed against glazing might even stick to the surface permanently.
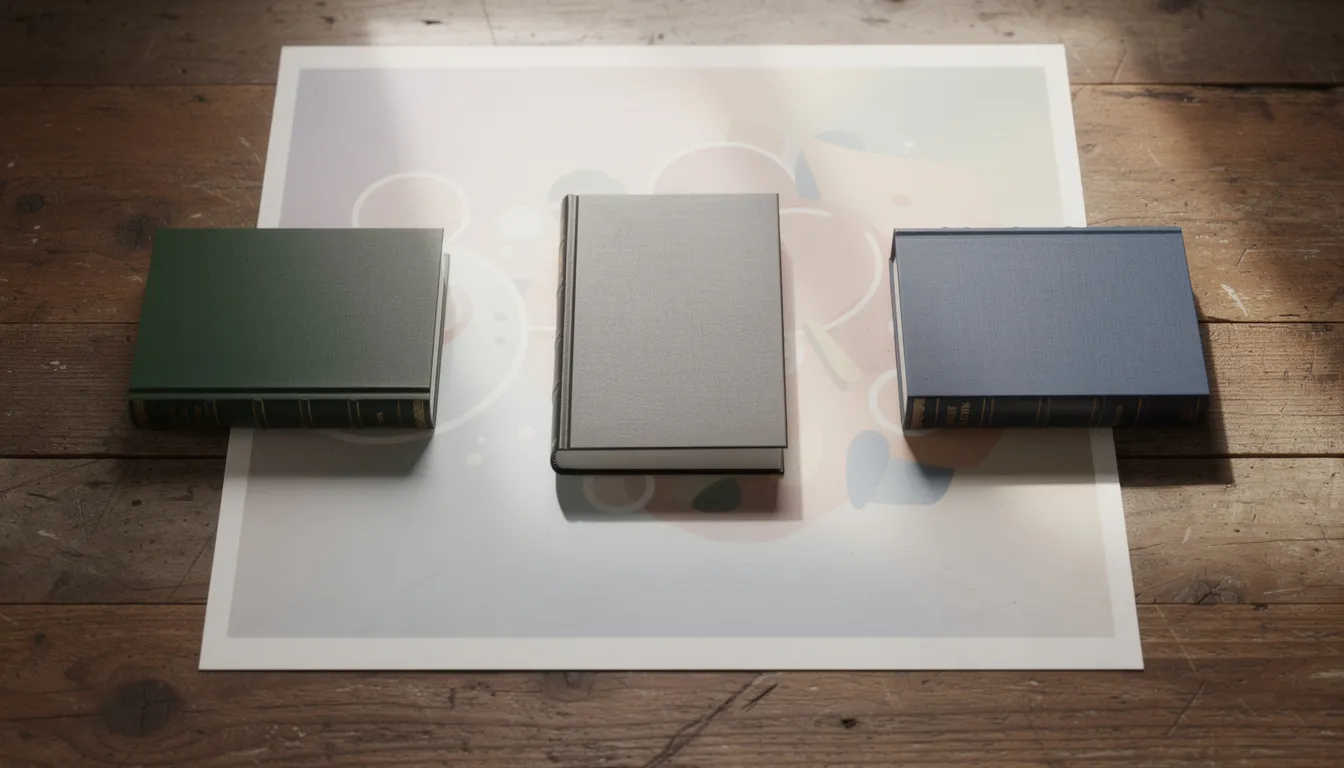
Common Poster Types and Their Considerations
|
Poster Type |
Typical Stock |
Curl Sensitivity |
Best Approach |
|---|---|---|---|
|
Offset-printed movie posters |
100–200 gsm coated paper |
Moderate curl, responds well to weighing |
Weight or reverse roll |
|
Screen-printed gig posters |
Heavy art paper, often textured |
Strong curl memory, sensitive inks |
Gentle weighing only |
|
Glossy photo posters |
Coated photo paper |
Can crease easily, prone to gloss marks |
Careful weighing, avoid heat |
|
Digitally printed art prints |
Fine art paper, 200–300+ gsm |
Thick stock takes longer but tolerates handling |
Weight for 3–7 days |
A word of caution: If your poster is rare, signed, or worth more than about $100, skip DIY heat and steam methods entirely and jump to the “When to Call a Professional” section below. The risk of permanent damage simply isn’t worth it.
Quick Method 1: Weigh It Down Flat
Step-by-Step Process
- Prepare your surface: Clear a large table, clean hardwood floor, or countertop. The surface must be completely flat, dry, and free of dust or grit that could emboss into the paper.
- Unroll carefully: Remove the poster from its tube by gently sliding it out—never tug at the corner or edge. Let it unroll slowly in your hands rather than allowing it to spring open, which can create kinks.
- Lay the poster down: Place the print face-up on your surface. Gently smooth from the center outward toward the edges without forcing the curled portions flat.
- Add a protective layer: Cover the entire poster with a clean sheet of acid-free tissue, plain white printer paper, or a smooth cotton towel. This barrier ensures that weights never touch the ink directly.
- Distribute weight evenly: Place heavy books, a cutting board, a piece of MDF board, or similar flat, heavy objects on each corner and across the middle. The goal is even pressure without concentrated stress points.
- Wait: Check after 12–24 hours. Most modern posters flatten within 1–3 days. Thicker stock or posters that have been stored rolled for extended periods may need 5–7 days to fully relax.
What to Avoid
- Don’t use objects with textured, rough, or dirty bottoms—plant pots, rough stone bookends, or anything that could emboss patterns or leave stains on the paper.
- Stick to smooth, clean surfaces like book covers or boards.
Why This Method Works
This method is effective because constant, gentle pressure allows the paper fibers to gradually relax into a new flat configuration. It’s the practice recommended by print companies and artists alike because it carries virtually no risk of damage.
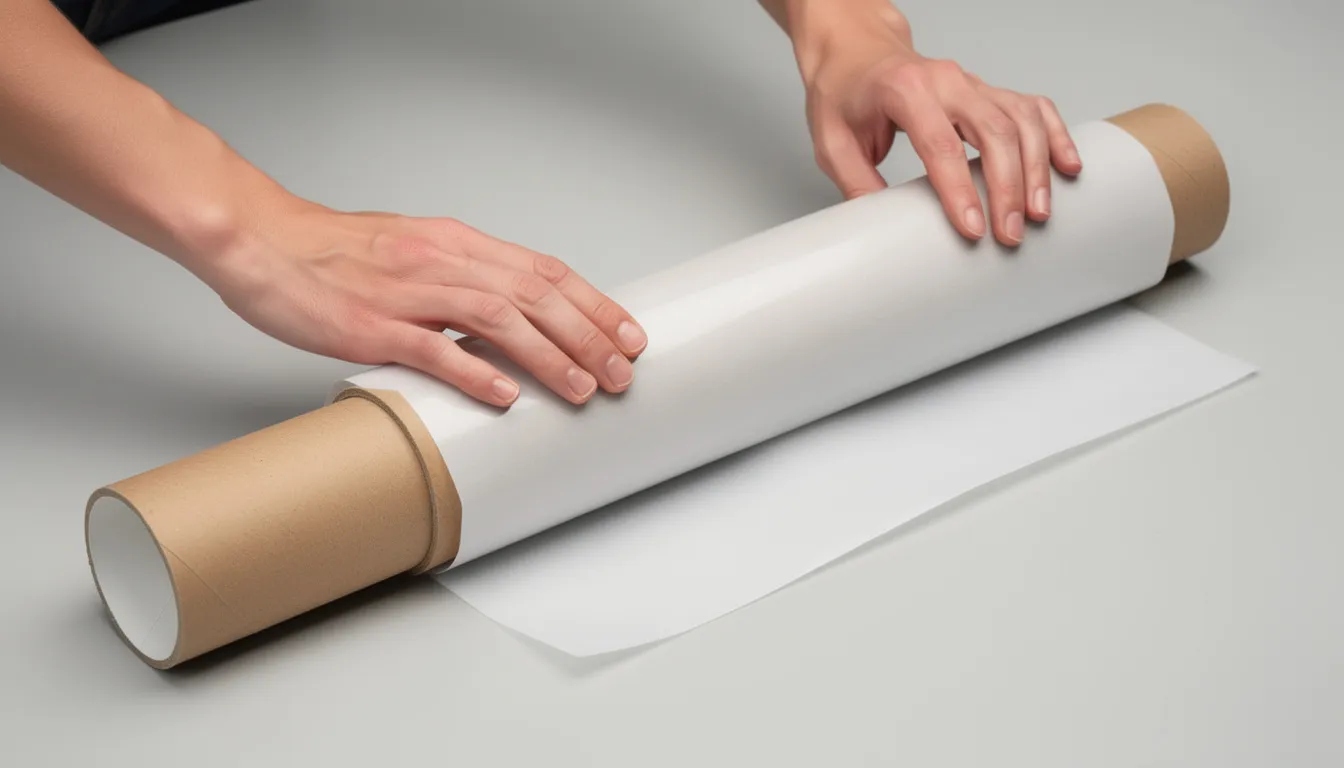
Quick Method 2: The Reverse-Roll Technique
How to Reverse Roll Properly
- Set up your workspace: Lay the poster on a clean flat surface, print side facing up.
- Start rolling: Beginning at one end, loosely roll the poster in the opposite way from its original curl—so the printed side faces outward rather than inward.
- Protect the surface: Before securing the roll, wrap a clean sheet of scrap paper, kraft paper, or thin tissue around the outside to protect the ink from any contact with securing materials.
- Secure loosely: Use soft fabric ties, wide rubber bands placed gently at the edges (never tight), or low-tack tape on the outer protective sheet only. Never apply tape directly to the poster.
- Mind the diameter: The roll should be loose—roughly the diameter of a coffee can or small paint can. If you roll it too tightly, you’ll stress the fibers enough to cause cracking, especially on coated papers.
- Let it rest: Leave the poster reverse-rolled for 1–3 hours. Unroll and check if it lies flatter. If the curl persists, repeat the process once more or combine with Method 1.
Material-Specific Cautions
- Glossy or laminated posters: Crease easily with over-tight rolling—reverse roll more gently and for shorter periods.
- Screen-printed art: With raised ink textures should be rolled very loosely to preserve the texture.
- Synthetic substrates (polypropylene, vinyl): Have strong curl memory and may need reverse rolling around a large diameter tube for a full day.
Why This Method Works
The reverse roll method is particularly effective for standard weight posters that need quick results. Print companies like instantprint suggest purchasing this technique as part of their standard customer advice for shipped items.
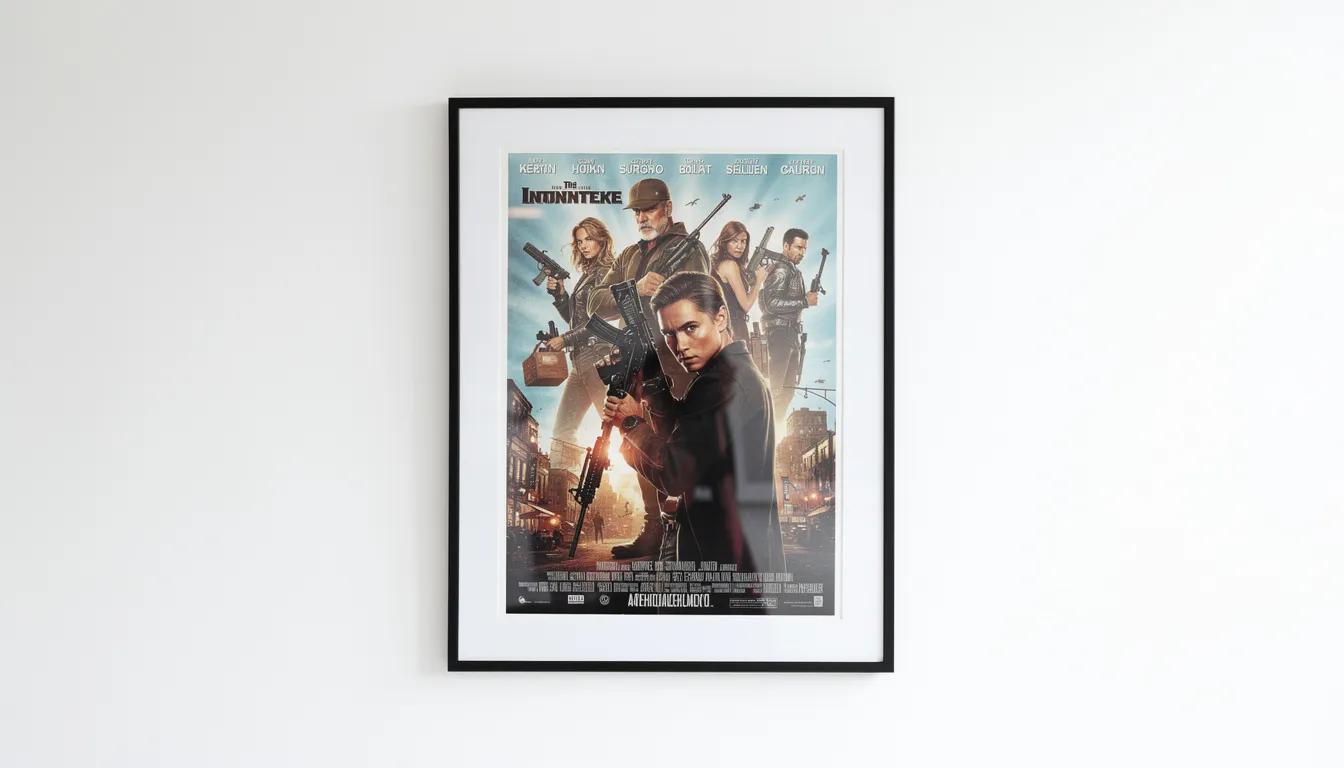
Try This If You’re Framing: Let the Frame Do the Work
Preparing to Frame
- Select the right size: Pick a frame that matches your poster dimensions exactly—for example, a 24” × 36” poster fits a standard 24” × 36” ready-made frame from IKEA, Michaels, Target, or Hobby Lobby. Ensure the frame has a solid backing board, not just thin cardboard.
- Clean everything: Work on a dust-free surface. Wipe down the glass or acrylic with a microfiber cloth to remove fingerprints and particles.
- Position carefully: Gently place the poster in the frame, aligning the edges. If the poster curls too aggressively to stay in place, use small archival photo corners to hold it—never attach tape directly to the front.
- Close and seal: Press the backing board firmly and secure with the frame’s turn-buttons or points. The combination of glass and backing applies even pressure across the entire picture.
- Let time work: Hang the frame or lay it flat for 24–72 hours. For mildly curled posters, this alone often solves the problem. For aggressive curls, pre-flatten using Method 1 for a day before framing.
Framing Warnings
- Non-archival tape applied directly to the back of a poster can leave permanent stains or cause tearing when removed—especially on prints older than 10–15 years.
- If the poster bows enough to touch the glazing before flattening, it may stick in humid environments.
- Cheap frames with flimsy backing won’t provide enough pressure to help flatten effectively.
Framing works because the poster has nowhere to curl—it’s constrained between two flat surfaces indefinitely. This is standard practice in professional framing shops for modern posters that aren’t highly collectible.
Advanced (Riskier) Methods: Heat, Moisture, and Steam
These methods can work for stubborn curls and wrinkles, but they carry significantly higher risk of damage. Only use these techniques on inexpensive posters that you could easily replace—never on collectible originals, signed prints, or vintage art.
Low-Heat Iron Method
- Set up your ironing board or a heat-safe flat surface covered with a thick cotton cloth.
- Place the poster face down on the surface.
- Cover the back of the poster with another plain cotton sheet.
- Set your iron to the lowest setting (often marked “synthetic” or “nylon”)—no steam.
- Test on a small corner first.
- Move the iron slowly in straight lines, lifting frequently to check progress.
- Never leave the iron stationary—this causes gloss marks or scorching.
Light Mist Method
- Use a spray bottle to lightly mist the back of the poster with clean water—a few passes from about 12 inches away.
- The paper should be barely damp, not wet.
- Place the poster between two clean sheets of blotting paper or plain newsprint.
- Weigh down with a flat board and heavy books.
- Allow to dry completely (12–24 hours) before removing.
Handheld Steamer (Distance Method)
- Hold a handheld steamer 12–18 inches away from the poster.
- Sweep past quickly—never concentrate steam in one spot.
- The goal is to slightly relax the fibers, not to soak the paper.
- Immediately press between flat boards while still warm.
Critical Cautions
- Water-based inks can run or bleed, especially on uncoated papers.
- Digital prints from 2010 onward can stick to protective sheets if warmed too much.
- Screen-printed inks can crack when overheated.
- Laminated posters should never be ironed—the plastic layer bubbles and distorts.
- Metallic inks, hand-signed areas in marker, or very thin paper (like 1980s cinema posters) are too delicate for heat methods.
Even print companies that suggest these techniques disclaim responsibility for potential colour changes or damage. If you hear a crackling sound or notice the surface changing texture, stop immediately.
Fixing Minor Wrinkles and Small Tears
Minor damage from shipping, handling, or removing poster tack can sometimes be improved at home—as long as the poster isn’t highly valuable. Deep creases that fold completely across the width of a poster are rarely made invisible, but light wrinkles and small edge tears can often be fixed.
Pressing Out Wrinkles
- Lay the poster on a clean surface with the wrinkled area accessible.
- Cover the area with a clean sheet of smooth paper.
- Apply pressure with a flat board or heavy books.
- Leave for several days—longer pressing yields better results.
- For light creases, a slightly warm (not hot) iron over protective paper can help, but folding marks rarely disappear completely.
Repairing Small Edge Tears
- Gently align the torn edges from the back of the poster.
- Apply thin archival document repair tape or Japanese tissue paper with wheat starch paste.
- Use a bone folder or your finger to press the repair flat.
- Place between boards and weight for 24 hours.
What to Avoid in Repairs
|
Bad Practice |
Why It’s Harmful |
|---|---|
|
Clear office tape |
Yellows within 5–10 years, oozes adhesive, stains paper permanently |
|
Masking tape |
Leaves residue, tears paper when removed |
|
Glue sticks |
Causes waves and wrinkles, may bleed through |
|
Duct tape |
Destroys the paper completely |
Example repair: A 2015 concert poster with a 1 cm tear near the margin can be fixed by carefully aligning the tear from the back, applying thin archival tape, then pressing the line flat under books for a day. The repair should be barely visible from the front.
If a tear cuts through important art or text, DIY fixes often make things worse. Professional restoration yields far better results for damage in visible areas.
Long-Term Poster Care: Keeping It Flat After Uncurling
Once you’ve finally achieved a flat poster, proper storage or display prevents the curl from returning. Taking a bit of extra care now saves you from repeating the flattening process later.
For Framed Posters
- Hang away from direct sunlight, which causes fading—especially on prints made before 2010.
- Keep frames away from radiators, heating vents, and damp areas like bathrooms.
- Consider UV-filtering acrylic glazing for valuable prints to protect colours.
- Check periodically that the backing hasn’t warped or loosened.
Flat Storage Methods
|
Storage Method |
Best For |
Notes |
|---|---|---|
|
Archival storage boxes |
Long-term preservation |
Store flat between acid-free boards |
|
Flat map drawers |
Large collections |
Protect from light exposure |
|
Under-bed storage |
Space-saving |
Keep in acid-free folders |
Label everything with dates and subjects (e.g., “London gig posters, 2018–2022”) to minimize repeated handling.
Rolled Storage (When Necessary)
- Roll around a large diameter tube—minimum 3”–4” diameter.
- Place the image side outward to counteract future curl.
- Store in a sturdy tube with end caps to prevent crushing.
- Never use rubber bands directly on the poster.
Environmental Considerations
- Maintain normal indoor humidity around 40–55%.
- Avoid basements and attics where temperature and humidity fluctuate dramatically.
- Dry air makes paper brittle; damp air causes waves and mold.
- Inspect stored posters once or twice a year for mold, insect damage, or new curling.
Create a simple labeling system for your collection—“Blade Runner 2049 cinema poster, 2017” is much easier to find than opening every tube to check.
When to Call a Professional Conservator or Framer
Some posters simply deserve expert care. Vintage originals from the 1970s, first edition art prints, hand-signed pieces, or anything with significant resale or sentimental value should be handled by professionals who understand archival practices.
Warning Signs That DIY Methods Are Too Risky
- Severe water damage or tide lines
- Brittle, flaking, or crumbling paper
- Visible mold spots
- Deep folds that have cracked the surface
- Old pressure-sensitive tape or dried glue on the back
- Paper that feels stiff or cracks when slightly flexed
What Professionals Can Do
Professional paper conservators and conservation-minded framers have access to specialized techniques unavailable at home:
- Humidification chambers that relax paper evenly and safely
- Vacuum mounting for perfectly flat results
- De-acidification treatments that slow paper deterioration
- Reversible archival mounting that can be undone without damage
Finding a Professional
- Search through regional museum conservation departments for referrals
- Contact professional associations like the American Institute for Conservation
- Ask reputable framing shops in your city for recommendations
- Many framing studios in major cities now offer consultation appointments where they assess the poster in person before recommending treatment
Rule of thumb: If the poster would cost more than $200–$300 to replace, or if it’s signed by the artist or band, it’s worth at least getting a professional opinion before attempting any flattening yourself.
The good news? Professionals can often dramatically improve even badly curled, previously mounted, or wrinkled posters far more safely than any at-home method. What seems like hopeless damage is often reversible in skilled hands.
FAQ
How long does it usually take to uncurl a poster?
With the weight-down method, a modern poster often relaxes in 24–72 hours. However, thick card stock or posters that have been rolled tightly for years can take up to a week—sometimes longer—to become truly flat. The straighten process depends heavily on paper weight, how long the poster was stored, and environmental humidity.
Can I use a hair dryer to flatten my poster faster?
Hair dryers are not recommended. They blow hot, uneven air that can warp the paper, create permanent ripples, or soften and distort inks in unpredictable ways. The heat is difficult to control and concentrates in spots rather than distributing evenly. Gentle room-temperature methods take longer but are dramatically safer for preserving your print.
Is it okay to use tape to hold the corners down while uncurling?
Never use sticky tape on the front of a poster. Even on the back, tape can tear the paper when removed and often leaves residue that yellows over time. Instead, use weights distributed evenly, or if you need temporary fixing, use archival photo corners that attach to the backing surface rather than the poster itself.
What if my poster is laminated—can I still uncurl it?
Laminated posters behave more like plastic than paper and have very strong curl memory. The reverse roll method works best—roll loosely in the opposite direction around a large tube, then press under a flat board with weight. However, deep curls in laminated materials are often permanent. Never apply heat to laminated posters, as the plastic layer will bubble or distort.
Should I unroll and flatten my posters as soon as they arrive?
Yes—it’s better to flatten posters within a day or two of delivery rather than leaving them rolled in the tube. The longer a poster stays curled, the stronger its curl memory becomes. A poster opened immediately after shipping may flatten in 24 hours; the same poster left rolled for six months might need a full week of careful treatment.
0 comments