

Yes, you can start painting right now, with zero artistic experience, and the first session does not need to look good. Painting without artistic experience is less about natural talent and more about picking up a brush and making marks. Here are three things you can do in the next ten minutes to get moving:
- Pick one surface (a small canvas pad, a sheet of cardstock, or a piece of watercolor paper).
- Squeeze out three colors: a warm red, a cool blue, and yellow, plus white.
- Paint one simple shape, a circle, a rectangle, or a loose blob, and fill it in.
Your first goal: finish a 10–20 minute color study. Not a masterpiece. Just a finished thing.
Key Takeaways
Painting without artistic experience works because skill is built through short, repeated practice, not through innate talent.
| Point | Details |
|---|---|
| Start immediately | Pick a small number of colors, one surface, and paint one shape today to break inertia. |
| Limited palette first | Use 3–5 colors to learn mixing faster and avoid muddy results. |
| Value over detail | Strong light-dark contrast carries a painting; fine detail comes last. |
| Four-week plan | Two sessions per week, eight small studies, builds real confidence in a month. |
| Craftybynumbers kits | The Dark to Light kit provides a pre-printed canvas, matched paints, and brushes for a guided, low-friction first painting. |
Table of Contents
- Why painting without prior training actually works
- What supplies do you actually need to start?
- Three simple techniques to practice first
- A practical 4-week starter plan
- Common beginner mistakes and how to fix them
- Is paint-by-numbers a legitimate beginner path?
- Where to learn next: books, videos, and communities
- What every beginner should know about color theory
- How to set up a painting space at home
- Why imperfection is the whole point
- Ready for a guided first painting?
- Sources
- FAQ
Why painting without prior training actually works
Most people who hesitate to start painting tell themselves the same story: “I can’t draw, so I can’t paint.” That story is wrong, and it’s worth unpacking why.
Painting is a learnable skill, not a gift. Will Kemp Art School makes this case plainly: the medium you choose, the exercises you repeat, and the consistency of your sessions matter far more than any innate ability. Acrylics, in particular, are forgiving because they dry fast, layer easily, and clean up with water.
Two barriers tend to stop beginners before they start. The first is fear of judgment, the worry that whatever you make will look amateur. The second is overcomplicating the setup, spending weeks researching brushes instead of actually painting. Both are solvable. The fix for the first is finishing small studies nobody has to see. The fix for the second is buying five things and starting today.
Art historian Kate Bryan frames this well. Her book How to Art argues that perceived elitism in the art world is the real barrier, not lack of skill. Her prescription is direct:
Pro Tip: If you feel like you need permission to start, consider this it. Painting for leisure and self-expression is a completely valid reason to pick up a brush, and nobody gets to grade your first canvas.
What supplies do you actually need to start?
Short answer: not much. The biggest beginner mistake is buying a full studio setup before painting a single stroke. Here is a pared-down list that covers everything you need for your first month.
Essentials:
- Surface: A small canvas pad (9×12 inches) or canvas boards. Cheaper than stretched canvas and perfect for practice.
- Paint: A starter set of acrylic tubes or a 3–5 color limited palette (cadmium red or naphthol red, ultramarine blue, cadmium yellow or hansa yellow, titanium white, and optionally burnt umber for darks).
- Brushes: One flat brush (size 6 or 8) and one round brush (size 4). That’s it for now.
- Palette: A disposable paper palette or a ceramic plate.
- Water cup and paper towels: For rinsing and blotting.
- Palette knife (optional): Useful for mixing and for textured marks.
For a fuller breakdown of what to buy first, the art supplies guide for beginners on Craftybynumbers walks through each item with practical notes.
| Item | Low-cost option | Mid-range option |
|---|---|---|
| Canvas pad (9×12) | $8–$12 | $15–$20 |
| Acrylic paint set (6 colors) | $10–$15 | $20–$35 |
| Brush set (flat + round) | $6–$10 | $15–$20 |
| Paper palette | $5–$8 | $8–$12 |
| Total starter budget | ~$29–$45 | ~$58–$92 |
Pro Tip: A limited palette of 3–5 colors teaches you more about color mixing than a 24-tube set ever will. Fewer pigments force you to mix, which is where real understanding happens. Experts at Jerwood Visual Arts specifically recommend this approach to prevent muddy mixes and accelerate learning.
Three simple techniques to practice first
You do not need to master ten techniques. These three cover the highest-return ground for any beginner, and each one fits into a 10–20 minute drill.
Technique A: Block in big shapes
Forget outlines. Instead of drawing a contour and filling it in, paint the large shapes of color and value you see directly. A coffee mug becomes a dark rectangle with a lighter oval on top. A tree becomes a green mass with a brown vertical below it.
Drill: Set a simple object in front of you (a mug, a piece of fruit, a shoe). Spend 15 minutes painting only the large shapes, no detail. Success means the object is recognizable from across the room.
This approach, blocking in large shapes and values before adding any detail, is one of the core methods recommended for beginners who want to skip drawing and go straight to painting.
Technique B: Three-value studies
Value (how light or dark something is) does more work in a painting than color does. A three-value study uses only dark, mid, and light tones, mixed from one color plus white, to map the structure of a scene.
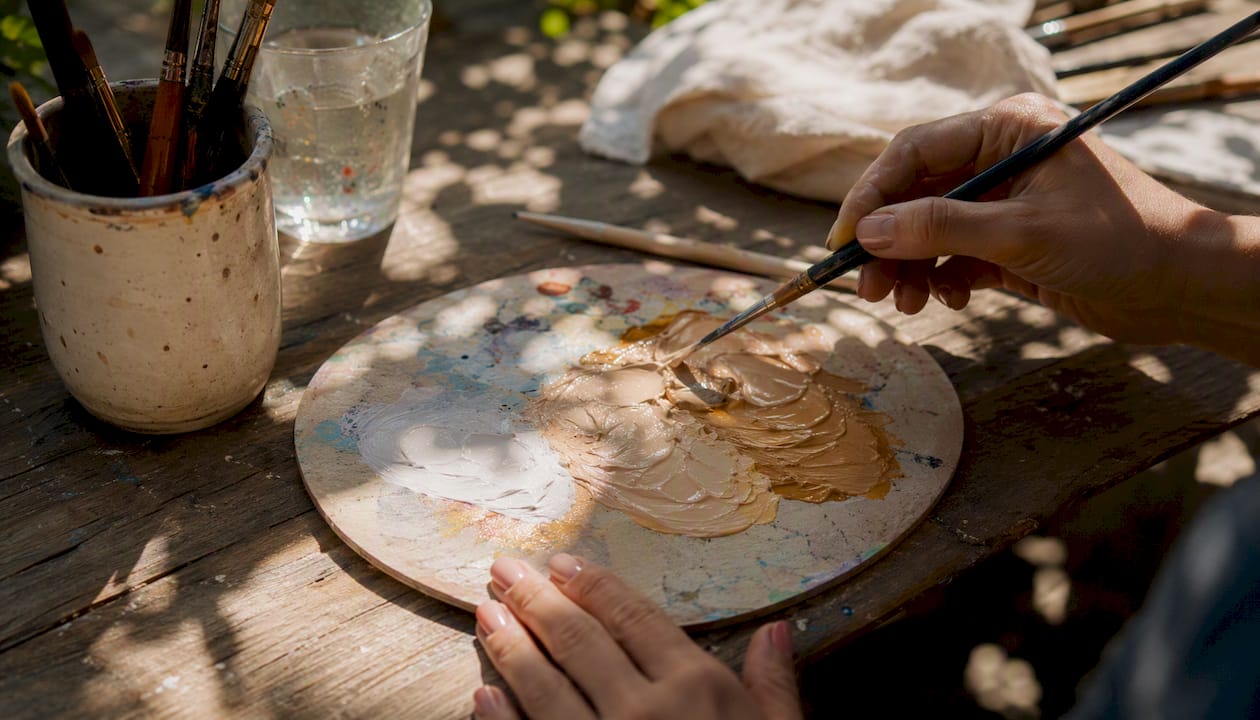
Drill: Mix your chosen color with white to create three distinct tones. Paint a simple still life or a reference photo using only those three values. Spend 15–20 minutes. The goal is to see structure, not to render detail.
The 80/20 rule in painting applies here directly: composition and value relationships account for the majority of a painting’s visual impact. Get those right and the rest follows.
Technique C: Expressive marks and texture
This one is about loosening up. Load a flat brush with paint and make deliberate, varied marks: short chops, long drags, thick dabs. You are not painting a subject yet. You are learning what the brush can do.
Drill: Cover a small canvas with marks using only one brush. Try different pressures, angles, and speeds. Spend 10 minutes. Jackson Pollock built an entire career on expressive mark-making, which is a reminder that there is no single “right” way to apply paint.
Painters who apply the 80/20 principle focus their energy on a few high-impact moves, like expressive highlights or concentrated texture in the focal area, rather than rendering every inch evenly. Vinchy Art’s breakdown of this approach shows how experienced painters speed up their workflow by concentrating effort where it counts.
Pro Tip: After each drill, take a photo of the study before you wipe the palette. Reviewing a week’s worth of small studies side by side shows you more about your progress than any single finished piece.
A practical 4-week starter plan
Two short sessions per week. Eight tiny projects. That’s the whole plan. Each session runs 20–30 minutes and follows a simple template: warm up for 3 minutes with loose marks, do the main drill for 15–20 minutes, then spend 2 minutes writing one sentence about what you noticed.
| Week | Session 1 | Session 2 |
|---|---|---|
| Week 1 | Single-color block study (one object, three values) | Expressive marks drill (one brush, full canvas) |
| Week 2 | Two-object still life in three values | Color-block study (paint shapes of color, no outlines) |
| Week 3 | Mini landscape from a photo (sky, ground, one focal element) | Repeat your Week 1 study and compare |
| Week 4 | Small portrait or figure study (simplified shapes only) | Free choice: repaint your favorite Week 1–3 subject |
To turn these sessions into a lasting habit, the beginner painting habit guide on Craftybynumbers covers how to schedule and protect your practice time. For more project ideas beyond this four-week window, the beginner art projects guide has a solid list of next steps.
Common beginner mistakes and how to fix them
Most discouragement in early painting comes from a handful of fixable habits. Here are the ones that show up most often, with a quick correction for each.
- Too many colors on the palette. Squeeze out only what you need for that session. More colors mean more muddy mixes.
- Overblending. Wet paint blends easily, but overworking it turns everything gray. Put a stroke down and leave it.
- Starting with tiny details. Paint big shapes first, always. Detail comes last, if at all.
- Using too much water with acrylics. A little water thins the paint; too much weakens the pigment and makes it streaky. Aim for a consistency like heavy cream.
- Painting on a surface that’s too small. Anything under 5×7 inches makes it hard to practice brushwork. Start at 8×10 or larger.
- Holding the brush like a pen. Hold it further back on the handle for looser, more expressive marks.
- Comparing finished work to professional paintings. Compare your work to your own last study, not to someone else’s tenth year of practice.
- Stopping a study because it looks “wrong.” Push through. Most paintings look bad in the middle. Finishing a study, even an ugly one, builds more skill than abandoning it.
- Skipping the value check. Squint at your painting. If the light and dark areas disappear into a flat gray mass, the values need more contrast.
- Not cleaning brushes between colors. Dirty brushes contaminate mixes. Rinse and blot between every color change.
For a deeper look at these patterns and their fixes, Craftybynumbers has a dedicated beginner mistakes guide worth bookmarking.
The single most useful mindset shift: aim to finish small studies, not perfect paintings. A completed 15-minute study teaches you more than a half-finished hour-long attempt.
Is paint-by-numbers a legitimate beginner path?
Yes, and here is why it works better than most people expect.
When you start painting without any structure, you face three decisions at once: what to paint, what colors to use, and how to apply them. A paint-by-numbers kit removes the first two entirely, which means your full attention goes to the third. That is where the real skill-building happens.
Use a kit as a learning tool, not just a coloring exercise. As you work through the numbered sections, practice matching your brush pressure to the size of each area. Try using a smaller brush in tight sections and a flat brush for large fills. Intentionally leave some areas slightly loose rather than filling every millimeter perfectly. These small choices train your hand and eye faster than you might expect.
Paint-by-numbers kits give beginners a guaranteed pleasing result on their first try, which builds the confidence to attempt freehand work next. The structured canvas removes decision fatigue and lets the painter focus entirely on brush control and color application.
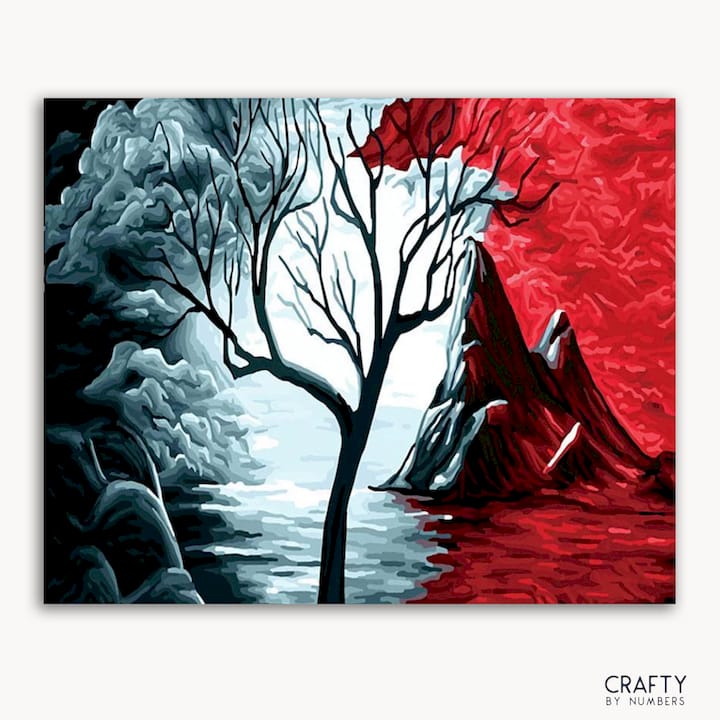
The Dark to Light kit from Craftybynumbers includes a pre-printed canvas, matched acrylic paints, and detail brushes, everything a beginner needs in one box. With over 120,000 satisfied customers, Craftybynumbers has refined these kits specifically for people who want a low-friction, confidence-building first experience. Custom kits made from your own photos are also available, which turns a personal image into a guided painting project.
Pro Tip: After finishing a paint-by-numbers kit, try repainting one small section freehand from memory. That exercise, going from guided to independent, is one of the fastest ways to transfer kit skills into original work.
Where to learn next: books, videos, and communities
Once the four-week plan is done, these resources keep the momentum going.
Books:
- How to Art by Kate Bryan (Penguin): Permission-first, jargon-free, and written for people who feel intimidated by the art world.
- Color and Light by James Gurney: The clearest explanation of how light affects color that exists in print. Practical for painters at any level.
- The New Drawing on the Right Side of the Brain by Betty Edwards: Useful if you want to add observational drawing to your practice after the first month.
YouTube channels:
- Will Kemp Art School: Short, structured lessons on acrylics and color mixing. Directly beginner-focused.
- Proko: Strong on fundamentals; best for beginners who want to understand form and value.
- The Art of Jordan Hicks: Loose, expressive acrylic painting with clear narration of decisions in real time.
Internal resources from Craftybynumbers:
- Paint a Picture You’ll Love: A Beginner’s Guide: A step-by-step walkthrough for first-time painters.
- Easiest painting styles for new artists: A ranked guide to styles that reward beginners quickly.
What every beginner should know about color theory
Color theory sounds technical. For a beginner, it comes down to four ideas.
Primary colors are red, blue, and yellow. You cannot mix them from other colors, but you can mix everything else from them (plus white and black).
Secondary colors are what you get when you mix two primaries: red + blue = purple, blue + yellow = green, red + yellow = orange.
Warm and cool describes the temperature of a color. Reds, oranges, and yellows feel warm. Blues, greens, and purples feel cool. Mixing a warm and a cool color of the same hue (like a warm red and a cool blue-red) gives you richer, more natural-looking mixes than mixing two warms or two cools.
Value is how light or dark a color is, independent of its hue. This is the single most important concept for beginners. A painting with strong value contrast reads clearly even in black and white. One with weak value contrast looks muddy regardless of how beautiful the colors are.
Start by mixing only from a limited palette and you will learn all four of these concepts through practice, not theory.
How to set up a painting space at home
You do not need a dedicated studio. A kitchen table, a folding card table, or a corner of a bedroom works fine for acrylic painting. What matters is that the space is easy to get to and easy to clean up.
Light: Natural light from a north-facing window is ideal because it is consistent and does not shift color temperature through the day. If that is not available, a daylight LED bulb (5000K–6500K color temperature) placed to your non-dominant side gives you a close equivalent without harsh shadows.
Surface protection: Cover your table with a plastic tablecloth or a silicone mat. Acrylics dry permanently on fabric and wood.
Layout: Keep your palette, water cup, and paper towels within arm’s reach on your dominant side. Put your reference image (phone, printed photo, or object) at eye level so you are not constantly tilting your head.
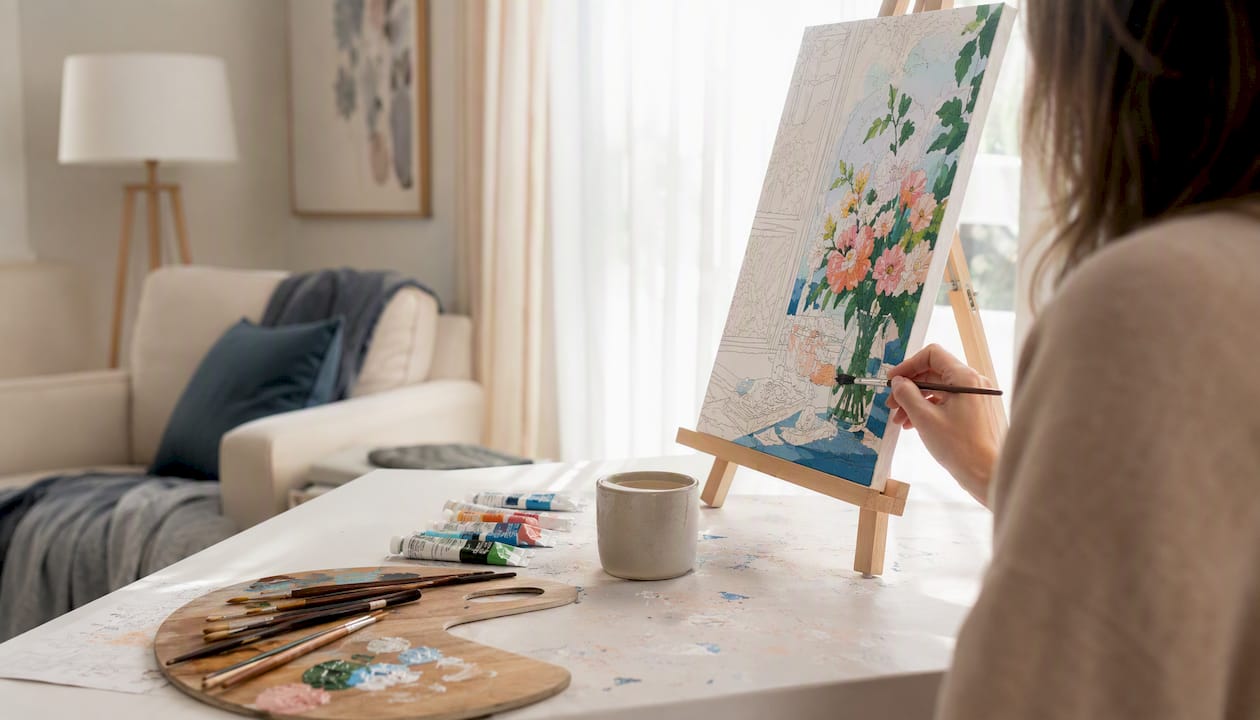
Storage: A small tackle box or a plastic bin with a lid keeps brushes, tubes, and tools organized between sessions. Brushes stored bristle-down in a cup will splay and lose their shape. Store them flat or bristle-up.
Ventilation: Acrylics are water-based and low-odor, but a slightly open window keeps the air fresh, especially during longer sessions.
The goal is a space you can sit down at in under two minutes. Friction kills habits. If setup takes twenty minutes, you will skip sessions. If everything is already out and ready, you will paint.
Why imperfection is the whole point
The conventional advice for beginners is to “embrace mistakes.” That framing is fine but slightly off. Mistakes in painting are not things to tolerate. They are the actual mechanism of learning.
Every muddy mix tells you something about how those two pigments interact. Every overblended passage shows you exactly where to stop next time. Every value that disappears when you squint teaches you more about contrast than any tutorial can. The studies that look worst are often the ones that teach the most, because they make the problem visible.
What I’d push back on is the idea that beginners need to earn their way to “real” painting through months of exercises before touching a canvas with intent. Start with intent on day one. Paint something you actually want to paint, even if the result is rough. The motivation to pick up painting as a hobby matters as much as the technique, because without it, the technique never gets practiced.
The four-week plan in this guide is short by design. Eight small studies are enough to show you what you like, what you struggle with, and what to focus on next. That is more useful than any single “perfect” painting you might spend three weeks on.
Ready for a guided first painting?
If you want your first session to end with something you are genuinely proud to hang up, a Craftybynumbers kit is the most direct path there. Every kit ships with a pre-printed numbered canvas, matched acrylic paints in the exact shades you need, and detail brushes sized for the design. No guessing what colors to buy, no blank-canvas paralysis.
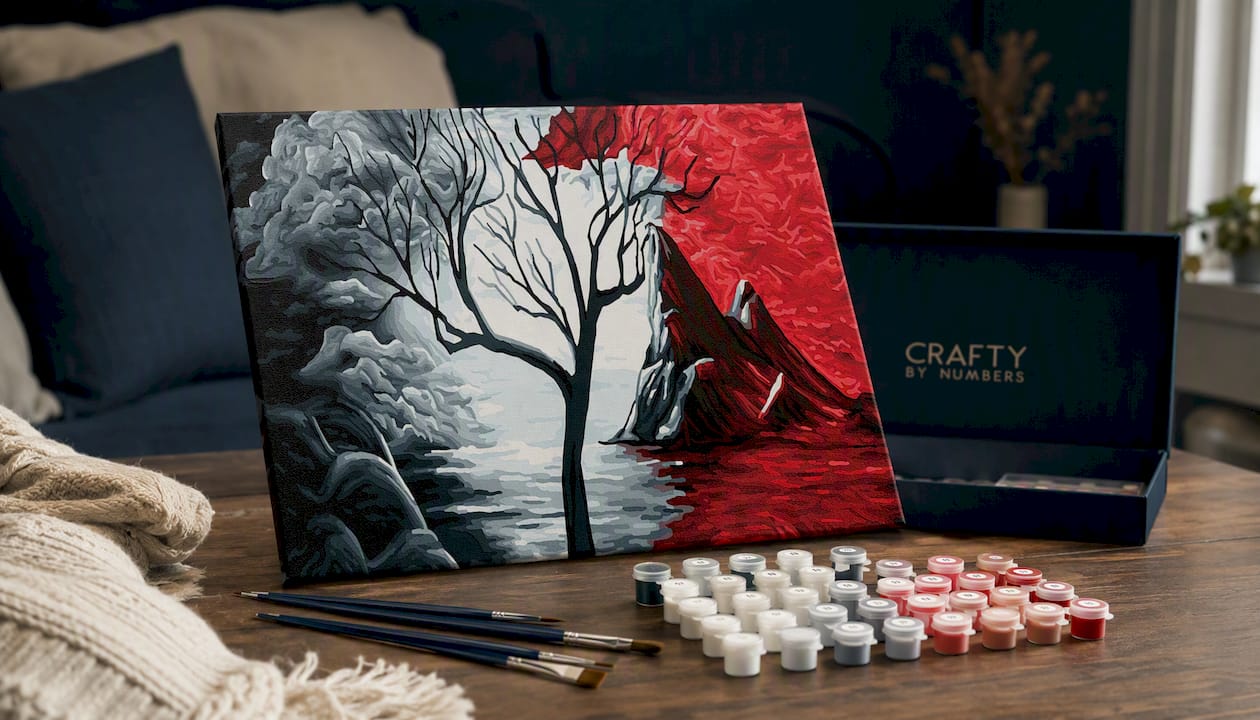
The Dark to Light kit is a strong starting point: the design moves from deep background tones to bright highlights, which naturally teaches you the dark-to-light layering sequence that professional painters use. Over 120,000 customers have used Craftybynumbers kits as their first painting experience. Custom kits built from your own photos are also available for a more personal project. Browse the full kit range at Craftybynumbers and pick the one that fits your style.
Sources
- Jerwoodvisualarts
- How to Begin Painting (Without Wasting Your Time or Money) - Will Kemp Art School
- What Is The 80/20 Rule In Painting? - Sara Kelly-Crockett Fine Arts
- How to Art by Kate Bryan - Penguin
- Vinchyart
FAQ
How do I start painting with no experience?
Pick a small surface, squeeze out three to five acrylic colors, and paint one simple shape or object for 15–20 minutes. Acrylics are the most beginner-friendly medium because they dry fast, layer easily, and clean up with water.
What is the 80/20 rule in painting?
The 80/20 rule means that roughly 20% of your decisions, primarily composition, value relationships, and focal contrast, create about 80% of a painting’s visual impact. Beginners who block in large shapes and values first, before adding any detail, apply this principle directly.
Do I need to know how to draw before I start painting?
No. Painting shapes, values, and color blocks directly onto a surface is a legitimate method that bypasses drawing entirely. Techniques like blocking in large shapes and using a light underpainting let you build a painting without a precise pencil sketch underneath.
What is the 70/30 rule in art?
The 70/30 rule refers to a compositional guideline where roughly 70% of a painting is dominated by one element (such as a background color or value) and 30% by a contrasting element. It is a practical tool for avoiding a visually equal, flat-feeling composition.
Can paint-by-numbers actually teach you to paint?
Yes, when used actively. Focusing on brush pressure, varying brush sizes across sections, and intentionally leaving some areas loose turns a paint-by-numbers kit into a genuine brush-control exercise. The Craftybynumbers Dark to Light kit is designed with this progression in mind.
0 commentaire