

The most reliable way to cover numbers on canvas is a thin white base coat (gesso or white acrylic) over the printed areas, followed by two thin coats of high-opacity paint once dry. For quick spot fixes, a white gel pen or correction fluid works on small numbers before you paint over them. Pale colors often need additional coats, so be prepared for extra layers from the start.
TL;DR:
- Applying a thin white base coat with gesso or acrylic over printed numbers provides better coverage for light colors and prevents ink bleed-through.
- Corrections with white gel pens, correction fluid, or white pencils offer quick fixes for small digits but require careful application to avoid build-up and texture issues.
- Layering multiple thin coats of high-opacity or high-pigment paint improves coverage and minimizes patchy or uneven areas, especially when working with pale shades.
- Proper sequence—priming, initial painting, targeted second coats, and full curing—reduces rework and ensures a smoother finished surface.
- Using the right tools, like detail brushes and smoothing methods, and testing fixes on scraps beforehand, sharpens coverage and prevents damage during correction.
Table of Contents
- How Do You Cover Numbers on Canvas?
- What Tools and Materials Make Covering Numbers Easier?
- What’s the Right Order to Prep, Paint, and Finish a Canvas?
- Why Do Numbers Still Show Through After Painting?
- Which Varnish Hides Numbers Best?
- What Do Experienced Painters and Kit Makers Recommend?
- Can You Sand or Abrade the Canvas to Loosen Printed Ink?
- Can You Remove Printed Number Ink With Chemicals Before Painting?
- How Do You Keep Patched Areas From Looking Different?
- How Do You Avoid Damaging the Canvas While Covering Numbers?
- What Actually Matters When You’re Covering Numbers
- Get Kits Built for Clean Coverage From the Start
- Sources
- FAQ
How Do You Cover Numbers on Canvas?
Every paint-by-numbers hobbyist hits the same wall eventually: a stubborn “12” or “27” ghosting through a pale blue sky or a cream-colored wall. The fix depends on the color you’re painting and how deep the ink sits, but a handful of methods cover almost every situation.
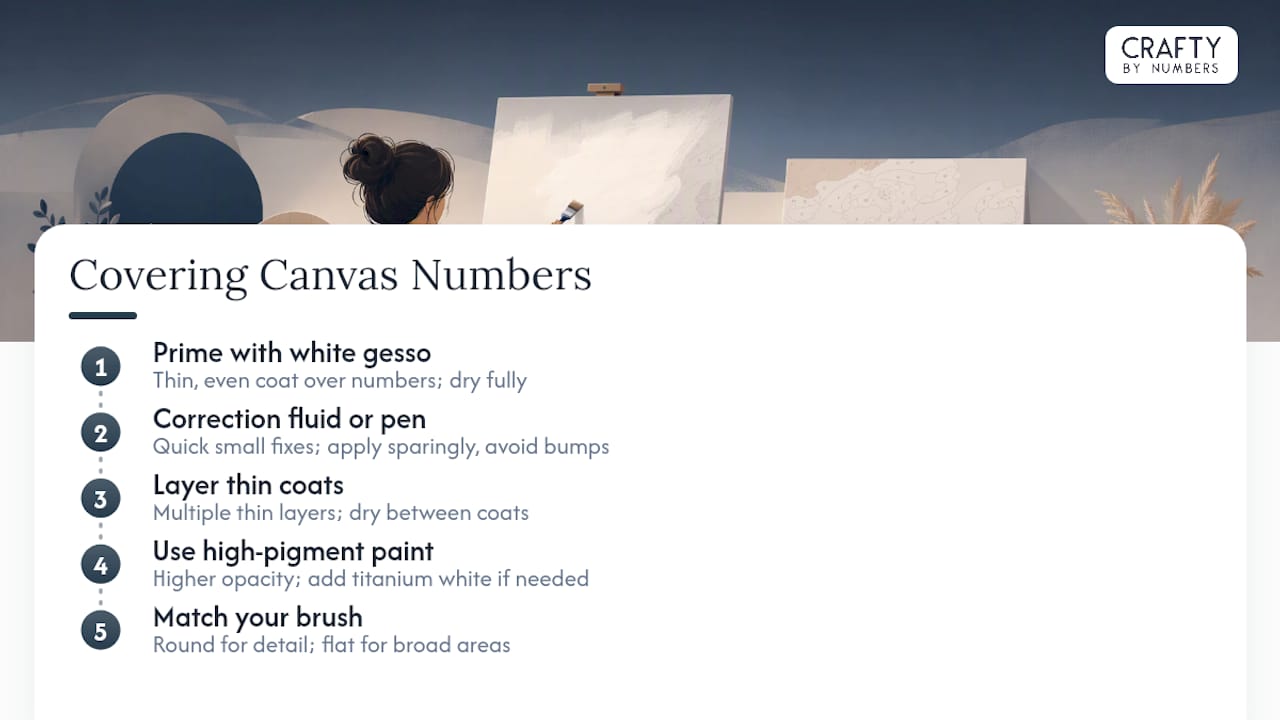
1. Prime with white gesso or thin white acrylic. This is the foundation technique. A thin white base coat blocks printed ink and gives you a clean paintable surface, which matters most under pastels, whites, and light yellows where the ink would otherwise bleed through no matter how much top color you apply. Apply it in a thin, even layer directly over the numbered area, not the whole canvas, and let it dry fully before touching it again.
2. Use correction fluid, a white gel pen, or a white colored pencil for small numbers. These are the fastest fixes when you’re dealing with tiny digits in a busy area. Community painters swear by this trick precisely because it doesn’t require mixing paint or waiting on a full drying cycle. Apply it sparingly. A heavy blob of correction fluid creates a raised bump that shows through your top coat as a lump, not a number.
3. Layer thin coats instead of one thick one. Paint a full first coat, let it dry completely, then go back with a targeted second coat directly over where the number sat. One thick coat looks patchy and often shows brush drag; two or three thin ones build even, solid coverage.
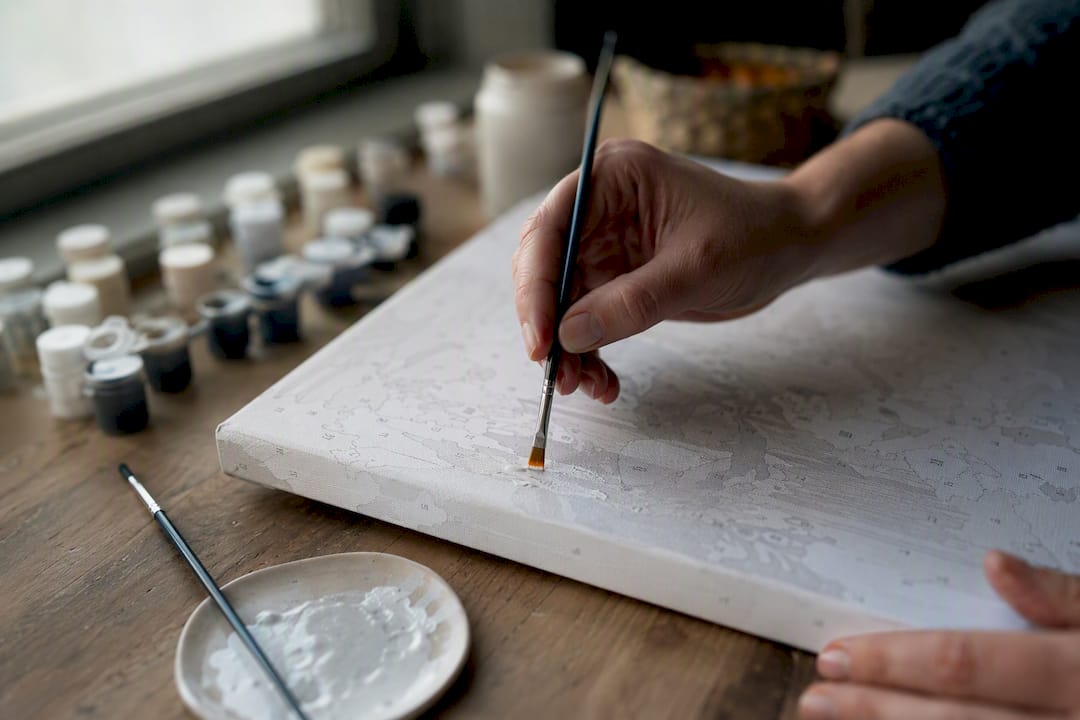
4. Boost opacity with heavy-body or high-pigment paint. Higher-pigment acrylics cover better than thin student-grade paint, especially in pale colors. Mixing in a touch of titanium white increases opacity without shifting the hue much.
5. Match your brush to the job. A small round or liner brush handles tiny numbers and tight corners; a flat brush covers broad areas fast without wasting time on precision you don’t need.
Pro Tip: Keep a spare corner of the canvas, or an offcut if you have one, as a permanent test strip. Try your correction method there before touching the real painting.
What Tools and Materials Make Covering Numbers Easier?
The right supplies save you rework. Here’s what actually matters:
- Heavy-body or high-pigment acrylics cover printed ink in fewer coats than thin, watery student paints, particularly in whites, pale pinks, and light blues.
- White gesso builds tooth into the canvas and blocks ink outright, while a white acrylic primer is thinner and faster to apply for small spot treatments; clear gesso does neither job, so skip it here.
- Small round or liner brushes (size 0 to 2) handle detail work over individual numbers; flat brushes move faster over open background areas.
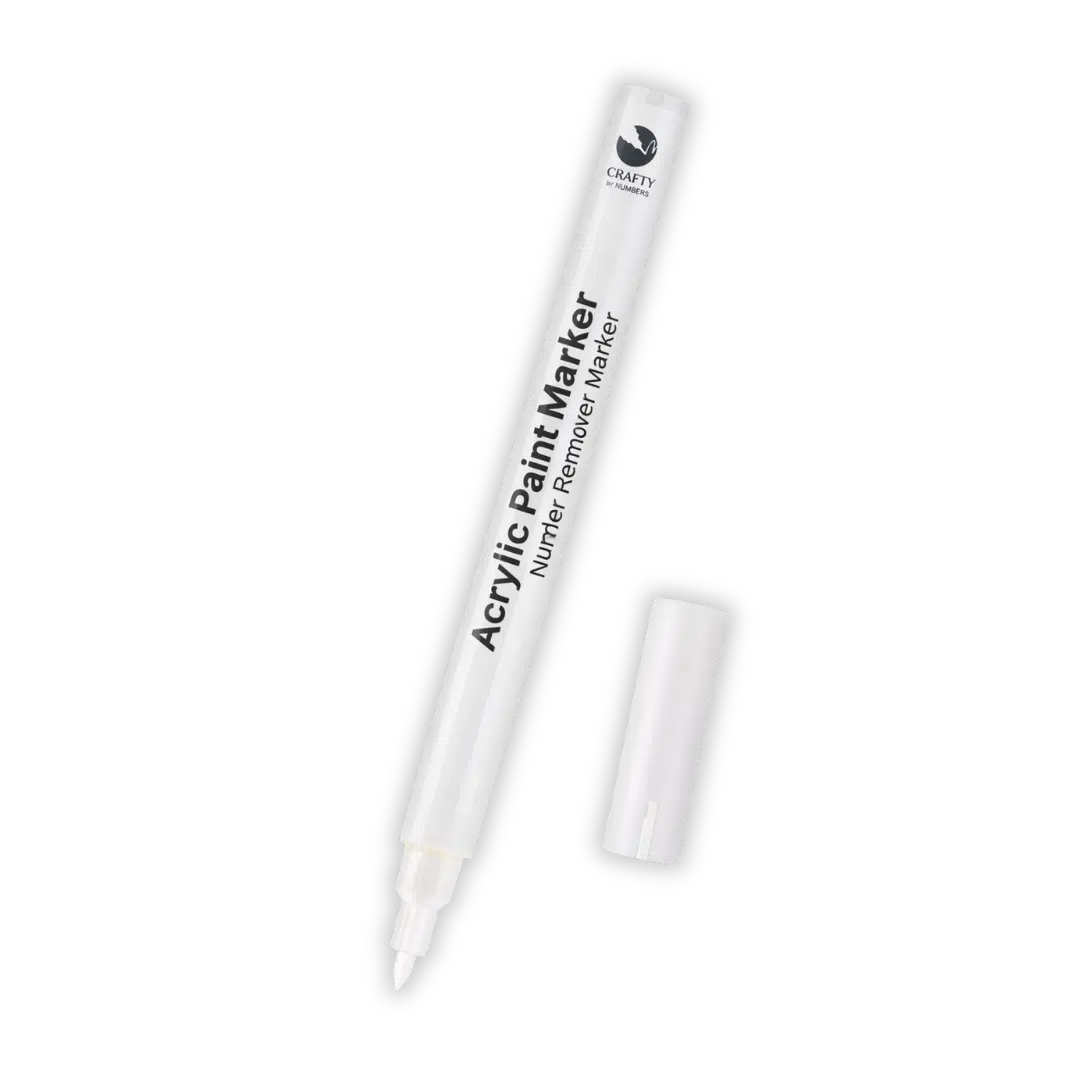
- White watercolor pencils and fine-tip correction pens give you more control than a bottle of correction fluid, especially on small digits.
- Cotton swabs and a small sponge help you dab excess correction fluid or blend a patched edge before it dries hard.
Upgrading even one or two of these, especially your brushes, tends to solve more coverage problems than switching your whole paint set. A beginner supply checklist is worth a look if you’re building out your kit.
What’s the Right Order to Prep, Paint, and Finish a Canvas?
Follow this sequence and you’ll avoid most of the rework that comes from rushing straight into painting.
- Inspect the canvas first. Look for numbers under pale or translucent colors, especially whites, creams, and light yellows. Test your chosen fix, whether that’s gesso, correction fluid, or straight paint, on a scrap corner before committing to the real canvas.
- Prime where needed. Apply a thin coat of white gesso or white acrylic directly over problem numbers. Keep it thin. A thick primer layer creates texture that shows once you paint over it.
- Paint your first coat. Cover the full section as usual and let it dry completely, not just surface dry, before moving on.
- Add a targeted second coat. Go back specifically over the areas where numbers were visible. Feather the edges outward with a light touch so the patch blends into the surrounding color instead of sitting as a visible square.
- Spot-fix any lumps. If correction fluid left a ridge, smooth it gently before your final coat rather than painting straight over the bump.
- Let everything cure, then varnish. Don’t rush this step. Painting or varnishing over a surface that feels dry but hasn’t fully cured is one of the most common causes of dulled or uneven color later.
Following this order from start to finish gives you a much better shot at a clean result than jumping straight to “just paint over it twice,” which is where most first attempts go wrong. For the full process beyond number coverage, this step-by-step painting guide walks through the rest.
Why Do Numbers Still Show Through After Painting?
If a number is still visible after your second coat, don’t repaint the whole section. Add one more targeted coat directly over the ghosted spot instead. Full repaints waste paint and often create a visible texture difference from the surrounding area.
- Lumpy correction fluid: very fine sandpaper, used gently, or a thin skim of gesso smooths the ridge before you repaint over it.
- Dull-looking color over white base: tint your white primer slightly toward the target shade before applying your top coat; pure white underneath can wash out warmer colors.
- Persistent minor texture: sometimes it’s genuinely not worth chasing perfection. A slight texture variation under a satin varnish is far less visible than the same variation left unsealed.
- Test your varnish sheen before committing. A matte or satin finish evens out surface sheen and hides minor inconsistencies better than gloss, which tends to catch light and highlight every bump.
Pro Tip: Hold the canvas at an angle under a lamp before you varnish. Raking light exposes texture and ghosting that look invisible under normal room lighting.
Which Varnish Hides Numbers Best?
Matte and satin varnishes reduce visible ghosting far more effectively than gloss, because gloss reflects light directly off the surface and draws attention to every ridge, brushstroke, and faint number outline underneath. Satin splits the difference: enough sheen to make colors pop, not so much that it exposes flaws.
- Apply varnish in thin, even layers. Pooling in one spot creates a shiny patch that draws the eye straight to whatever imperfection lies beneath it.
- Test your varnish on a scrap first. Some formulas darken or yellow pale colors slightly, which matters if you spent effort matching a light shade.
- If a number is still clearly visible before you varnish, stop and go back to paint. Varnish evens out sheen and minor texture, but it will not hide a number that hasn’t been properly covered.
What Do Experienced Painters and Kit Makers Recommend?
Kits from Craftybynumbers include high-quality acrylic paints matched specifically to each canvas’s palette, along with detail brushes sized for exactly the kind of precision work number-covering demands. That combination matters more than it sounds: paint that’s already formulated for good opacity means fewer surprise touch-ups later.
Can You Sand or Abrade the Canvas to Loosen Printed Ink?
Light abrasion works, but only in specific situations, and it’s not a first-resort technique. If correction fluid or a thick gesso patch has dried into a visible ridge, very light sanding with an 800 to 1000 grit paper can knock down the bump before you repaint over it. Work in small, gentle circular motions and stop as soon as the surface feels level. You’re smoothing a raised patch, not stripping down to bare canvas.
Sanding the printed number itself, before any paint touches it, is riskier and generally not worth attempting. Most paint-by-numbers canvases use a thin cotton or polyester blend, and aggressive sanding can fray the weave or create texture that’s harder to hide than the original number. If you do try it, test on your scrap corner first and use the lightest touch you can manage, checking often rather than sanding in one long pass.
After sanding, wipe away any dust with a slightly damp cloth and let the surface dry fully before applying gesso or paint. Skipping this step traps grit under your base coat, which shows up as tiny bumps once everything dries. This technique is best saved for fixing a coverage attempt that’s already gone slightly wrong, not as a routine prep step for every canvas.
Can You Remove Printed Number Ink With Chemicals Before Painting?
Chemical removal is technically possible on some canvases, but it carries real risk and most hobbyists get better, safer results from covering the ink rather than trying to strip it. Isopropyl alcohol on a cotton swab can sometimes lift a small amount of printed ink if you dab gently and repeatedly, but it can also smear the ink further into the canvas fibers or lift underlying paint if you’ve already started your artwork.
If you’re going to attempt this, do it only before any paint touches that section, and only on a small test area first. Dab, don’t rub. Rubbing spreads pigment rather than lifting it cleanly. Let the canvas dry fully afterward, since residual moisture affects how well gesso or paint adheres on the next pass.
For most painters, this method isn’t worth the gamble. A thin gesso layer over the number achieves the same practical result (an ink-free surface to paint on) without any risk of smearing or fiber damage. Save chemical removal for stubborn cases where covering alone genuinely isn’t working, and treat it as a last resort rather than a standard step in your workflow.
How Do You Keep Patched Areas From Looking Different?
The biggest giveaway on a covered canvas isn’t the number itself. It’s a visible square or blob where the fix was applied, standing out against the surrounding texture and sheen. Matching your patch to its surroundings takes a little extra care but pays off in the final look.
Feather the edges of any touch-up outward with a nearly dry brush, blending the new paint into the old rather than stopping in a hard line. A hard edge is what your eye catches first, even more than a slight color mismatch. Use the same paint consistency across the patch and the surrounding area. If your original coat was thinned slightly and your touch-up is straight from the tube, the two will dry with different textures and catch light differently once varnished.
Match your brush stroke direction to whatever’s already on the canvas around it. This matters most in areas with visible texture, like grass, fur, or fabric, where a patch painted in a different direction stands out under raking light even if the color is perfect. Let each layer dry completely before adding the next; wet-on-wet blending tends to muddy colors and shift the texture in ways that are hard to correct later.
How Do You Avoid Damaging the Canvas While Covering Numbers?
Aggressive fixes cause more damage than the numbers ever did. The most common mistake is scrubbing at a printed number with a wet brush or cloth, which can lift the underlying acrylic layer right along with the ink, leaving a bare patch that’s harder to fix than the original problem.
Work in thin layers and let each one dry before adding the next. Wet paint pressed too hard against a partially dry layer beneath it can pull that layer up, especially over gesso that hasn’t fully cured. If you’re using correction fluid or a gel pen, apply it in a light, single pass rather than going over the same spot repeatedly. Multiple passes soften the canvas fibers and can cause pilling once you paint over it.
When sanding to smooth a ridge, keep pressure minimal and check your progress every few strokes rather than sanding in one continuous motion. It’s easy to go from “smoothing a bump” to “exposing raw canvas” faster than expected, particularly on thinner budget canvases. If you’re ever unsure whether a fix is too aggressive, test it on your scrap corner first rather than risking the real piece. For more general recovery tactics when something goes wrong mid-painting, this guide on common beginner painting mistakes covers several overlapping scenarios.
What Actually Matters When You’re Covering Numbers
Most advice on this topic treats every fix as interchangeable, as if a white gel pen and a full gesso primer solve the same problem. They don’t. The gap in most guides is that they list every technique with equal weight instead of telling you which one to reach for first.
Here’s the judgment call worth making: default to a thin white base coat for anything pale, and save correction fluid or a gel pen for small, isolated numbers under mid-to-dark colors where a full gesso layer would be overkill. The community-tested quick hacks are genuinely useful, but they’re spot tools, not a substitute for proper priming when you’re working in cream, pale pink, or light blue.
The other place conventional advice falls short is drying time. Most patchy results trace back to impatience, not bad technique. Prioritize the test corner and full drying between coats over any specific product choice. Get that discipline right and almost any covering method above will work.
— Paula S.
Get Kits Built for Clean Coverage From the Start
Craftybynumbers designs every kit with high-opacity acrylics and detail brushes matched to the canvas, so you spend less time fighting stubborn numbers and more time actually painting. If pale palettes are giving you trouble, Ivory Essence is built around soft cream and blush tones with paint formulated for exactly this kind of coverage challenge. For richer, more saturated designs, Garden of Dreams and Crimson Cloak pair deep pigment with detailed linework that hides printed guides more easily by nature of their darker palette.
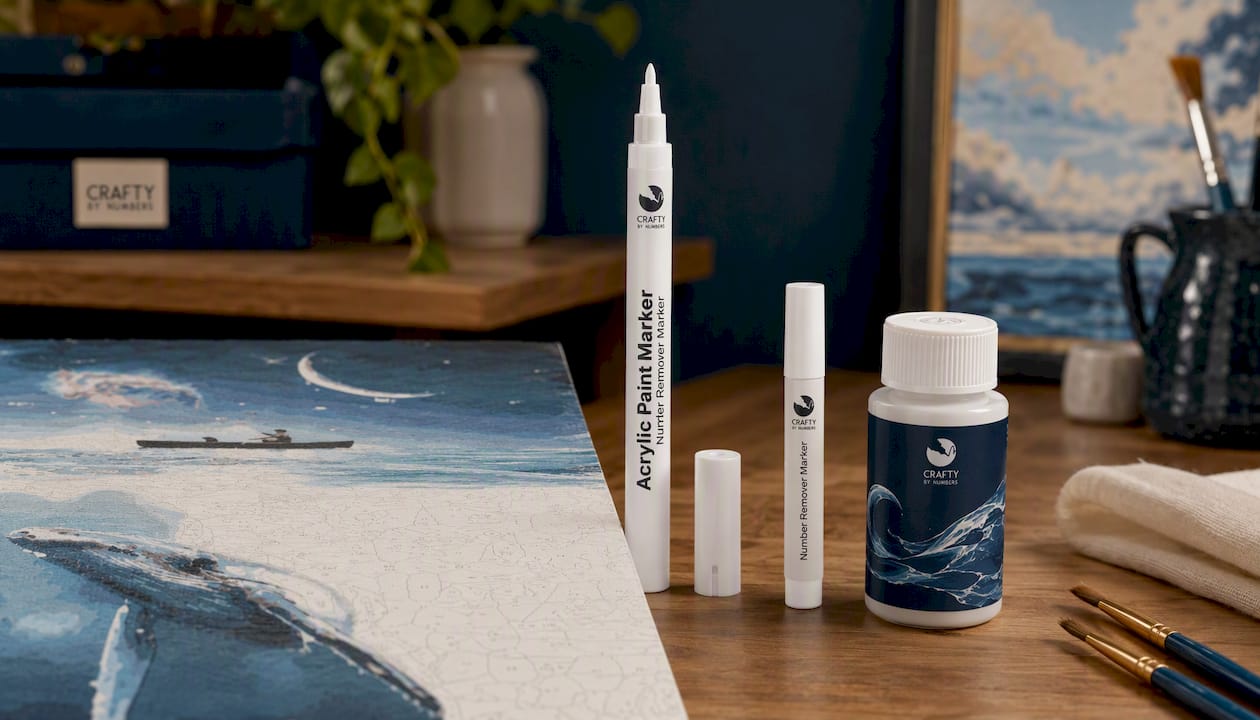
If your current brushes are leaving you fighting for precision on small numbers, the Premium Paint Brushes (Set of 10) give you the fine-tip control this whole process depends on. Browse the full collection and pick a kit that matches your palette preference at Craftybynumbers.
Sources
- Gesso vs primer explained | Martha Stewart
- How to Completely Cover Numbers in Paint by Numbers: Tips for a Flawless Finish - Mummy Fever
FAQ
What Is the 70/30 Rule in Painting?
The 70/30 rule generally refers to color balance, using roughly 70% of a dominant color or tone and 30% for accents or contrast, which helps a painting feel cohesive rather than scattered. It’s a compositional guideline, not a fixed law, so treat it as a starting point rather than a strict ratio.
What Happens if I Don’t Gesso My Canvas?
Skipping gesso on areas with printed numbers means the ink is far more likely to show through, especially under pale or thin colors. A white base coat blocks the ink and gives paint a surface to grip, so without it you’ll likely need several extra coats to reach the same coverage.
What Are Some Tips for Painting by Numbers on Canvas?
Test your paint and any correction method on a scrap corner first, apply thin layers rather than one thick coat, and let each layer dry fully before adding the next. Kits like Craftybynumbers include matched high-quality acrylics and detail brushes specifically to reduce these coverage headaches from the start.
What Is the 80/20 Rule in Painting?
Definitions vary depending on who’s using the term, but it’s commonly applied to time management: roughly 80% of your session spent building base layers and blocking in color, with 20% reserved for fine detail and touch-ups. It’s a rough planning heuristic rather than a strict formula.
Can I Use a White Pencil Instead of Paint to Cover Small Numbers?
Yes, a white colored pencil or gel pen works well on small, isolated numbers, particularly under mid-tone or dark colors where a full primer layer isn’t necessary. Community painters commonly rely on this method for quick fixes rather than repriming the whole section.
0 comments