

Art kits produce professional results when you combine quality materials, proper surface preparation, advanced painting techniques, and protective finishing. This is the standard approach used in structured painting methods like paint-by-numbers, where a pre-printed canvas, acrylic paints, and brushes form the foundation. The gap between a flat, amateur-looking piece and one worth framing comes down to four controllable factors: what you paint with, how you prepare your surface, how you apply paint, and how you seal the finished work. Craftybynumbers has guided over 120,000 painters through exactly this process, and the results speak for themselves.
How art kits produce professional results through better tools
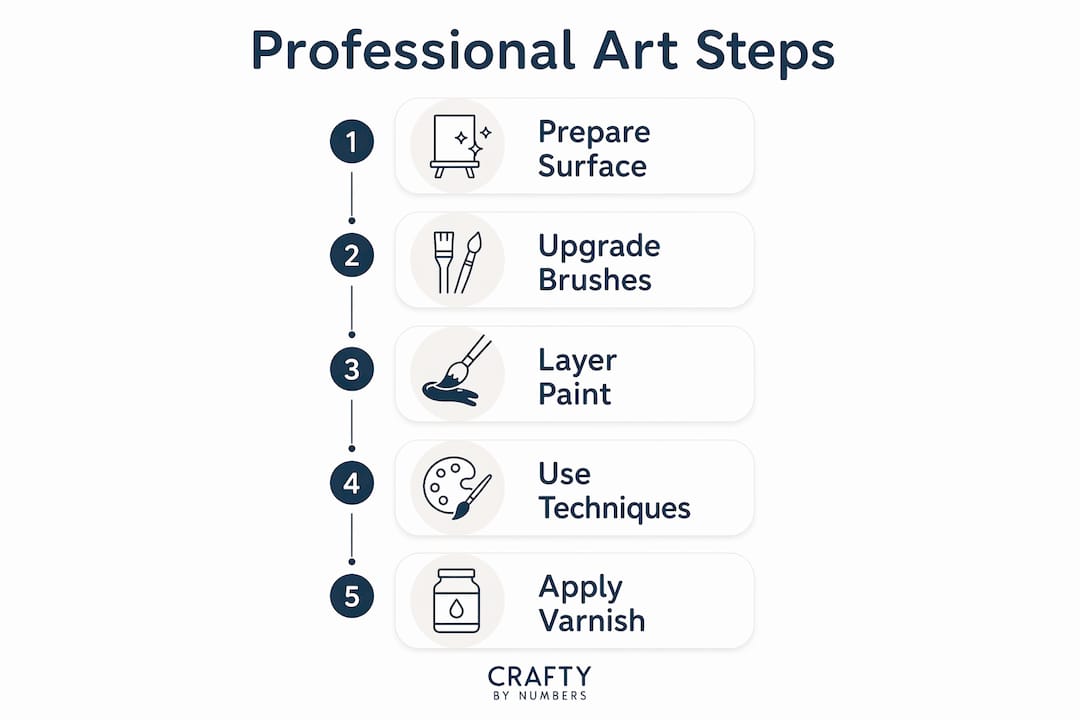
The single fastest way to improve your output is to upgrade your brushes. Standard plastic brushes included in entry-level kits splay and hook after minimal use, destroying fine detail work. Switching to Golden Taklon synthetic brushes for $10–$15 delivers the highest return on investment of any tool change a hobbyist can make. That small spend directly translates to cleaner edges, finer lines, and more control on every stroke.
Paint chemistry matters just as much as brush quality. Adding too much water to acrylic paint is one of the most common mistakes adults make. Adding more than 40% water chemically breaks the acrylic binder, which causes peeling and cracking as the paint dries. Flow improver additives solve this problem completely. Flow improvers maintain binder integrity while increasing paint fluidity, giving you the smooth application of thinned paint without sacrificing durability.
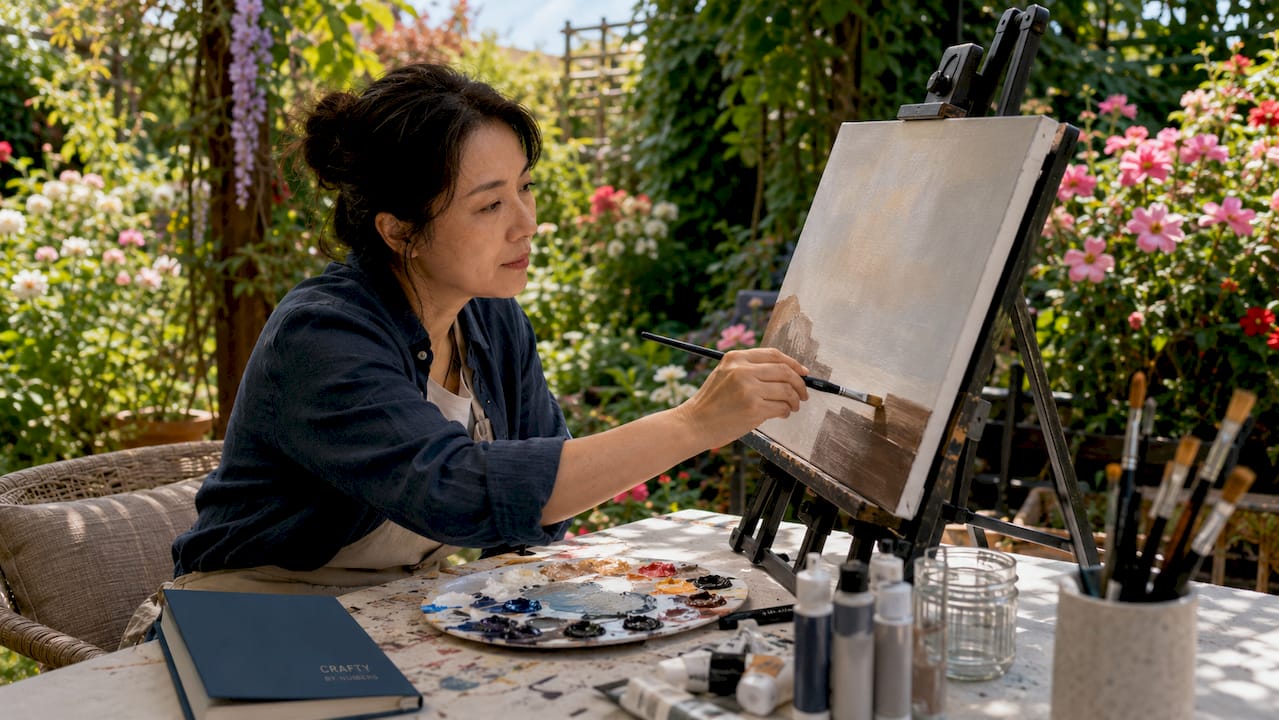
Pro Tip: Buy one quality round brush and one flat brush before anything else. Those two shapes cover 90% of what you need for detail work and broad fills.
The table below shows how specific tool upgrades change your results.
| Standard tool | Professional upgrade | Effect on results |
|---|---|---|
| Plastic kit brushes | Golden Taklon synthetic brushes | Prevents splaying, improves edge precision |
| Water as paint thinner | Flow improver additive | Preserves binder, prevents cracking |
| No primer | Clear gesso primer | Improves adhesion, smooths canvas surface |
| No easel | Tabletop easel | Stabilizes canvas, reduces hand fatigue |
A tabletop easel is one upgrade most painters overlook entirely. Painting flat on a table causes wrist strain and distorts your viewing angle. A stable easel keeps the canvas upright, which gives you a more accurate read of color and proportion as you work.
How do you prepare a canvas for a professional finish?
Preparatory steps constitute at least half the project effort, yet most beginners skip them entirely. Surface preparation directly determines how smoothly paint applies and how long the finished piece lasts. Getting this right before you open a single paint pot is the difference between a flat, streaky result and a gallery-worthy piece.
Start with these steps before you paint a single stroke:
- Iron the canvas on low heat. Roll the canvas out flat and iron the back side to remove creases. Creases create ridges that disrupt brush strokes and make paint pool unevenly.
- Apply a clear gesso primer. Clear gesso adds tooth to the canvas surface, improving paint adhesion without covering the printed number guides you need to follow. White gesso works for areas where you want to brighten the base color, but clear is the safer default.
- Let the primer dry fully. Wait at least two hours after priming before you begin painting. Rushing this step causes the first paint layer to lift or drag.
- Mount the canvas on an easel or board. A canvas that flexes while you paint warps as layers dry. Securing it flat prevents distortion and keeps your lines consistent.
- Organize your paints before starting. Lay out all pots in numerical order. This prevents mid-session hunting and keeps your workflow steady.
Knowing what an art kit includes before you start helps you identify which components need upgrading and which are ready to use as-is.
What painting techniques create a professional appearance?
Technique separates a filled-in canvas from a finished painting. The numbered sections in a paint-by-numbers kit create hard color boundaries by design. Your job as the painter is to soften those boundaries and build depth so the finished piece reads as a unified image rather than a collection of colored shapes.
Layering for depth
Layering multiple thin coats produces better depth than one thick coat every time. A single heavy application looks flat and often shows brush marks. Thin coats build gradually, letting each layer contribute to the final color without muddying the one beneath it. Allow 15–30 minutes of drying time between coats to preserve color vibrancy and texture. Layered paint depth also changes how the artwork reads in different lighting throughout the day, which is a quality marker viewers notice even if they cannot name it.
Blending and feathering edges
- Load a small amount of each adjacent color onto a clean brush.
- While both sections are still wet, use a zigzag motion along the shared edge.
- Wet-on-wet zigzag blending softens hard color boundaries and creates a gradient that mimics real-life shading.
- Wipe the brush clean between each blending pass to avoid muddying colors.
- Let the blended area dry before adding detail work on top.
Dry brushing for texture
Dry brushing uses a brush with almost no paint on it, dragged lightly across a dry surface. This technique creates texture in areas like tree foliage, clouds, and water where a flat fill looks unconvincing. Dry brushing and scumbling are the two techniques that most reliably elevate paint-by-numbers work beyond flat fills into something that reads as genuinely textured.
The White Pen Trick
The White Pen Trick uses a 0.7mm Posca white paint pen to dot numbers on light canvas areas before painting. This creates a fine white base that improves coverage and precision without the thick, uneven layer that a brush loaded with white paint creates. It is particularly useful in pale or cream-colored sections where the printed numbers show through thin paint.
Pro Tip: Paint dark colors before light ones. Dark paint covers mistakes easily. Light paint over dark requires multiple coats and often still shows through.
What varnish and framing options give artwork a professional look?
Sealing your finished painting is not optional if you want professional results. Dust, UV light, and humidity all degrade unprotected acrylic paint over time. A proper varnish coat protects the surface and gives the piece a finished, intentional appearance that signals quality to anyone who sees it.
Satin varnish provides the best balance of natural sheen and protection. It adds depth without the mirror-like glare of gloss or the flat, chalky look of matte. Apply two thin, even coats 24 hours apart for a durable protective film that guards against dust and UV damage.
| Varnish type | Appearance | Best use case |
|---|---|---|
| Gloss | High shine, reflective | Bold, graphic, or high-contrast work |
| Satin | Soft sheen, natural | Most paintings, especially portraits and landscapes |
| Matte | Flat, no reflection | Soft, pastel, or watercolor-style work |
Apply varnish with a wide, soft brush in long, even strokes. Work in one direction only per coat. Crossing strokes while the varnish is wet creates streaks that are visible once dry.
Framing is the final step that transforms a canvas into wall art. Floating frames add dimension and a gallery aesthetic by allowing the painted edges of the canvas to remain visible. They eliminate the need for glass, which matters for acrylic paintings because glass can trap moisture and distort the surface. A floating frame on a well-sealed canvas is the standard presentation choice for professional acrylic work.
Presenting your work professionally through good photography and consistent framing is also key to being recognized as a serious artist, whether you are displaying at home or giving the piece as a gift.
Key Takeaways
Art kits produce professional results when you upgrade tools, prepare the surface properly, apply paint in thin layers, blend edges deliberately, and seal the finished work with satin varnish.
| Point | Details |
|---|---|
| Upgrade brushes first | Golden Taklon synthetic brushes prevent splaying and improve edge precision for under $15. |
| Use flow improver, not water | Flow improver maintains acrylic binder integrity and prevents peeling or cracking over time. |
| Prime before painting | Clear gesso improves paint adhesion and smooths the canvas without covering number guides. |
| Layer thin coats | Multiple thin layers build depth and vibrancy; one thick coat produces flat, muddy results. |
| Seal with satin varnish | Two coats of satin varnish protect against dust and UV while adding natural depth to the finish. |
What I’ve learned from turning art kits into wall-worthy pieces
I used to think the kit itself determined the outcome. Buy a better kit, get a better painting. That belief cost me a lot of frustration before I figured out the real variable: technique and preparation account for far more than the kit’s price tag.
The first time I primed a canvas with clear gesso before painting, the difference was immediate. Paint glided instead of dragging. Colors stayed where I put them. That one step, which takes about ten minutes, changed the quality of every piece I made afterward.
The other thing I underestimated was finishing. I completed several paintings and left them unsealed because I thought varnish was optional. Within a year, two of them had visible dust embedded in the paint surface. Now I treat sealing as part of the painting process, not an afterthought. If you are making art to display or give as a gift, the finish is what the recipient sees first. Make it count.
My honest advice: do not try to upgrade everything at once. Start with one quality brush set and a bottle of flow improver. Master layering before you experiment with blending. Build the habit of preparation before you worry about advanced techniques. The results compound quickly once the fundamentals are solid.
— Paula S.
Craftybynumbers tools that support professional results
Craftybynumbers carries the specific tools that make the techniques in this article work. The professional brushes are built for detail work and hold their shape through extended sessions. For painters who want a full set, the premium paint brush set of 10 brushes covers every stroke type from broad fills to fine line work. Pair either option with a tabletop easel to keep your canvas stable and your posture comfortable. These are the upgrades that turn a relaxing hobby into finished art worth displaying or gifting.
FAQ
What makes an art kit produce professional-looking results?
Professional results come from combining quality brushes, primed canvas, layered paint application, and a protective varnish finish. No single element alone creates the effect; all four work together.
Should beginners use flow improver or water to thin acrylic paint?
Flow improver is the correct choice. Adding more than 40% water breaks the acrylic binder and causes peeling; flow improver thins paint without damaging its structure.
How many coats of paint does a professional finish require?
Two to three thin coats produce the best results. Each coat should dry for 15–30 minutes before the next is applied to preserve color vibrancy and avoid a muddy finish.
What type of varnish is best for paint-by-numbers artwork?
Satin varnish is the best all-around choice. It adds depth and a natural sheen without the glare of gloss or the flat appearance of matte, and two coats applied 24 hours apart provide lasting protection.
Do art kits for beginners need a primer before painting?
Clear gesso primer is recommended for any canvas, including beginner kits. It improves paint adhesion and smooths the surface without covering the printed number guides, making paint application easier and more even.
0 comments