

Gloss varnish is the right call for high-contrast, dramatic, or dark-toned paintings because it deepens color and sharpens contrast; matte suits glare-sensitive rooms and heavily textured pieces where you don’t want a shine competing with the brushwork; satin splits the difference and works for most general display. Whatever you choose, pick a removable formula and lay it down in two to three thin coats rather than one heavy one.
TL;DR:
- Applying a gloss varnish enhances color depth and contrast but increases glare and fingerprint visibility, making controlled lighting essential.
- Satin varnish is the most versatile option for general display because it balances color richness with glare control in various lighting conditions.
- Use two to three thin coats of removable, water-based varnish after full curing and an optional isolation coat for even coverage and future ease of removal.
- Proper application techniques, like shaking matte products and avoiding overworking, prevent streaks, cloudiness, and uneven sheen.
- Regular maintenance with soft cloths and reapplication every few years keeps the varnish clear and effective, especially in demanding environments.
Table of Contents
- Gloss vs Matte Varnish Acrylic: Why You Need to Varnish at All
- Gloss, Satin, and Matte Compared: Sheen, Glare, and Color Impact
- How to Choose a Varnish: A Practical Checklist
- How to Apply Varnish Without Ruining a Finished Painting
- Why Trust This Varnish Guidance From Craftybynumbers
- Does Gloss or Matte Varnish Last Longer?
- Does Varnish Type Affect Color Fading and UV Protection?
- Will Gloss or Matte Varnish Work Over Any Acrylic Paint?
- How Do You Remove and Maintain Varnish Over Time?
- Studio Habits vs Home Reality: What Hobbyists Get Wrong
- Finish Your Craftybynumbers Painting Right With the Correct Varnish
- Sources
- FAQ
Gloss vs Matte Varnish Acrylic: Why You Need to Varnish at All
Varnish is a sacrificial layer. It sits on top of your paint film and takes the hit from dust, grime, and UV exposure so the paint underneath doesn’t have to. Without it, acrylic paintings slowly pick up a grayish film of airborne dirt that’s nearly impossible to clean off the paint itself. With a varnish layer, you can wipe or even strip that same grime away decades later.
That’s the whole argument for choosing a removable formula over a permanent one. Removable varnishes dissolve in mild solvents or mineral spirits without touching the paint underneath, which means a future cleaning or restoration doesn’t put the artwork at risk.
Before any of that, timing matters. Acrylic paint needs to be fully cured, not just dry to the touch, before you varnish. Many painters add an isolation coat first, a clear layer of soft gel medium that seals the paint and creates a buffer the varnish can later be removed from without lifting color. From there, the standard approach is straightforward:
- Confirm the paint is fully cured, not just surface dry.
- Apply an isolation coat if you want an extra layer of insurance for future removal.
- Brush or spray two to three thin coats of varnish.
- Let each coat dry completely before adding the next.
Skipping straight to a single thick coat is the single most common mistake hobbyists make, and it’s the one most likely to cause the streaking and cloudiness covered later in this guide.
Gloss, Satin, and Matte Compared: Sheen, Glare, and Color Impact
The three finishes don’t just look different sitting in the can. They change how a painting reads once it’s hanging on a wall under real light.
- Gloss creates a hard, reflective surface that pulls more saturation and contrast out of your colors than either satin or matte. Dark blacks stay genuinely dark, and jewel tones look wet and rich even once fully cured. The trade-off is glare: gloss reflects window light and overhead fixtures, and it shows every fingerprint. It performs best in controlled lighting, like a gallery with directional spots, rather than a sunny living room wall.
- Satin is the middle ground, a semi-gloss finish that keeps enough sheen to read as “finished” without turning into a mirror. It’s the most commonly recommended finish for general display precisely because it balances color depth against glare control, and it tends to forgive mixed or unpredictable lighting better than either extreme.
- Matte uses fine matting agents that scatter light across the surface instead of letting it bounce straight back at the viewer. That kills glare almost entirely, which is why matte is popular for paintings that will hang opposite a window. The same matting agents that reduce shine can also lighten deep blacks toward a soft charcoal gray, and if you apply too many coats, the surface can start to look faintly dusty rather than clean and flat.
Texture changes the calculation too. Heavy impasto work, thick ridges of paint built up with a palette knife, tends to look better under matte or satin because gloss can make the peaks and valleys look uneven or waxy under raking light. If you plan to photograph the painting for a portfolio or print sale, matte and satin also photograph more predictably since they don’t throw hot spots of reflected light into your camera lens the way gloss can.
Statistic Callout: Across nearly every manufacturer guideline, the number that keeps showing up is two to three thin coats. That’s the standard for a reason: thin layers dry evenly and resist the clouding and drips that come from trying to get full coverage in one pass.
How to Choose a Varnish: A Practical Checklist
Match the varnish to the room the painting will actually live in, not just to what looks best on your easel under studio lights.
- Check the light first. A painting hanging across from a window or under track lighting will show every bit of gloss glare. If you can’t control the lighting, lean toward satin or matte.
- Think about mood, not just subject. A moody, high-contrast portrait wants gloss to hold its darks. A soft landscape or a heavily textured piece usually reads better under matte or satin.
- Prioritize removability. Look for a water-based removable polymer varnish, or one explicitly labeled removable mineral spirit acrylic (MSA), so a future cleaning doesn’t become a restoration emergency.
- Match the application format to your surface. Brush-on varnish is fine for smooth or lightly textured paintings, while spray is often the safer choice on heavy impasto because it won’t drag through the ridges.
- Watch for red flags. Steer clear of anything labeled simply “permanent” with no removal instructions, and be wary of matte products that don’t tell you to stir or shake before use. Matting agents settle at the bottom of the container, and skipping agitation is a fast route to streaky, uneven sheen.
Pro Tip: If you genuinely can’t decide, buy satin. It’s the safest default for a painting whose final home you don’t control yet, and it won’t fight with either bright or dim lighting.
How to Apply Varnish Without Ruining a Finished Painting
Getting the sheen right on paper doesn’t matter if the application goes wrong. Most varnish disasters come down to rushing or overworking the surface.
- Prep the surface. Make sure the paint is fully cured, apply an isolation coat if you’re using one, and if you’re using matte or satin, stir or shake the container for a full minute or more. Matting agents settle at the bottom of the can, and a quick shake isn’t enough to redistribute them evenly.
- Choose your sequence. A pro routine that works well for hobbyists is applying one or two thin gloss coats first to seal the surface and even out absorbency, then finishing with a single thin matte or satin coat on top. This avoids the dusty buildup that can happen when matte is applied in multiple heavy layers.
- Pick brush or spray deliberately. Brush application gives you more control on smooth surfaces, but spray reduces the risk of brush marks on textured or impasto work, where bristles can drag and leave streaks.
- Don’t overwork it. Once varnish starts to set, leave it alone. Going back over a half-dry coat with a brush introduces air bubbles, and those bubbles are a leading cause of the cloudy, milky look that ruins an otherwise good varnish job.
Pro Tip: If you see cloudiness or streaking after a coat dries, don’t panic. Let it cure fully, then lightly recoat rather than trying to fix it wet. A removable varnish means you can strip a bad layer and start over if it’s truly unsalvageable.
Why Trust This Varnish Guidance From Craftybynumbers
The company is experienced in supporting customers finishing acrylic paintings, many of whom start from pre-printed canvases with matched acrylic paints and detail brushes. That volume means recurring questions about what happens after the last brushstroke, and varnishing is the one that comes up most.
Every kit is built for a hobbyist painting environment, not a professional studio, so the advice here is calibrated for that reality: home lighting, limited ventilation for spray varnish, and paintings that usually end up on a living room wall rather than in a gallery. For more on what happens before you ever pick up a varnish brush, the guide to acrylic paint drying time and the piece on protecting finished paint by numbers artwork cover the groundwork this article builds on.
Does Gloss or Matte Varnish Last Longer?
Durability isn’t really about which finish survives longer. Both gloss and matte varnishes, applied correctly, protect the paint underneath from dust, grime, and light abrasion for years. The bigger difference is how each finish ages visually and how forgiving it is of application mistakes.
Gloss shows wear differently than matte. A gloss surface that picks up dust or fine scratches reveals them instantly because the reflective surface highlights every imperfection. Matte hides light surface scuffs more effectively since the scattered light doesn’t catch small scratches the way a mirror-like gloss finish does. That makes matte a more practical pick for paintings that will be handled, moved, or displayed somewhere with foot traffic, like a hallway or a kid’s bedroom.
Where gloss pulls ahead is UV resistance perception. Because gloss keeps colors looking saturated and vivid, any gradual fading is harder to spot with the naked eye until it’s fairly advanced. Matte’s flatter, lighter appearance can make even mild fading more noticeable sooner, simply because the baseline color already reads a bit softer.
Neither finish is inherently more durable in terms of the physical protective film. What matters more is coat thickness and consistency. Two to three thin, even coats of either gloss or matte will outlast a single heavy coat of the “tougher-sounding” option, because thin layers cure fully and resist the micro-cracking that thick, unevenly dried varnish is prone to over time.

Does Varnish Type Affect Color Fading and UV Protection?
Most acrylic varnishes marketed for indoor artwork include UV inhibitors regardless of sheen, so the UV protection itself doesn’t change dramatically between gloss, satin, and matte versions from the same product line. What changes is how fading shows up once it eventually happens.
Gloss varnish, by creating a smooth reflective surface, tends to keep colors reading richer and more saturated for longer, which can mask early-stage fading. Matte varnish’s matting agents already mute the surface slightly, so any actual color loss from UV exposure compounds with that existing flattening effect and becomes visible sooner.
This is why exterior murals and outdoor pieces need dedicated exterior varnishes with UV inhibitors and flexible binders, not the standard interior gloss or matte products discussed throughout this guide. Interior varnish, whatever the sheen, is not built for direct sun exposure over years.
One thing worth knowing before you commit to a sheen: varnish will deepen colors while it’s still wet, sometimes dramatically. That’s a temporary effect from the wet film, not a preview of a permanent color shift. A quality varnish applied correctly settles back to a stable, predictable appearance once fully cured, so don’t judge the final look until the varnish has had a full day or two to set.
Will Gloss or Matte Varnish Work Over Any Acrylic Paint?
Most artist-grade and student-grade acrylic paints, regardless of brand, accept both gloss and matte varnish without issue once the paint has fully cured. The bigger compatibility question isn’t brand versus brand. It’s varnish family versus medium.
Water-based polymer varnishes, the removable kind recommended throughout this guide, are compatible with standard acrylic paint films and most acrylic mediums, including gloss mediums, matte mediums, and glazing mediums used underneath the final paint layer. If you built up texture with a heavy gel medium or molding paste, that surface still takes varnish normally as long as it’s fully dry.
Where compatibility gets more particular is with mixed media. Acrylic paintings that incorporate charcoal, pastel, or certain inks underneath the paint layer can behave unpredictably under varnish, since those materials weren’t designed to be sealed the same way. If your painting includes non-acrylic elements, test the varnish on a small hidden area first.
It’s also worth checking whether your isolation coat and final varnish are from compatible product families. Mixing a soft gel medium isolation coat with an unrelated varnish chemistry usually works fine, but sticking with the same manufacturer’s isolation coat and varnish line removes any guesswork about how the layers will bond and how easily the top varnish layer will lift off later if you ever need to remove it.
How Do You Remove and Maintain Varnish Over Time?
A removable varnish is only useful if you actually know how to remove it when the time comes. Water-based removable polymer varnishes typically come off with a mild solvent recommended by the manufacturer, applied gently with a soft cloth in small sections rather than scrubbed across the whole surface at once.
Removable mineral spirit acrylic (MSA) varnishes need mineral spirits or a compatible solvent instead, so check which family your varnish belongs to before attempting any cleaning. Never guess at a solvent based on what worked on a different painting. The wrong solvent can lift paint along with the varnish, especially if there was no isolation coat protecting the paint layer underneath.
For routine maintenance rather than a full removal, a soft, dry microfiber cloth handles dust buildup on both gloss and matte surfaces. Avoid household glass cleaners or all-purpose sprays. Many contain ammonia or alcohol that can haze or soften a varnish film over time.
Plan on a full varnish inspection every few years, especially for paintings hanging in kitchens, near fireplaces, or in direct sunlight, since those environments accelerate both dust accumulation and any gradual UV effects. If you notice a yellowing tint, a cloudy haze, or fine surface cracks, that’s usually the varnish aging, not the paint underneath. A removable varnish means the fix is a careful strip and recoat rather than a full painting restoration.
Studio Habits vs Home Reality: What Hobbyists Get Wrong
The conventional advice on varnish sheen treats gloss, satin, and matte like a purely aesthetic choice, as if you’re picking a paint color. That undersells how much the room itself decides the outcome. A gloss varnish that looks stunning under gallery spotlights can turn into an unreadable glare panel across from a bay window, and no amount of color depth makes up for a painting nobody can actually see clearly.
What gets overlooked most often is the gloss-first, matte-final sequence. Hobbyists tend to assume matte means “just use matte varnish,” when layering a gloss seal coat underneath actually produces a cleaner, less dusty matte surface than matte alone. That single technique fixes more amateur varnish complaints than any product choice does.
If there’s one thing to prioritize before picking a sheen, it’s the wall the painting will actually hang on, not the lighting in your workspace. Match the varnish to where the piece lives, choose a removable formula out of habit, and apply thin coats without exception. Everything else is refinement.
— Paula S.
Finish Your Craftybynumbers Painting Right With the Correct Varnish
Craftybynumbers kits include acrylic paints and detail brushes suitable for painting projects, so the varnish step deserves proper care. For sealing color and adding depth before a final coat, the Acrylic Medium Gloss Gel works as a first-layer seal that boosts saturation without committing you to a full gloss finish.
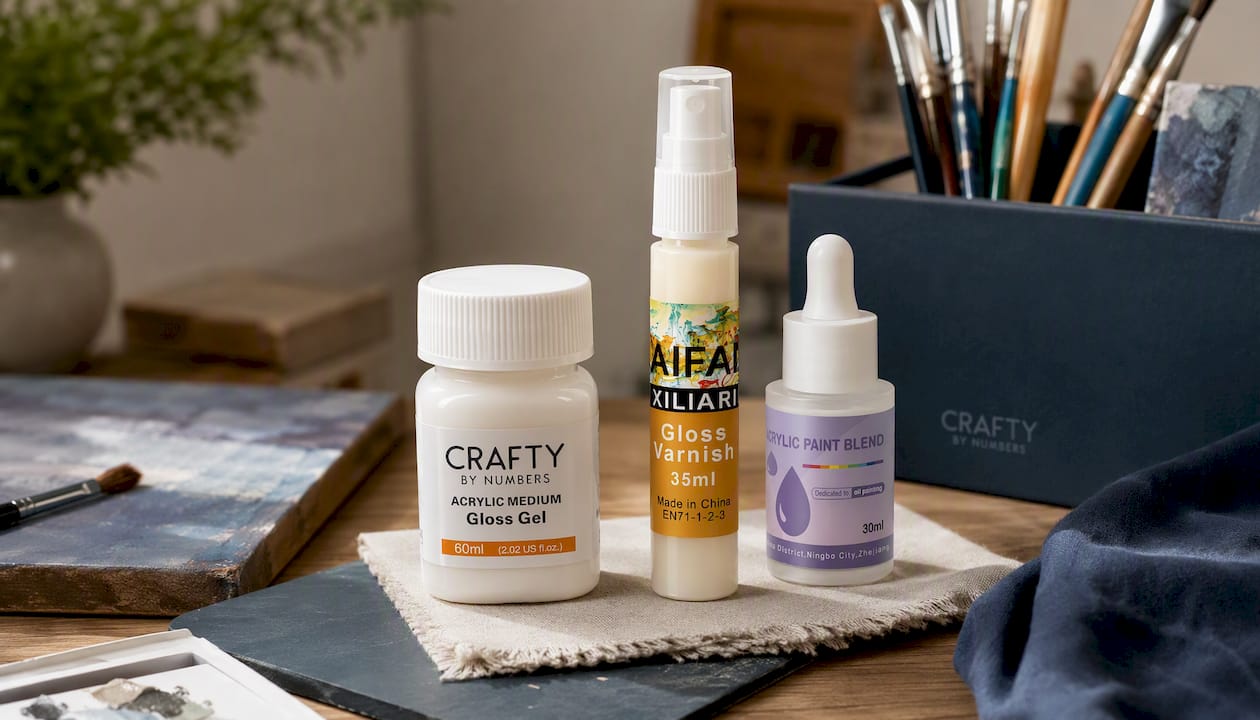
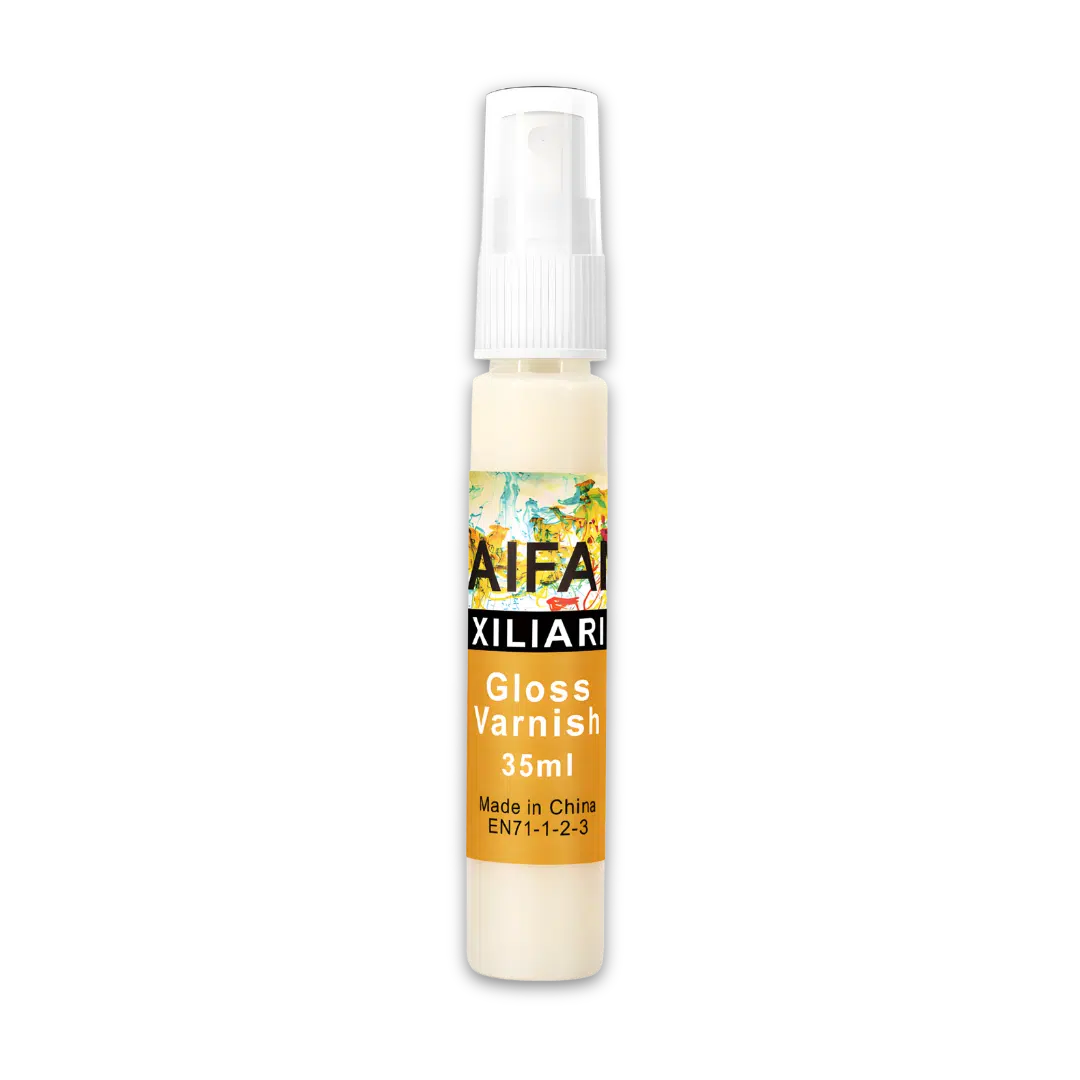
If your finished piece has high contrast or dark tones you want to keep punchy, the Gloss Varnish delivers the saturation and depth that display-ready pieces need. For anyone juggling multiple paintings with different sheen needs, or who wants a maintenance option on hand for future touch-ups, the Bundle Gloss & Revive pairs a gloss finish with a revive formula so you’re covered on both the initial seal and the long-term upkeep. Browse current paint by numbers kits to pick your next canvas, then head to the varnish product pages to finish it properly.
Sources
- Liquitex Professional Satin Varnish (UK product page)
- Best Varnish for Acrylic Paintings for Artists | Nova Color
- How to varnish acrylic paintings | Winsor & Newton (UK guidance)
FAQ
Is Matte or Gloss Varnish Better for Acrylic Paintings?
Neither is universally better. Gloss suits high-contrast or dark-toned work displayed under controlled lighting, while matte suits glare-prone rooms and heavily textured paintings, with satin as the safest middle ground for general display.
What Type of Varnish Is Best for Acrylic Painting?
A removable, water-based polymer varnish is generally the safest choice because it protects against dust and UV while allowing future cleaning or restoration without damaging the paint underneath.
Is a Gloss or Matte Finish Better Overall?
It depends entirely on lighting and subject. Gloss maximizes color saturation and contrast but shows glare and fingerprints, while matte controls glare but can lighten deep blacks and needs thorough stirring before use to avoid streaks.
Will Varnish Change the Color of My Acrylic Painting?
Varnish temporarily deepens color while wet, but a quality product applied in thin coats should not permanently alter your colors once fully cured.
How Many Coats of Varnish Should I Apply?
Apply two to three thin coats, letting each one dry fully before adding the next, rather than one thick coat that risks streaking or clouding.
0 Kommentare