

Start small, keep it short, and let the paint do the teaching. A first painting session works best when it lasts 20 to 30 minutes, uses a tiny non-toxic starter kit, and follows a simple rhythm: demonstrate, practice, project, reflect. That’s it. You don’t need an easel, a smock collection, or any real art background to pull this off.
If you’d rather skip the shopping trip, a ready-made kit from Craftybynumbers gives you everything pre-sorted, and the brand has walked more than 120,000 customers through their own first canvas.
Here’s the quick plan to get started today:
- Materials: one or two child-size brushes, washable paint (two or three colors max), and sturdy paper or cardboard
- Timing: 20 to 30 minutes total, broken into four short chunks
- Technique: pick just one thing to show them, like a flat brush stroke or mixing two colors into a third
Key Takeaways
A short, process-focused session built on the demonstrate, practice, project, reflect rhythm is the most reliable way to guide kids through their first painting project.
| Point | Details |
|---|---|
| Keep the kit tiny | One or two brushes, washable paint in two or three colors, and sturdy paper are enough. |
| Follow the 4-step rhythm | Demonstrate for a few minutes, practice on scrap, complete a small project, then reflect briefly. |
| Talk about process, not results | Ask observation-based questions like “What happens if you add yellow?” instead of evaluating the outcome. |
| Plan for 20 to 30 minutes | Scale timing down for toddlers and up slightly for kids age 8 and older. |
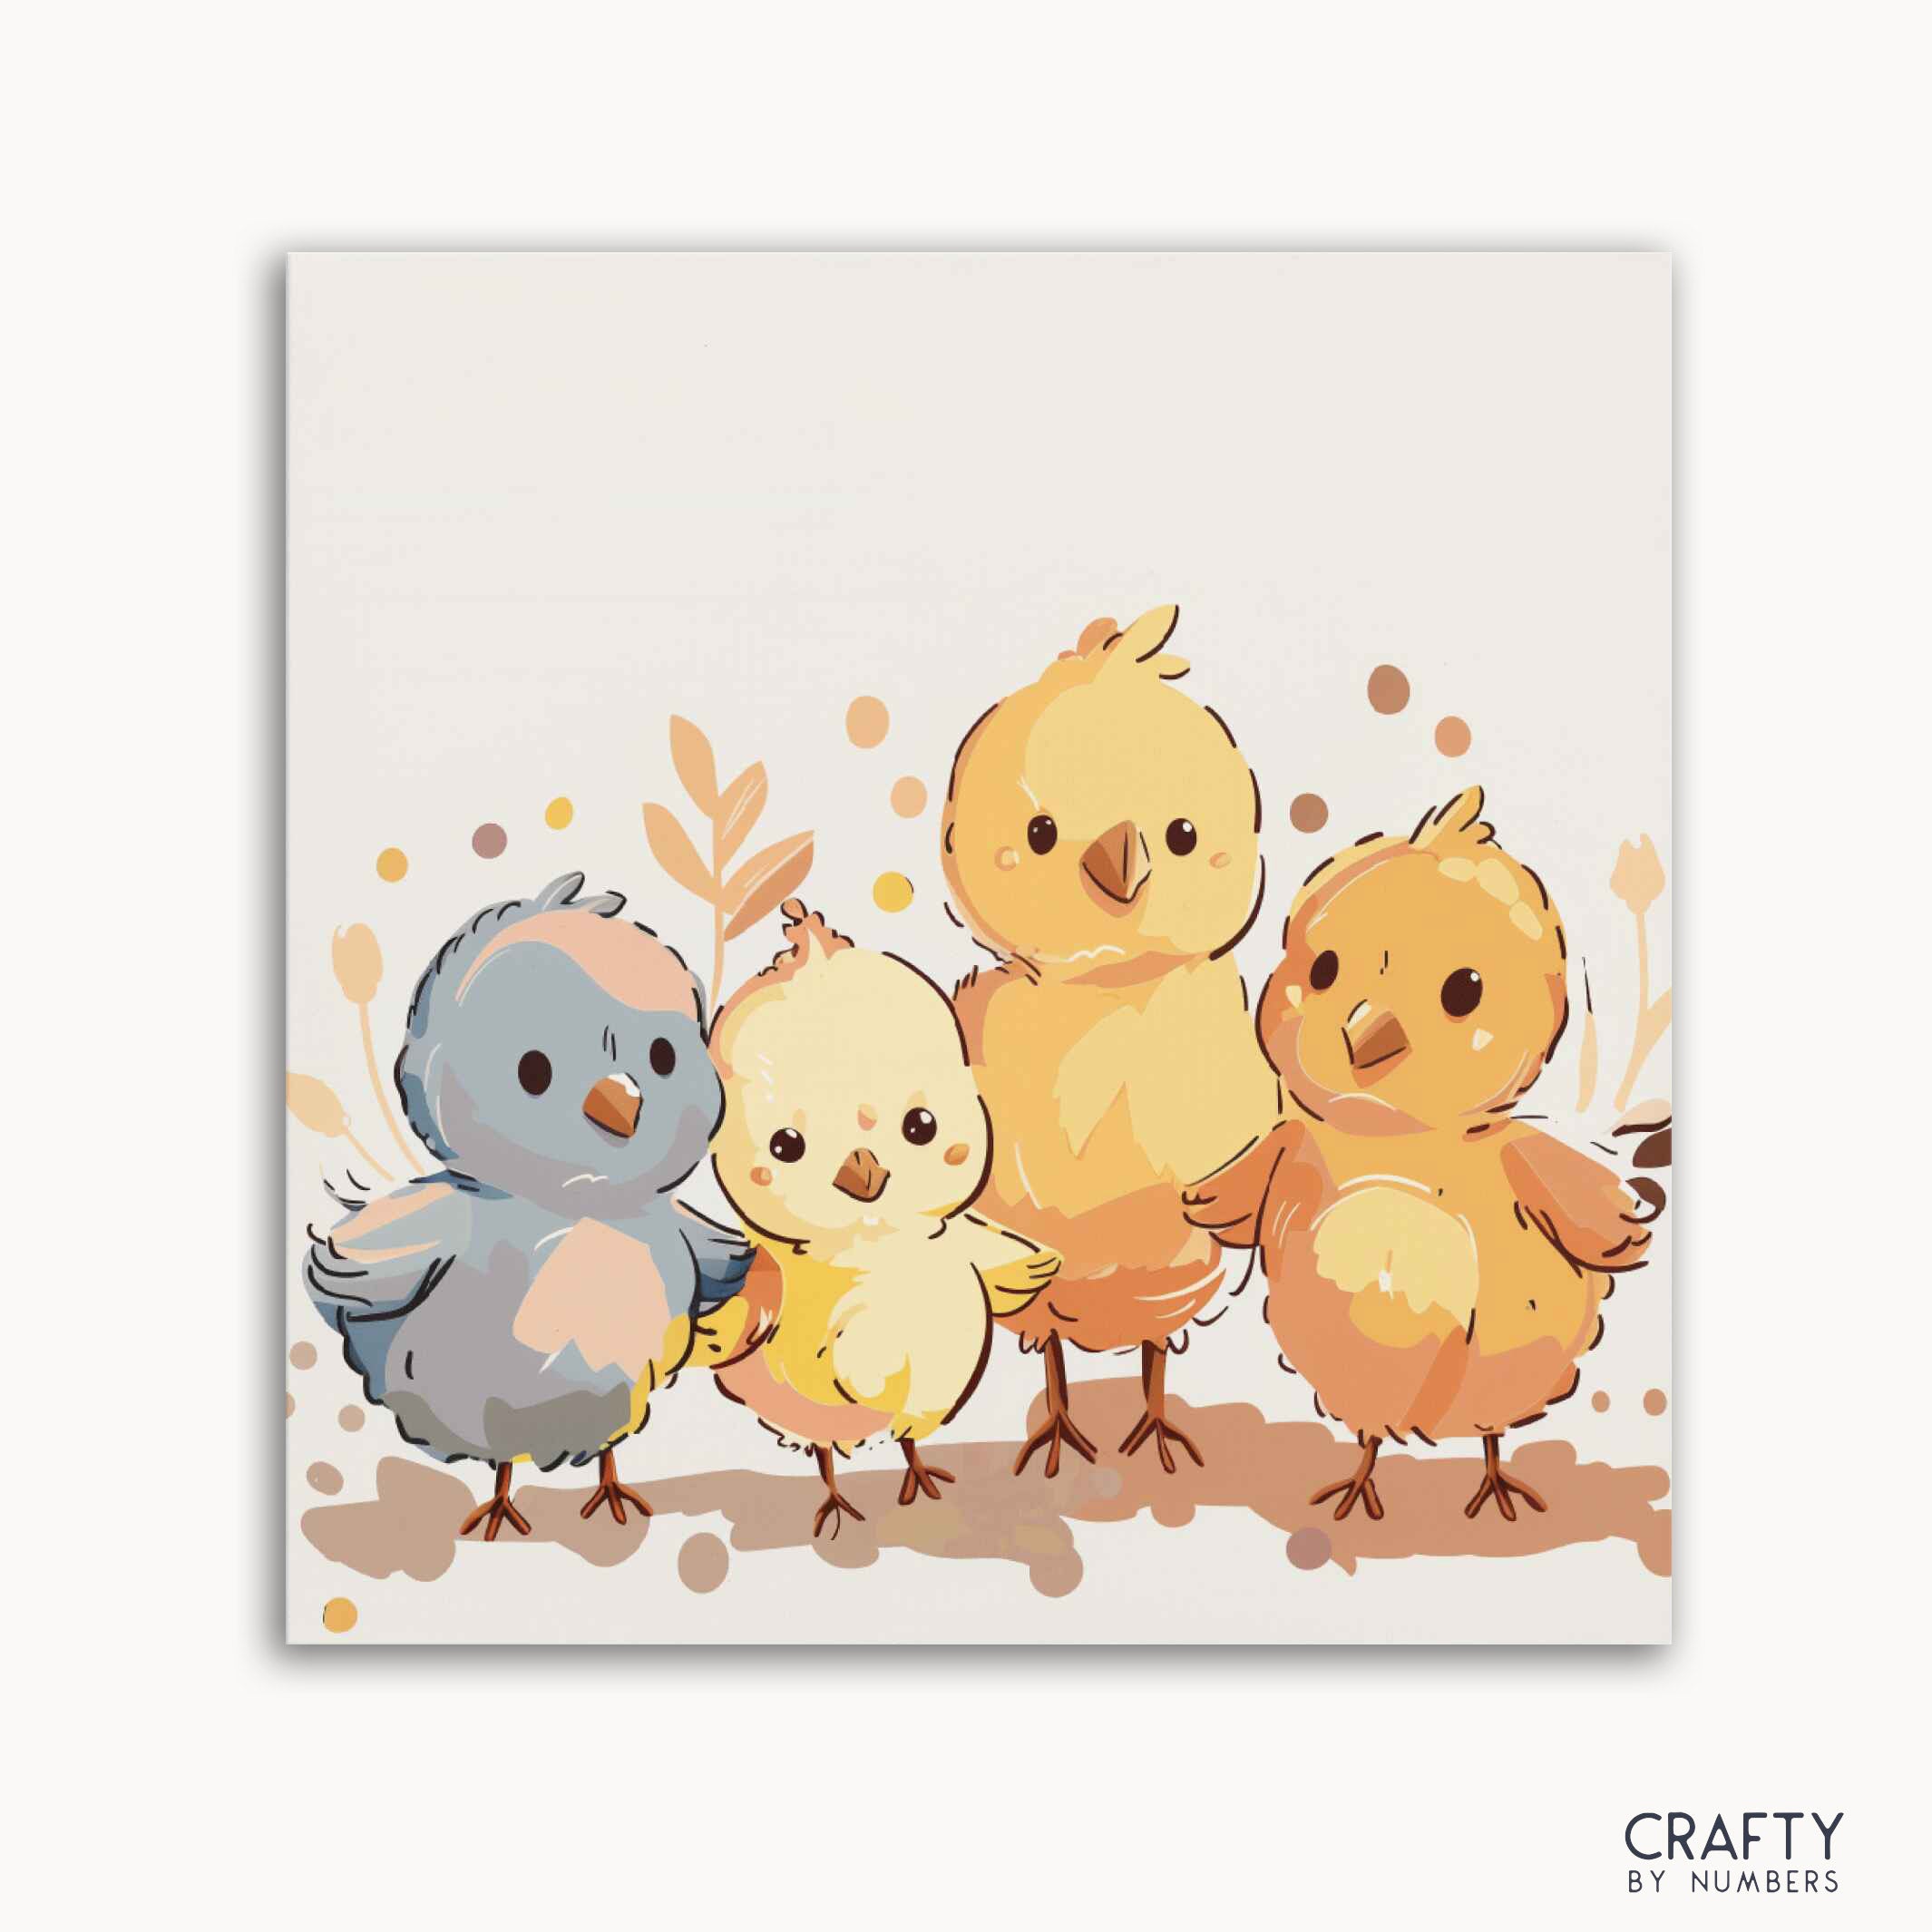
| Consider a ready-made option | Craftybynumbers kits like Little Chick Parade come with a pre-printed canvas and matched paints for a low-prep first project. |
Table of Contents
- How Do You Guide Kids Through a First Painting Project?
- Setting Up a Simple, Low-Mess Workspace
- What Does a First Painting Session Actually Look Like?
- Six Beginner Painting Projects Kids Actually Enjoy
- Talking to Kids in a Way That Builds Confidence
- Managing Mess and Keeping It Safe
- Sources
- FAQ
How Do You Guide Kids Through a First Painting Project?
You guide a child through their first painting project by keeping the material list short, the session short, and the goal focused on exploration rather than a finished masterpiece. Painting with kids works best when you start small, protect the workspace ahead of time, and treat the whole thing as process-based exploration rather than a race toward a realistic picture.
That single shift in mindset changes everything about how the session goes. Instead of correcting a wobbly line or worrying that the sky is purple instead of blue, you watch for moments of discovery: the second a child notices that red and yellow make orange, or that a dry brush makes a scratchy mark while a wet one glides. Those moments are the actual point of a first project. A recognizable picture is a nice bonus, not the goal.
Parents often overcomplicate this. The instinct is to buy a full acrylic set, a proper easel, and a canvas, then feel disappointed when the child loses interest after four minutes. Flip the approach instead: fewer supplies, shorter time, one clear skill. That’s the whole formula, and it scales up naturally as your child gets older and more coordinated.
Setting Up a Simple, Low-Mess Workspace
You don’t need much to run a first session, and buying too much is actually the most common mistake. A workable starter kit includes one or two child-size brushes, small pots of non-toxic washable paint, a shallow cup of water, a paper plate for a palette, and something absorbent nearby, like a sponge or paper towel roll. Choose child-grade paint specifically. It rinses out of clothes and off skin far more easily than adult-grade acrylics, and starting with two or three light primary colors keeps the palette simple enough that mixing stays fun instead of muddy.
Skip the canvas for now. Thick cardstock, watercolor paper, plain cardboard, or even a small offcut of wood works better for a first session because textured, inexpensive surfaces are less intimidating than canvas and let a child experiment without worrying about “ruining” something that looks precious.
Before the brush touches paint, run through this quick checklist:
- Cover the table with an old cloth, newspaper, or a wipeable mat
- Tape the paper down so it doesn’t slide around mid stroke
- Dress your child in old clothes or a smock, no exceptions
- Keep a damp cloth or wet wipes within arm’s reach
- Seat your child somewhere well-lit, at a table height they can actually reach
If you’re short on time, here’s the fast shopping list: washable kids’ paint set, two stubby brushes, a pad of thick paper, and a roll of paper towels. That’s genuinely enough for the first three or four sessions.
Pro Tip: Limit the palette to three light primary colors for the first project. Every extra color you add increases the odds of a brown, muddy puddle by the ten-minute mark, and a muddy puddle is usually where enthusiasm dies.
What Does a First Painting Session Actually Look Like?
A reliable first session runs on a four-step rhythm: demonstrate, practice, project, reflect. This structure works because it never asks a child to sit through more than a few minutes of any one activity, and it builds in a small win before attention wanders.
- Demonstrate one technique (2 to 3 minutes). Pick a single, visible skill, a flat wash, a dabbing motion, or mixing two colors into a new one, and show it slowly while narrating what you’re doing. Say something like, “Watch what happens when I press the brush flat and drag it sideways.”
- Let them practice on scrap paper (5 to 7 minutes). Hand over the brush and step back. Resist correcting grip or stroke direction unless they ask; this is where brush control and color mixing actually get built.
- Move to a small real project (10 to 15 minutes). Apply the same technique to something with a slight goal, painting one shape, one animal outline, or filling in a section of a pre-printed kit design.
- Reflect briefly (2 to 3 minutes). Ask what they noticed, not what they think of the result. “What happened when the brush was dry?” works better than “Do you like it?”
Adjust the timing by age. Toddlers might only manage 10 minutes total, with most of it spent on step two. Kids around 4 to 7 handle the full 20 to 30 minute arc comfortably. Kids 8 and older can stretch the project phase to 20 minutes and add a second technique in the same session.
Pro Tip: Choose one repeatable technique, brush stroke, flat wash, or basic color mixing, so your child sees visible improvement by the second or third try instead of feeling lost among five new skills at once.
Six Beginner Painting Projects Kids Actually Enjoy
Each of these teaches one clear skill, uses materials you likely already have, and takes under 30 minutes.
- Sunset silhouette. Materials: two or three warm paint colors, black paint, thick paper. Skill: flat wash and silhouette contrast. Age: 5+. Paint horizontal bands of color, let dry slightly, then add a black tree or hill shape at the bottom.
- Stamped flowers. Materials: paint, a cork or cut potato, paper. Skill: dabbing and pattern repetition. Age: 3+. Dip the stamp, press, repeat in a row or cluster.
- Shaving-cream marbling. Materials: shaving cream, a few drops of paint, a tray, paper. Skill: sensory exploration with low control needed. Age: 3+. This kind of low-mess, sensory-friendly project is ideal for a child who isn’t ready to hold a brush precisely yet.
- Dry-brush texture cards. Materials: a barely-wet brush, one paint color, cardstock. Skill: understanding how dry versus wet brushes behave. Age: 6+.
- Painted rocks. Materials: small smooth stones, paint, thin brush. Skill: working on a small, tactile surface. Age: 4+.
- A ready-made kit project. Materials: everything included. Skill: guided brush control and number matching. Age: 4+. Kits like Savannah Buddies, Kitten’s First Butterfly, and Little Chick Parade work well here because the canvas is pre-printed and the paint colors are already matched to each numbered section, removing the guesswork for a nervous first-timer.
Talking to Kids in a Way That Builds Confidence
What you say during a painting session shapes whether your child wants to pick up a brush again tomorrow. Swap evaluative praise (“I like it!” or “That’s beautiful!”) for observation-based questions. Try “How did you make that blue line curve like that?” or “What happens if you add a little yellow there?” This kind of language keeps a child focused on cause and effect, color mixing, and brush control, rather than performing for approval.
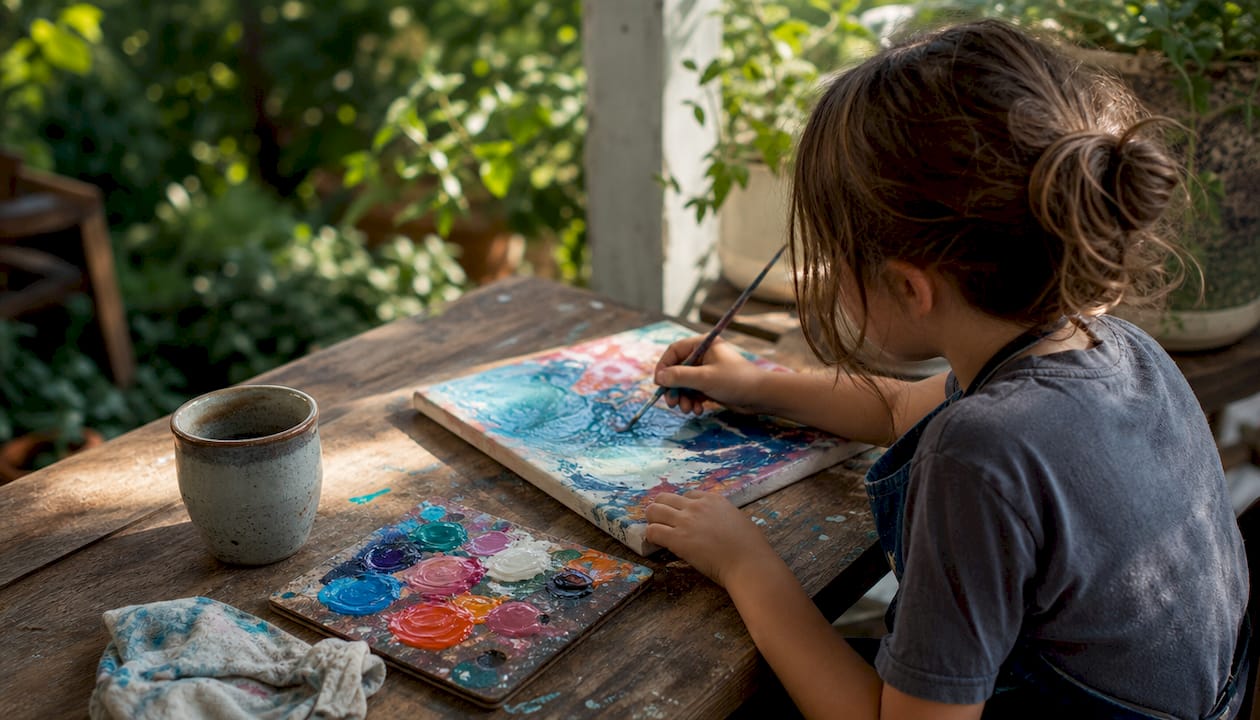
Do ask open questions and celebrate attempts, even messy or “wrong” ones. Don’t correct a painting toward adult standards or push for a realistic result. A toddler responds well to naming sensations: “That paint feels cold and slippery, doesn’t it?” A school-age child engages more with talk about technique and choices: “Why did you pick green for that part?”
Managing Mess and Keeping It Safe
Low-mess doesn’t mean no mess, but a few habits from engaging Easter activities for kids keep cleanup from eating into your patience. Stick to washable paints, dress for the occasion, protect the table, and only put out small amounts of paint at a time so a spilled cup doesn’t become a flood.
Teach the cleanup routine as part of the project itself, not an afterthought:
- Rinse the brush in the water cup
- Wipe the tray or palette with a paper towel
- Carry the finished piece carefully to a drying spot
Always double-check that paint is labeled non-toxic, supervise toddlers closely around small paint containers to prevent ingestion, and store everything out of reach once the session ends. For fresh spills on clothes or carpet, blot immediately with a damp cloth before the paint sets. Most washable paints lift out easily if you catch them within a few minutes.
Fixing Common First-Session Problems
- Child loses interest fast: shorten each step further, or switch to a tactile activity like the shaving-cream marbling project.
- Colors turn muddy: you’re likely using too many at once; drop back to two or three.
- Brush control feels frustrating: try a shorter, stubby-handled brush, or switch to stamping for a session.
- Session is dragging: pause. A positive five-minute session beats a frustrated twenty-minute one every time.
Pro Tip: If your child asks to stop, let them. Ending on a good note matters more than finishing the project.
Why Craftybynumbers Backs the Process-First Approach
I’ve watched enough first sessions go sideways to know the problem is rarely the child, it’s the setup. Too many colors, too long a sitting, too much pressure to produce something frame-worthy. That’s exactly why Craftybynumbers builds kits around a pre-printed canvas, matched acrylic paints, and detail brushes: the guesswork is gone before the brush ever touches paper. For parents who want to go further, our guides on introducing canvas painting to children and age-appropriate art activities dig deeper into scaling difficulty as your child grows.
A No-Fuss Way to Start: Ready-Made Kits for Kids
Buying loose supplies works fine, but if you’d rather skip the trial-and-error of matching paint colors and finding the right brush size, a kit does that work for you. Craftybynumbers builds kids’ kits around the same pre-printed canvas, matched acrylic paint, and detail brush setup used across its full range, so a nervous first-timer never has to guess which color goes where.
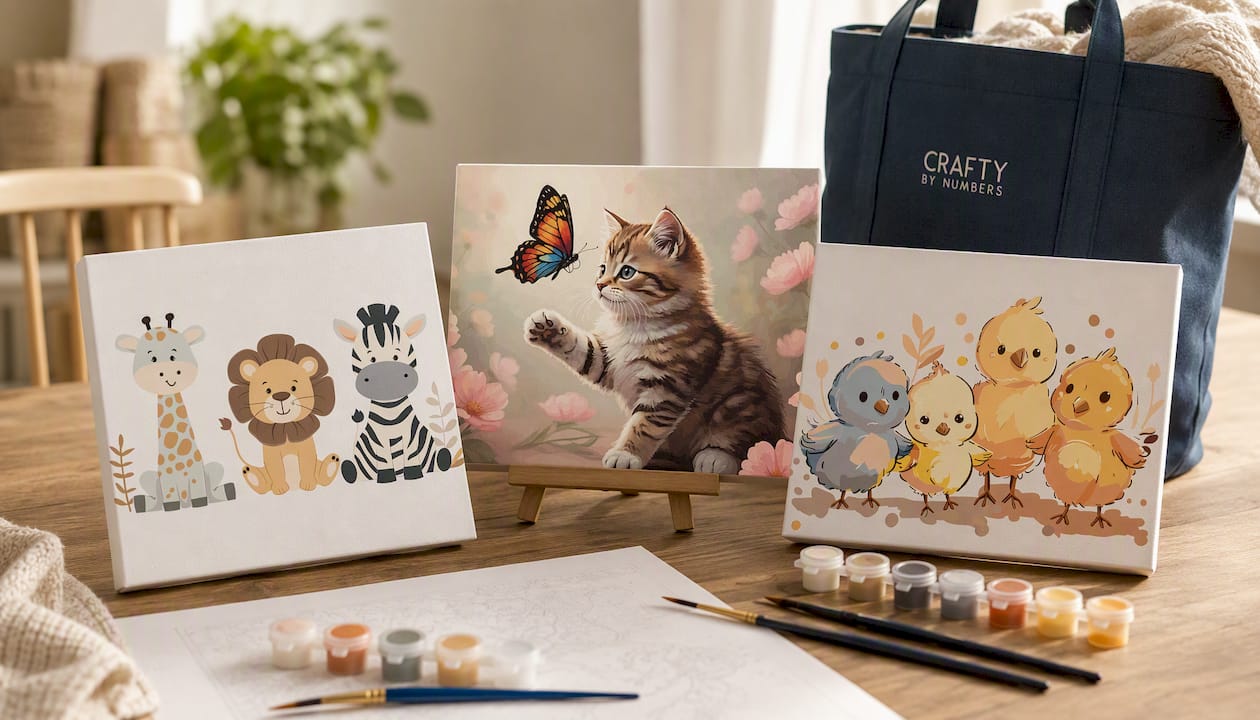
Savannah Buddies suits kids around age 5 and up who are ready for a slightly larger canvas with distinct, bold shapes, good for a child who’s already had a practice session or two. Kitten’s First Butterfly works well for younger beginners since it uses smaller numbered sections and a gentler color range, easier for smaller hands to manage without frustration. Little Chick Parade makes a strong seasonal pick, bright and cheerful, with a scale that keeps the whole project inside a single 30 minute sitting.
If you want more free guidance before you buy, our blog covers everything from supplies every beginner needs to fixing common beginner mistakes. When you’re ready to try a no-fuss first project, browse the kids’ kit collection and pick the one that matches your child’s age and patience level.
Sources
- Ultimate Guide to Painting With Kids - Messy Little Monster
- How to teach children to paint, first time lessons
- Easy Art Projects for Kids — WeAreTeachers
FAQ
How long should a child’s first painting session last?
Aim for 20 to 30 minutes total, split across the demonstrate, practice, project, and reflect steps. Toddlers often need less, closer to 10 minutes.
What paint is safest for a first project?
Use non-toxic, washable paint labeled for children, and limit the palette to two or three light primary colors to avoid muddy results.
Do I need a canvas for a first painting project?
No. Thick cardstock, watercolor paper, or cardboard work better for beginners since they feel less intimidating than a blank canvas.
What should I say while my child paints?
Ask observation-based questions like “What happens if you mix those two colors?” instead of evaluating the finished piece.
Are paint-by-numbers kits good for kids new to painting?
Yes. Kits with a pre-printed canvas and matched paints, like the ones from Craftybynumbers, remove much of the guesswork and help a first-time painter finish with a result they’re proud of.
0 comentarios