


Drawing techniques are the methods artists use to create form, depth, and texture on a flat surface. Charcoal alone has been used for over 35,000 years as a medium for building volume through blending and erasure. Whether you are picking up a pencil for the first time or pushing past a creative plateau, mastering a structured set of methods accelerates your confidence faster than unguided practice ever will. Craftybynumbers has worked with over 120,000 artists at every level, and the pattern is consistent: technique first, inspiration follows.
What are the core drawing techniques beginners should start with?
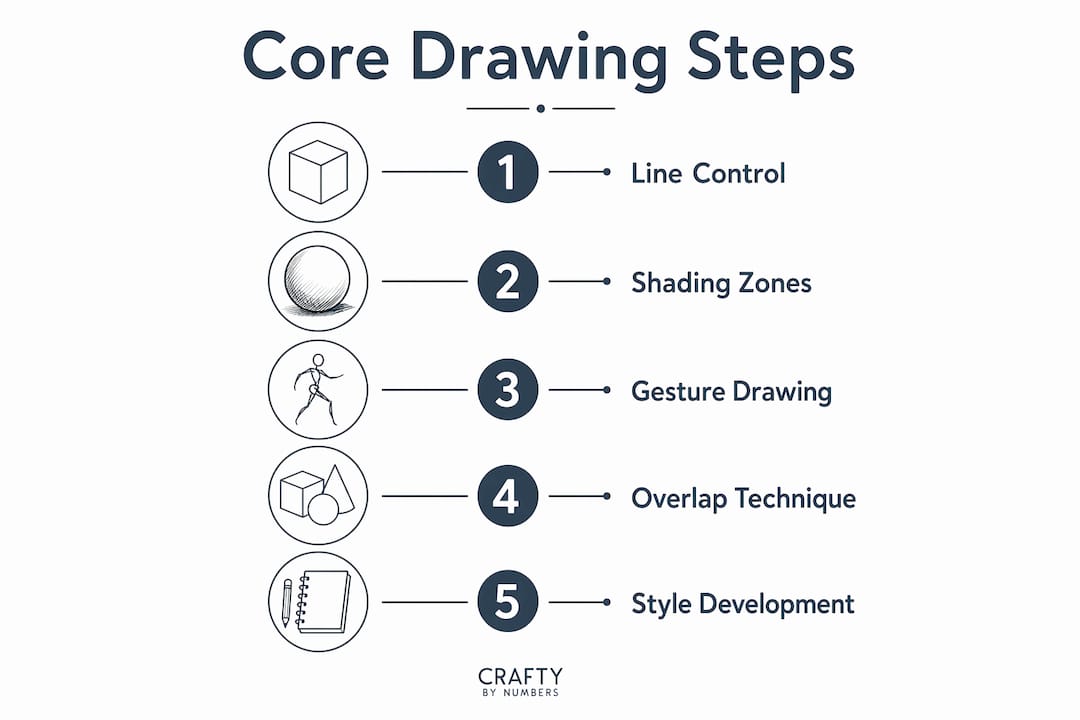
The foundation of every strong drawing is line control. Before shading, composition, or style, you need to understand what different lines do and why they work.

Line types every beginner needs
Four line types form the backbone of most drawings:
- Continuous line drawing keeps your pen or pencil on the paper without lifting it. Continuous line practice builds observation skills and trains your hand to trust what your eye sees, creating confident marks without heavy shading.
- Contour drawing traces the outer and inner edges of a subject. It forces you to slow down and study shapes rather than symbols.
- Hatching uses parallel lines to build tone. Closer lines read as darker; wider spacing reads as lighter.
- Cross-hatching layers hatching in two or more directions to deepen shadow and add texture quickly.
Each line type serves a different purpose. Rotating between them in a single session teaches you when to use each one.
Gesture drawing: capturing movement fast
Gesture drawing uses 1–5 minute poses to capture the energy and flow of a subject rather than its surface detail. Short timed poses force you to identify the core movement of a figure or object before your hand gets stuck on details. This loosens your grip, both literally and mentally. Artists who skip gesture drawing tend to produce stiff, overworked pieces because they start with detail before establishing rhythm.
Shading with tonal zones
Shading is not just darkening an area. Realistic shading requires managing five tonal zones: highlight, light area, mid-tone, core shadow, and reflected light. Without separating these zones clearly, a drawing looks flat no matter how many marks you add. A practical way to learn this is to draw a simple sphere and map each zone before adding any marks. That single exercise teaches more about light behavior than hours of unstructured shading.
Daily drills to build the habit
Consistency beats intensity for beginners. A focused 10-minute daily session beats a two-hour weekend session every time. Structure your drills like this:
- Two minutes of straight horizontal lines, top to bottom, keeping spacing even.
- Two minutes of circles, aiming for smooth, closed loops.
- Two minutes of pressure control, drawing lines that go from light to dark in a single stroke.
- Two minutes of hatching at 45 degrees, keeping lines parallel.
- Two minutes of cross-hatching over the previous hatching layer.
Daily 10-minute drills on these specific tasks show clear progress in hand-eye coordination and line confidence within 30 days. That is a measurable result from a small daily investment.
How to practice and improve drawing skills through effective exercises?
Knowing the techniques is one thing. Building the physical habit is another. The exercises below target muscle memory, not just knowledge.
The overlap technique
Most beginners erase constantly. That habit interrupts flow and damages paper texture. The overlap technique solves this by layering multiple refined strokes over an imperfect first line rather than removing it. The result is a dynamic, confident edge that looks intentional. Professional illustrators use this method to give their linework energy. A single clean line often looks mechanical; a layered line looks alive.
Draw from the shoulder, not the wrist
Wrist-only drawing produces short, cramped strokes. Drawing from the shoulder and elbow produces fluid, sweeping lines that cover the page with confidence. Building this habit takes repetitive practice of long, straight strokes across a full sheet of paper. Start each session with 20 arm-length lines before drawing anything else. Within two weeks, the difference in your line quality is visible.
A structured practice routine
Follow this sequence three to five times per week:
- Warm up with 20 long arm-length lines across a full page.
- Draw 10 ellipses freehand, aiming for symmetry.
- Complete one 2-minute gesture drawing from a reference photo.
- Practice the overlap technique on a simple object like a coffee mug.
- Finish with a 5-minute contour drawing of your non-dominant hand.
This routine covers line quality, form, movement, and observation in under 20 minutes. It also mirrors the beginner art projects approach that works across age groups: short, focused tasks with a clear goal.
Pro Tip: Draw the same subject every day for 30 days. By day 10, you will notice patterns in how you interpret shapes. By day 30, those patterns are the beginning of your personal style.
What advanced drawing techniques expand creative possibilities?
Once foundational skills feel natural, the goal shifts from accuracy to expression. These methods push your work past technical correctness into something with personality.
The blob method
The blob method flips the traditional drawing process. Instead of starting with lines and adding tone, you start with tonal shapes and add minimal lines afterward. Place large areas of tone first to define the form, then use line only where it adds clarity. This prevents the stiffness that comes from outlining everything before understanding the light. The result is a looser, more expressive drawing that feels spontaneous even when carefully planned.
Exaggeration for stylization
Realism is one destination. Stylization is another. Exaggeration techniques involve deliberately modifying size, shape, and edges to inject personality into a drawing. A face with slightly enlarged eyes reads as more expressive. A building with exaggerated vertical lines reads as more imposing. These are conscious choices, not mistakes. Artists who understand exaggeration can dial it up or down depending on the mood they want to create.
Blending tools and charcoal
Charcoal is the best medium for learning tonal blending because it responds to the lightest touch. Blending stumps, kneaded erasers, and even fingertips all produce different results on charcoal. A kneaded eraser lifts tone to create highlights without damaging the paper surface. A blending stump softens transitions between tonal zones. The shadow realism techniques used by professional artists rely heavily on this kind of tonal control.
Here is a quick comparison of blending approaches by effect:
| Tool | Effect | Best used for |
|---|---|---|
| Blending stump | Smooth, gradual transitions | Mid-tone to shadow blending |
| Kneaded eraser | Lifts tone, creates highlights | Highlight recovery and soft edges |
| Fingertip | Warm, loose blending | Quick sketches and gesture work |
| Tissue paper | Wide, even tone coverage | Large background areas |
Pro Tip: When using charcoal, work from light to dark. It is far easier to add tone than to remove it cleanly, even with a kneaded eraser.
How do you develop your own drawing style over time?
Style is not invented. It emerges. Regular drawing practice reveals innate preferences that form personal style automatically through repeated habits rather than forced invention. Trying to design a style before you have built consistent practice is like trying to choose a signature before you have learned to write.
These four habits accelerate style development:
- Draw from memory. After studying a reference, put it away and draw what you remember. The gaps and distortions in your memory drawing reveal your natural tendencies. Those tendencies are the raw material of style.
- Identify what you admire. Study artists whose work excites you and isolate the specific elements you respond to. Is it their line weight? Their use of negative space? Their color choices? Borrow those elements consciously and combine them with your own habits.
- Make one deliberate change per month. If you always draw with thin lines, spend a month using only thick lines. If you always shade with hatching, try blending for 30 days. Forced variation prevents stagnation and reveals new preferences.
- Avoid copying outright. Copying a single artist’s work trains you to replicate their decisions, not make your own. Study many artists and synthesize, rather than reproduce.
Style development also benefits from structured creative projects. Craftybynumbers personalized art kits give artists a framework to practice within, which paradoxically frees up creative decision-making rather than limiting it.
Key Takeaways
Mastering drawing techniques requires combining foundational line control, daily structured practice, and deliberate experimentation with advanced methods like the blob technique and tonal zone management.
| Point | Details |
|---|---|
| Start with line fundamentals | Practice continuous line, contour, hatching, and cross-hatching before moving to shading. |
| Use tonal zones for shading | Manage five zones: highlight, light area, mid-tone, core shadow, and reflected light. |
| Build muscle memory daily | Ten-minute daily drills on lines, circles, and pressure control show measurable progress within 30 days. |
| Use the overlap technique | Layer strokes instead of erasing to build confident, dynamic linework. |
| Let style emerge naturally | Drawing the same subject repeatedly for 30 days reveals your natural preferences and builds personal style. |
Why patience is the most underrated drawing skill
Most artists I have worked with hit the same wall around week three of consistent practice. The initial excitement fades, the work still does not look the way they imagined it, and the temptation to quit or switch subjects is strong. What I have learned is that this wall is not a sign of failure. It is a sign that your eye has developed faster than your hand. You can now see what good drawing looks like, but your muscle memory has not caught up yet. That gap is uncomfortable, and it is also exactly where real growth happens.
The artists who push through that phase without abandoning their practice routine are the ones who look back six months later and cannot believe how far they have come. Imperfection is not the enemy of progress. Inconsistency is. Show up with your pencil, follow the drills, and trust that the hand catches up to the eye. It always does. The stress-relief benefits of regular creative practice are real, and they compound the longer you stick with it.
— Paula S.
Craftybynumbers kits: a practical way to apply what you have learned
Knowing a technique and applying it in a real creative project are two different experiences. Craftybynumbers bridges that gap with kits designed for artists at every level, from first-time creators to experienced painters looking for a structured challenge.

Each kit includes a pre-printed canvas, high-quality acrylic paints, and detail brushes, giving you everything needed to practice tonal control, blending, and color observation in one sitting. The Ivory Essence kit is a strong starting point for artists focused on shading and depth, while the Blossoming Cottage offers more complex detail work for those ready to push further. With over 120,000 satisfied customers, Craftybynumbers has proven that structured creative projects build real artistic confidence.
FAQ
What drawing techniques should a complete beginner start with?
Beginners should start with continuous line drawing, contour drawing, and basic hatching. These three methods build observation skills, line confidence, and tonal awareness before any complex shading is introduced.
How long does it take to improve drawing skills noticeably?
Daily 10-minute drills focused on line quality, circles, and pressure control produce clear progress within 30 days. Consistency matters more than session length.
What is the blob method in drawing?
The blob method starts with large tonal shapes before adding any lines, which keeps drawings loose and prevents stiffness. It is an advanced sketching method that prioritizes form over outline.
What are the best materials for drawing as a beginner?
Charcoal and a standard graphite pencil set cover the widest range of techniques for beginners. Charcoal is especially useful for learning tonal blending because it responds to light pressure and lifts cleanly with a kneaded eraser.
How do you develop a personal drawing style?
Style develops naturally through consistent practice rather than deliberate invention. Drawing the same subject from memory repeatedly reveals your habitual tendencies, and those tendencies become the foundation of your style.
0 comments