

The fastest way into easy Japanese painting is to pick one of three paths: simplified Sumi-e with ink and a brush, acrylic minimalist on canvas, or a paint-by-numbers kit. Each one works in a single session.
- Simplified Sumi-e: Best for meditative practice and learning brush control; uses black ink on rice or washi paper. Sessions typically take a moderate amount of time suitable for beginners.
- Acrylic minimalist on canvas: Best for wall-ready decor; student acrylics on a stretched canvas, finished in under two hours.
- Paint-by-numbers kit: Fastest beginner results; everything is pre-measured and pre-printed, so you focus entirely on painting. Most kits require several sessions.
Supplies for all three are available at U.S. craft stores or online, and none of the starting setups costs more than a modest budget amount.
Key Takeaways
Easy Japanese painting is most accessible when you start with one clear method, minimal supplies, and a project you can finish in a single session.
| Point | Details |
|---|---|
| Three entry paths | Sumi-e ink, acrylic minimalist, or a paint-by-numbers kit — each suits a different goal and time budget. |
| Supplies stay minimal | Budget setups for all three approaches cost $10–$40 using U.S.-available materials. |
| Four core strokes | Chokujitsu, Sokuhitzu, Sakiguma, and Motoguma cover most beginner Sumi-e needs. |
| Japanese aesthetic rules | Negative space, asymmetry, and a three-color palette are what make a painting read as Japanese-style. |
| Craftybynumbers kits | Grace of Kyoto, Kyoto Lanterns, and Heart of Japan offer all-in-one beginner kits with U.S. shipping. |
Table of Contents
- What supplies do you actually need for each approach?
- How do you practice the core Sumi-e brush strokes?
- Five easy Japanese-style mini projects you can finish today
- What makes a painting look Japanese?
- What are the easiest alternatives for beginners who want fast results?
- A simple 4-week practice plan to build real skill
- Why slow, simple painting is exactly what beginners need
- Ready to paint? Start with a Japanese-style kit
- Sources
- FAQ
What supplies do you actually need for each approach?
Keeping the materials list short is the point. Here is what each path requires, with U.S.-friendly substitutes where the traditional option is hard to find.
| Approach | Core Materials | Budget Option | Upgrade Option |
|---|---|---|---|
| Simplified Sumi-e | Sumi ink, washi or rice paper, natural-hair brush | Bottled black India ink, 90 lb watercolor paper, synthetic brush ($10–$18 total) | Genuine sumi ink stick, washi paper, Yasutomo natural-hair brush (a higher-cost option) |
| Acrylic minimalist | Canvas or heavyweight paper, student acrylics, synthetic brushes | Canson XL canvas pad, Liquitex BASICS acrylics, craft brushes ($15–$25) | Stretched canvas, Golden Open acrylics, Princeton Neptune brushes ($40–$60) |
| Paint-by-numbers kit | Pre-printed canvas, matched acrylics, numbered guide, brushes | Craftybynumbers starter kit (all included) | Craftybynumbers premium or custom kit |
For Sumi-e, the paper choice matters more than most beginners expect. Traditional nihonga and ink-wash work requires washi or dosa-biki-sized paper to prevent ink from bleeding uncontrollably. In the U.S., a moderately thick cold-press watercolor paper is a solid substitute. Ordinary printer or calligraphy paper absorbs ink too fast and produces muddy results.
You can find budget Sumi-e supplies at Michaels, Hobby Lobby, or on Amazon. For a more curated selection, online retailers like Blick Art Materials carry washi paper and sumi ink sticks with next-day shipping.
Pro Tip: Buy a cheap pack of bamboo-handled synthetic brushes to start. Save the natural-hair brush upgrade for after you have practiced the basic strokes — you will appreciate the difference more once you know what you are feeling for.
How do you practice the core Sumi-e brush strokes?
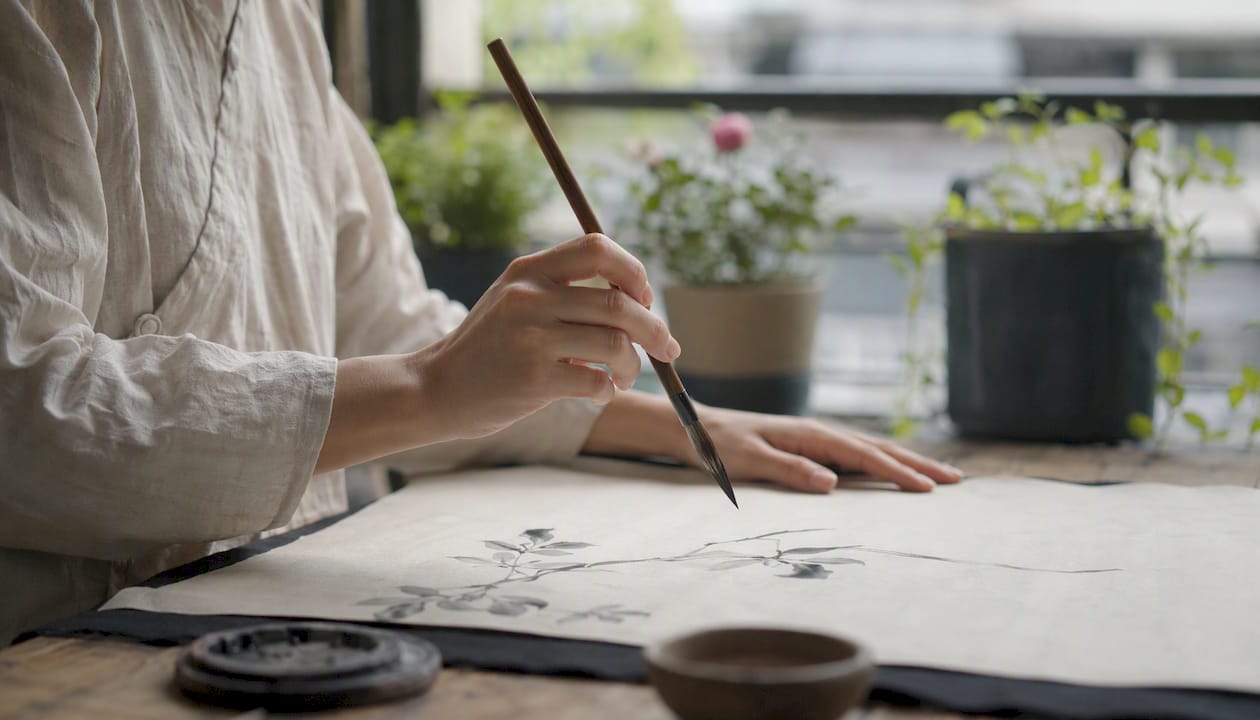
Sumi-e’s foundational strokes are few, and that is the whole point. You do not need ten techniques. You need four, practiced slowly.
The four strokes to start with:
- Chokujitsu (upright stroke): Hold the brush vertically, press down slightly, and pull in one direction. Creates bamboo stalks, tree trunks, and vertical lines.
- Sokuhitzu (sideways stroke): Tilt the brush at an angle and drag sideways. Produces leaves, petals, and broad washes.
- Sakiguma (dark-to-light gradation): Load the brush tip with dark ink, then stroke outward so the ink fades. Builds depth on one side of a form.
- Motoguma (light-to-dark gradation): Reverse of Sakiguma — start with a diluted brush and add pressure toward the tip. Creates shadow and volume.
10-minute practice drill (repeat 3 times):
- 3 minutes: Draw 20 vertical Chokujitsu strokes, varying pressure from heavy to feather-light.
- 3 minutes: Practice 15 Sokuhitzu leaf strokes, aiming for a single fluid motion each time.
- 4 minutes: Load your brush and practice Sakiguma gradations across a row, then Motoguma back across.
Posture matters. Use the kenwan position: keep your painting arm elevated and free from the table surface. This lets you execute long, fluid strokes instead of short, cramped ones. Exhale slowly as you pull each stroke. If your lines look shaky, you are probably holding your breath.
Common errors: pressing too hard (produces blobs, not lines), reloading mid-stroke (breaks the flow), and overworking a wet area. See common beginner painting mistakes for quick fixes on all three.
Five easy Japanese-style mini projects you can finish today
Each project below fits one session. Difficulty is rated Easy or Medium for a first-time painter.
Cherry blossom branch
Supplies: Black ink or dark acrylic, pink diluted wash, washi or watercolor paper. Time: 30–45 minutes. Difficulty: Easy.
- Sketch a thin diagonal branch with a Chokujitsu stroke, slightly curved.
- Add two or three smaller branches splitting off at angles.
- Dip a round brush in diluted pink acrylic or ink wash. Dab clusters of 4–5 petals at branch tips.
- Leave space between clusters — negative space is part of the composition.
- Add a few falling petals below the branch with single Sokuhitzu strokes.
Easier: Use a stamp or fingertip for the blossoms. Harder: Add a second ink-wash layer for petal depth.
Mount Fuji silhouette sunset
Supplies: Canvas or heavy paper, blue and orange acrylics, white for snow cap. Time: 45–60 minutes. Difficulty: Easy.
- Wet the canvas and lay a gradient wash from orange at the horizon to deep blue at the top.
- Let it dry completely.
- Mix a dark indigo or navy and paint the Fuji triangle silhouette in one confident shape.
- While the silhouette is wet, dab white at the peak for snow.
- Add a thin horizontal line at the base for the lake reflection.
Variation: Skip the gradient and use a flat vermilion background for a woodblock-print feel.
Bamboo stalks
Supplies: Ink or dark green acrylic, fine brush, watercolor paper. Time: 20–30 minutes. Difficulty: Easy.
- Draw three vertical stalks of different heights using Chokujitsu strokes.
- Add horizontal joint marks every 2–3 inches along each stalk.
- Paint narrow leaf clusters using Sokuhitzu strokes, angled outward from the joints.
- Leave the lower third of the paper empty.
Koi silhouette
Supplies: Orange and black acrylic or ink, round brush, canvas or paper. Time: 40–60 minutes. Difficulty: Medium.
- Sketch a simple fish body shape — an elongated oval with a forked tail.
- Fill with flat orange, leaving a white highlight along the spine.
- Add black patches in 2–3 areas for the koi pattern.
- Paint a few loose circular ripples around the fish with diluted blue.
- Add a single lotus leaf in the corner for balance.
Minimalist wave
Supplies: Indigo and white acrylic, canvas, medium round brush. Time: 30–45 minutes. Difficulty: Easy.
- Paint the background a flat pale gray or cream.
- Load indigo and paint one large curved arc from the left edge, curling at the top right.
- Add a second, smaller arc below and to the right.
- Dry-brush white along the crest of the large wave for foam.
- Leave the lower half of the canvas nearly empty.
Acrylic on canvas achieves a Japanese aesthetic through expressive line and restrained depth — you do not need traditional mineral pigments to get the look. Finish any of these pieces by mounting on foam board or sliding into a simple black frame for display. See paint-by-numbers for home decor for framing ideas that work for small-format paintings.
What makes a painting look Japanese?
Three rules cover most of it: negative space, asymmetry, and a limited palette.
Composition: Japanese-style painting, from suibokuga ink-wash to ukiyo-e woodblock, consistently uses empty space as an active element. A branch in the upper-left corner with nothing below it is not an unfinished painting. It is a finished one. Asymmetry creates tension and movement; a centered subject reads as Western portraiture, not Japanese composition. Diagonal flow — a branch angling across the frame, a wave curling from one corner — adds energy without complexity.
Color: Limit yourself to three colors maximum per painting. Traditional palettes lean on indigo, soft vermilion, and warm earth tones like raw sienna or ochre. Monochrome ink-wash paintings use only black with water dilution for tonal range. Fewer colors force you to be intentional, and intentional choices are what give the work its calm authority.
Pro Tip: Before you paint, reduce your subject to its simplest silhouette. If you cannot draw it in five lines, simplify further. Japanese painting suggests a pine tree — it does not render every needle.
Japanese visual art styles share a consistent strategy: suggestion over detail, using simplified forms and negative space to create meaning. — Wikipedia, Japanese art
What are the easiest alternatives for beginners who want fast results?
Not everyone wants to start with a blank sheet and a bottle of ink. Mixed-media shortcuts — metallic highlights, cut-paper layers, acrylic washes — can replicate the visual impact of traditional techniques with almost no brush training required.
Paint-by-numbers kits are the most structured entry point. A typical kit includes a pre-printed numbered canvas, matched acrylic paints in small pots, and two or three brushes. The numbered system teaches color blocking and brush pressure without any guesswork. Many beginners find that kits build brush control faster than open-ended practice because every stroke has a clear target.
- Kits are the best starting point if you want a display-ready result on your first attempt.
- Acrylic minimalist suits beginners who want to experiment with color and composition freely.
- Sumi-e rewards patience and repetition — the meditative quality is part of the appeal, not a side effect.
A practical hybrid: use a kit for your first two sessions to build brush confidence, then practice one Sumi-e stroke per session alongside it. By week three, the stroke control transfers.
A simple 4-week practice plan to build real skill
Week-by-week focus keeps progress visible without demanding daily hours.
- Week 1: Basic strokes only. Three 10-minute drill sessions (Chokujitsu, Sokuhitzu, gradations). No finished paintings yet.
- Week 2: Small motifs. Paint a bamboo stalk and a cherry blossom branch. One session each, 30–40 minutes.
- Week 3: Color and composition. Try the Mount Fuji sunset or minimalist wave. Focus on palette restraint and negative space.
- Week 4: Complete one full project from start to display. Frame it or mount it.
For next-step resources: the Domestika Sumi-e introduction covers the core strokes with video demos. The Musashino Art University Nihonga e-book includes 88 color photos and three step-by-step lessons you can follow solo. Super Simple Sumi-e (Penguin Random House) is a family-friendly book that walks through stroke sequences for animals, flowers, and bamboo.
Pro Tip: Photograph every painting before you put it away, even the bad ones. After four weeks, the improvement is obvious in a way that feels genuinely motivating — and you will want the record.
Progress in Sumi-e is measured in sessions, not masterpieces. Each stroke you practice is a deposit. — Kaoru Hirose
Why slow, simple painting is exactly what beginners need
There is a tendency to treat slow progress as a problem to solve. In Japanese brush painting, slowness is the method. The rhythmic repetition of a single stroke, the deliberate breath before you pull the brush, the decision to leave half the paper empty — these are not beginner limitations. They are the practice itself.
Sumi-e instructors consistently link that rhythmic brush movement and breath control to stress relief and sharper focus. The meditative quality of paint-by-numbers works the same way: a clear, bounded task that pulls your attention fully into the present. An imperfect painting made with full attention is worth more than a technically correct one made anxiously. Start slow. The skill follows.
Ready to paint? Start with a Japanese-style kit
If you want a display-ready result without sourcing individual supplies, Craftybynumbers offers three Japanese-themed kits that ship across the U.S. Each includes a pre-printed numbered canvas, matched acrylic paints, and brushes — everything in one box.
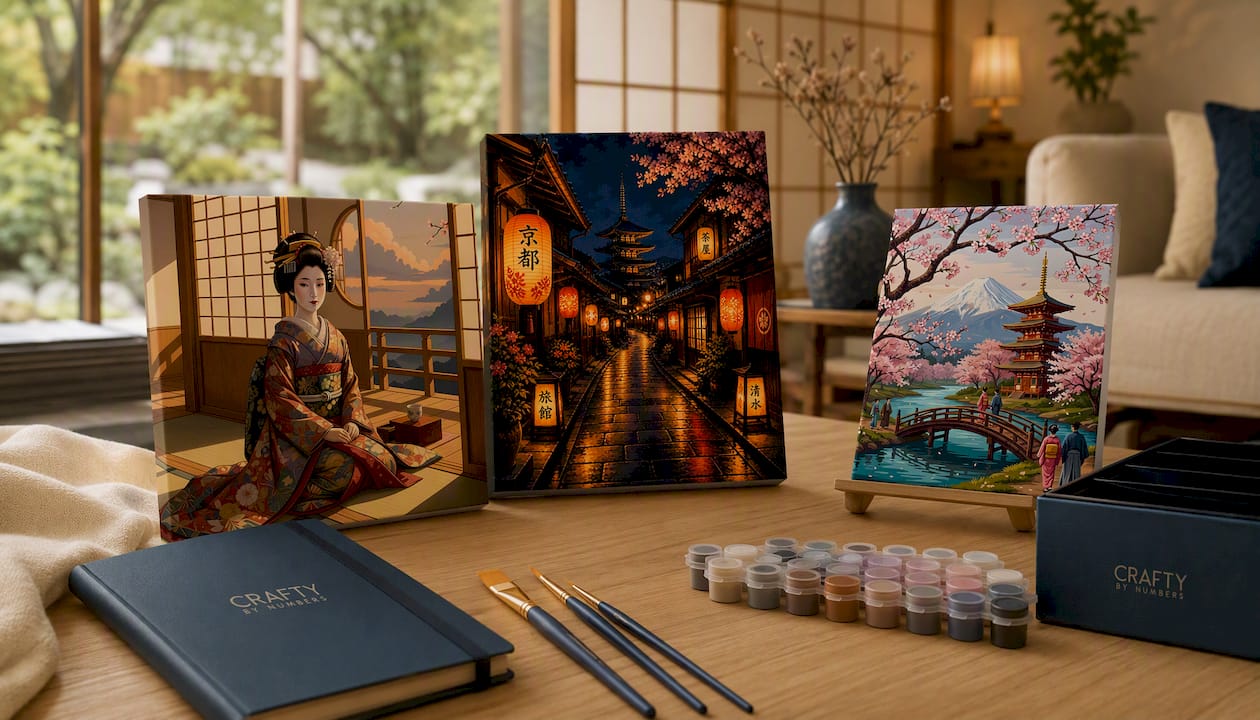
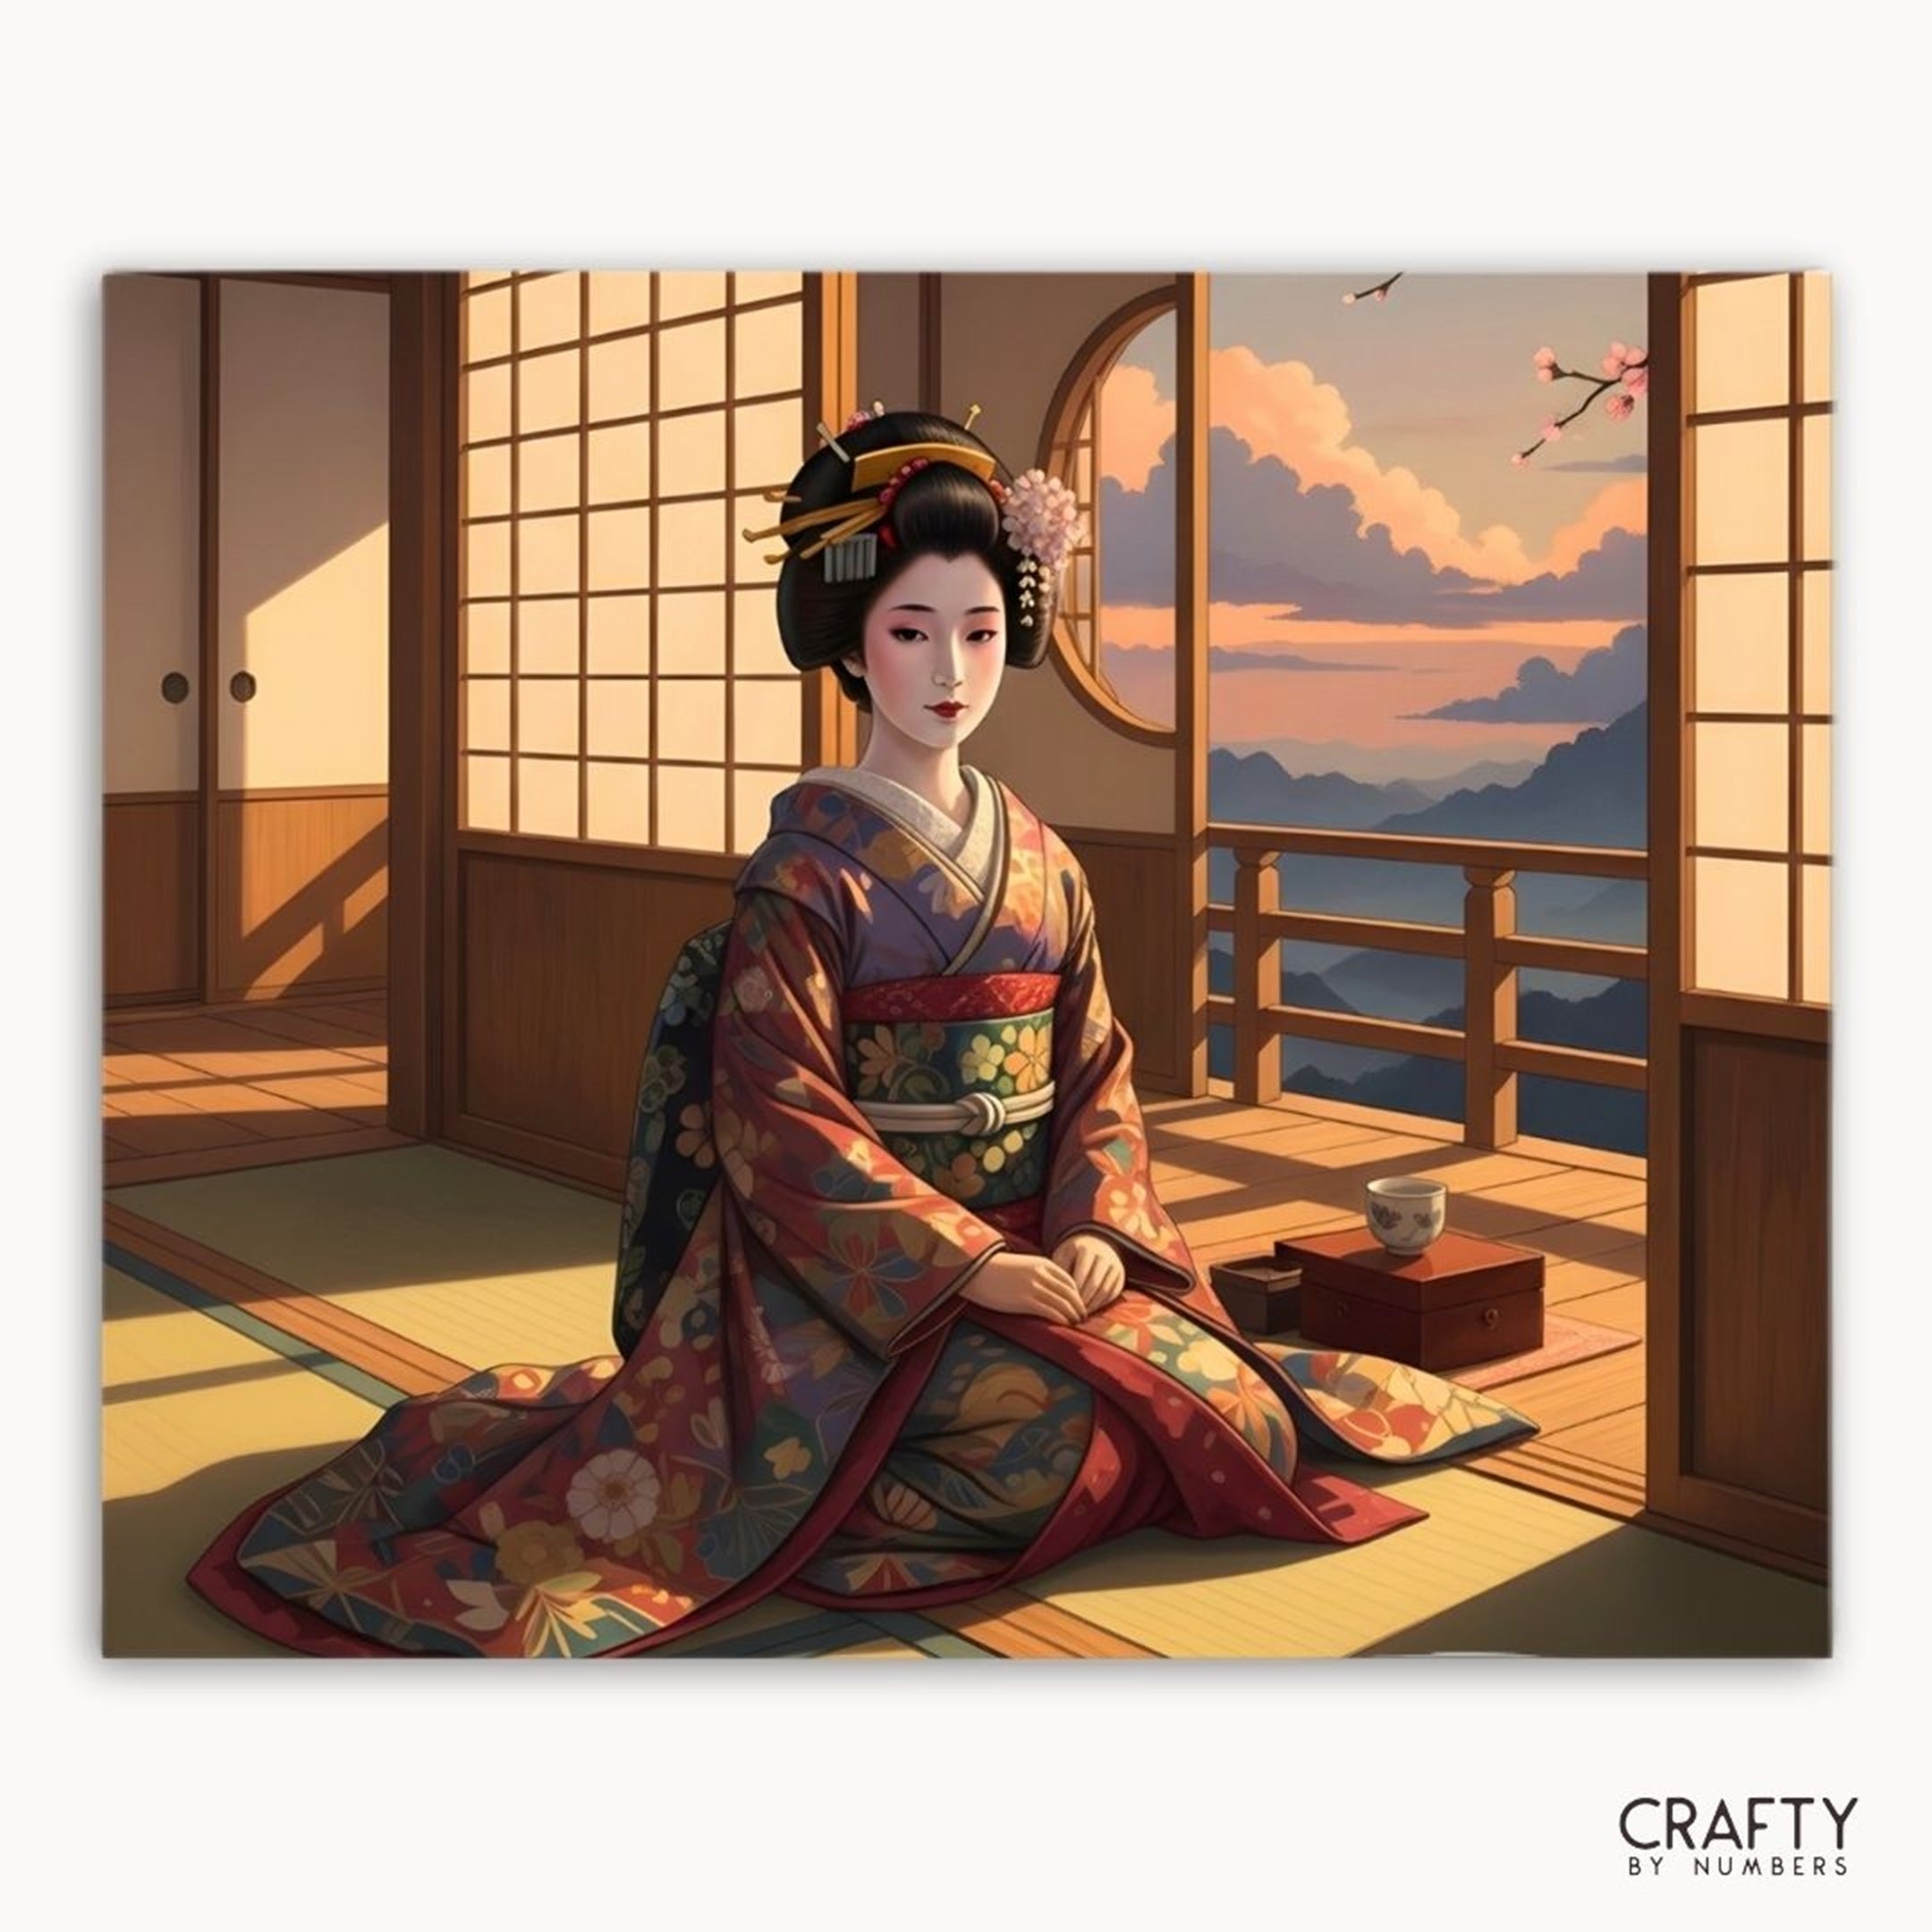
- Grace of Kyoto: A Kyoto-inspired scene with layered detail; ideal for anyone who wants a wall-ready piece that looks genuinely complex without being hard to paint.
- Kyoto Lanterns: Strong color contrasts and a night-scene palette make this the best pick for practicing color blocking and brush pressure.
- Heart of Japan: A floral motif kit that works beautifully as a first-time gift or a personal decorative piece.
All three kits are available now with U.S. shipping. Browse the full range and pick the one that fits your space or your recipient at Craftybynumbers.
Sources
- Introduction to Sumi-e Painting: 5 Basic Ink Techniques | Domestika
- How to Paint Nihonga (Japanese Painting) – Kogei Japonica
- Easy Japanese painting — Cut Out + Keep
- A step-by-step guide to begin Japanese painting — Kaoru Hirose
- 30 Japanese Arts & Crafts You Need To Know — Snow Monkey Resorts
FAQ
What is the easiest Japanese painting style for beginners?
Simplified Sumi-e is the most accessible starting point because it requires only black ink, water, and paper. Four core strokes cover most beginner motifs, and sessions can be as short as 20 minutes.
Can I use acrylic paint instead of sumi ink?
Yes. Acrylics on canvas produce a Japanese aesthetic when you focus on expressive line, limited color, and strong negative space. Several practical guides teach modern Japanese-style acrylic techniques step-by-step.
How long does a beginner Japanese painting take to finish?
Simple projects like a bamboo stalk or cherry blossom branch take 20–45 minutes. More detailed pieces like a koi silhouette or Mount Fuji sunset run 45–90 minutes. Paint-by-numbers kits typically take 2–4 sessions.
Do paint-by-numbers kits actually teach brush control?
They do. The numbered system gives every stroke a clear target, which trains brush pressure and color blocking faster than open-ended practice for most beginners.
What paper should I use if I cannot find washi?
90 lb cold-press watercolor paper is the best U.S. substitute. Ordinary printer or calligraphy paper absorbs ink too quickly and produces muddy, uncontrolled results.
0 comments